Manage active sessions
Authenticated customers can use Security to review active Website sessions and revoke access they no longer want to keep.
The Sessions option appears in the signed-in account menu when it is enabled for the Website. A customer might need to complete required profile information before the page appears. Menu placement and availability can vary.
Review active sessions
- Sign in to Website.
- Open the customer menu.
- Select the Sessions or Security option when it is available.
Each row displays two date and time values. The first is when the session was recorded, and the second is its validity limit. Formatting follows the Website settings and the customer's timezone.
The row used by the current Website sign-in is marked Current. The page does not identify a session by device, browser, IP address, or location.
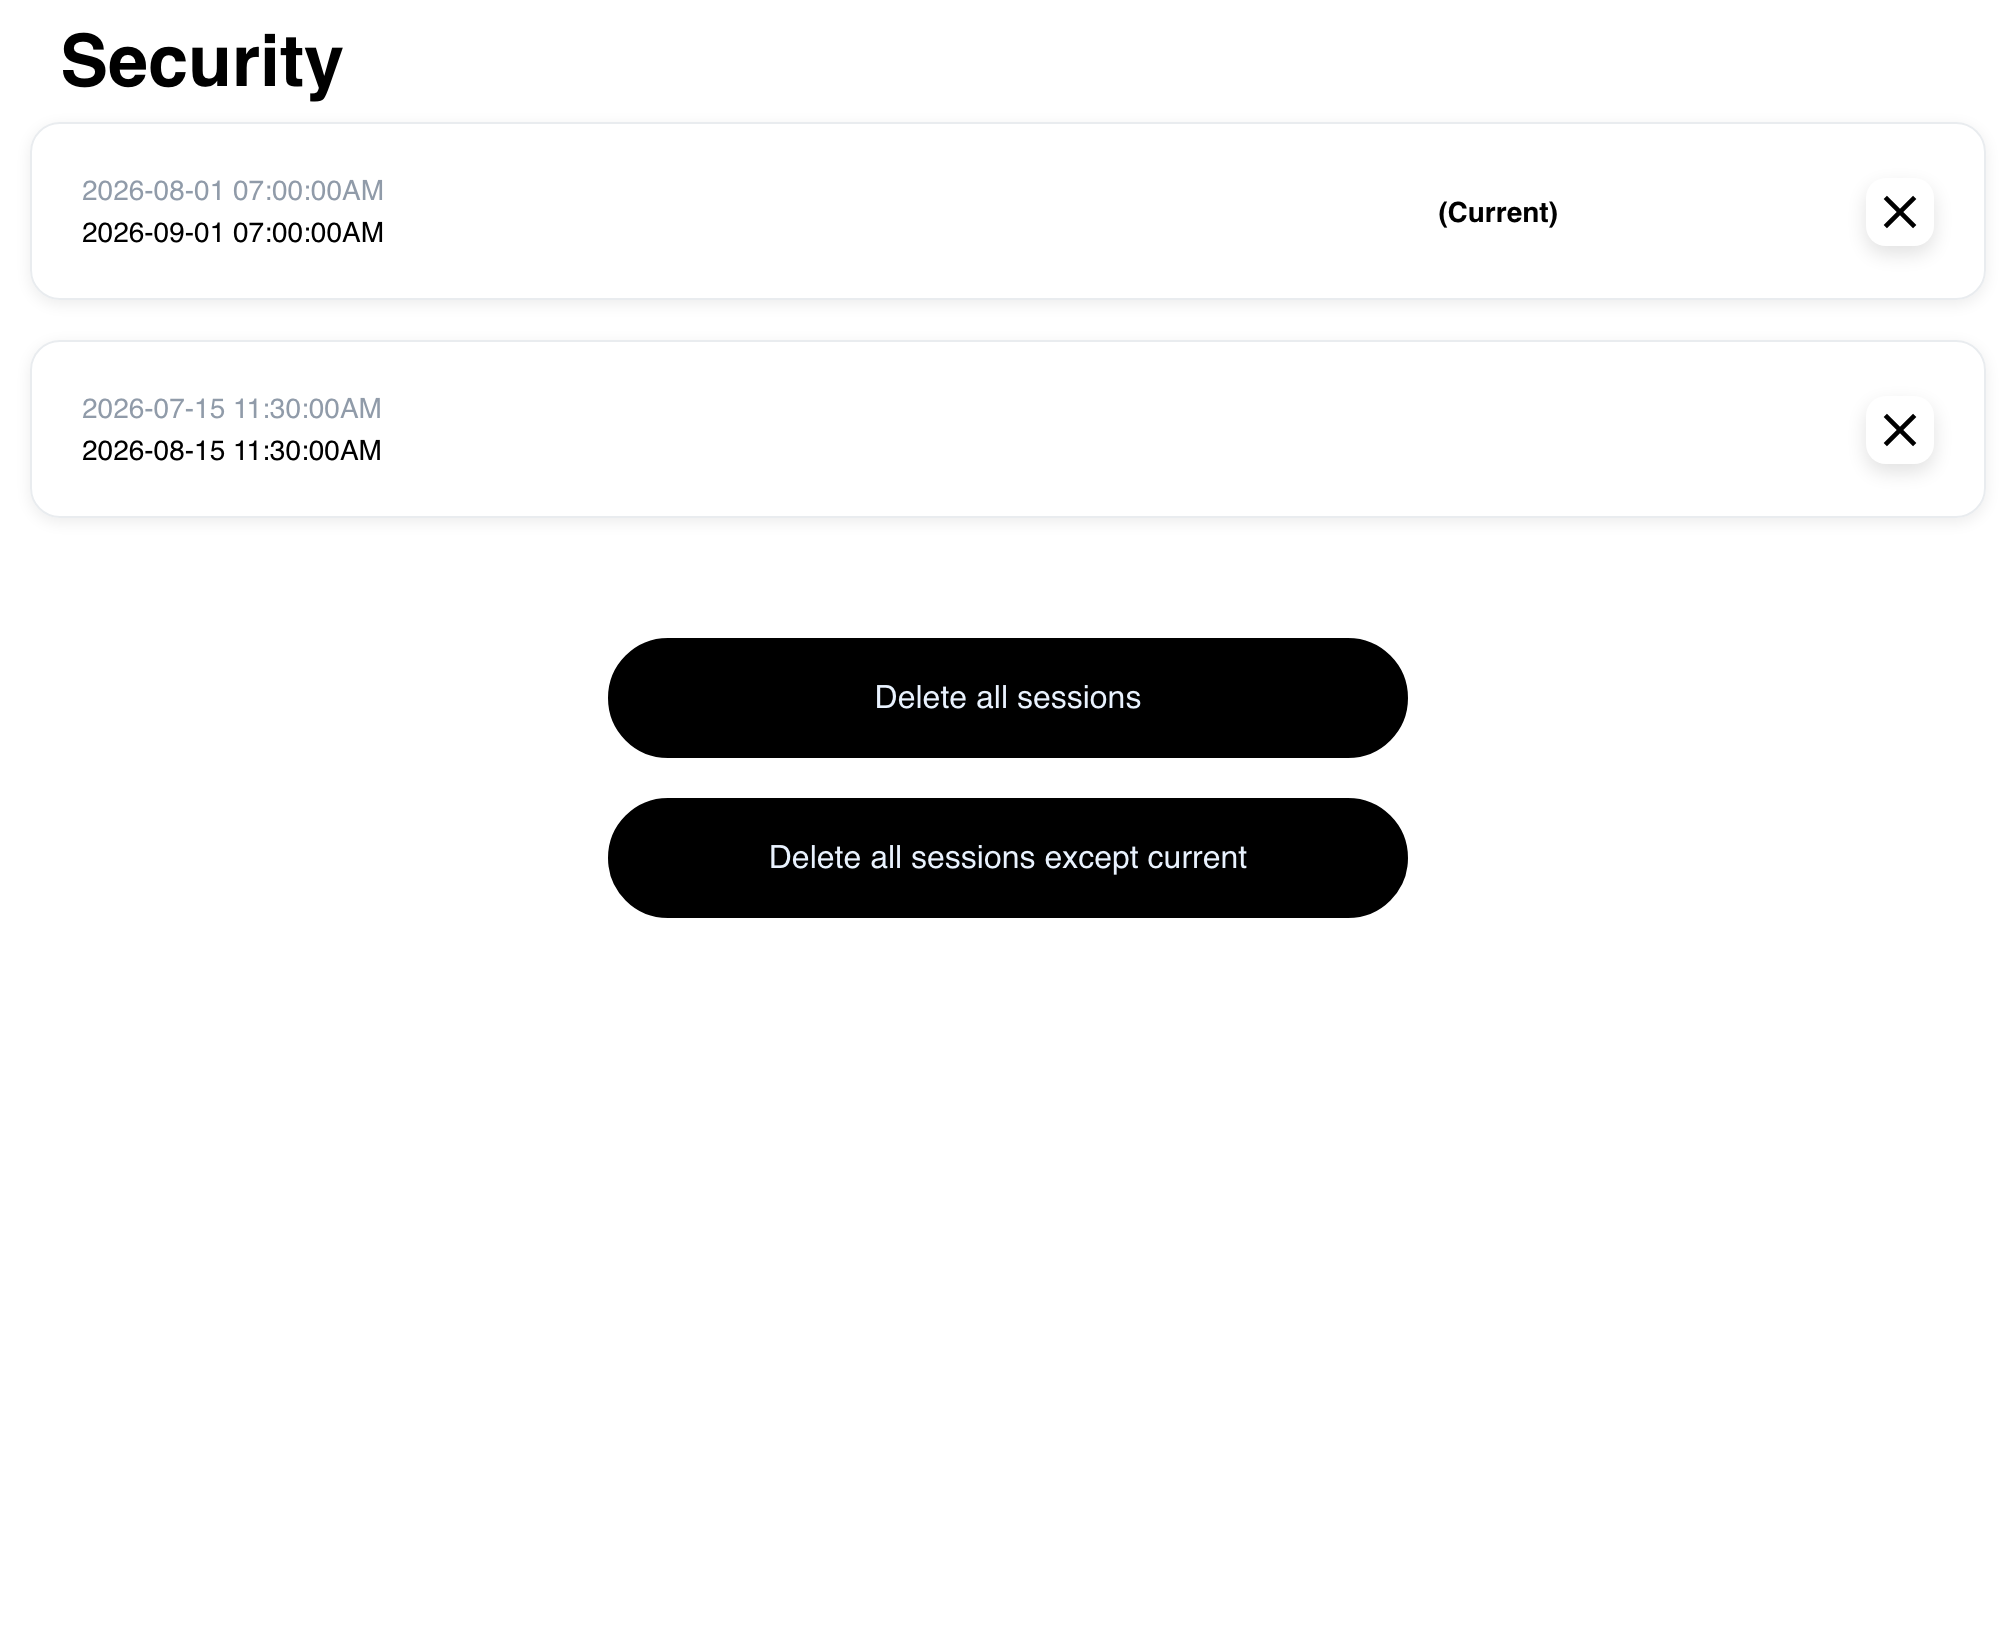
The order of the rows is determined by the returned session list. Do not assume that the first row is always the newest one; use the Current marker and displayed dates when reviewing the list.
Revoke one session
- Select the close icon on the session row.
- Review the confirmation question.
- Select Accept to continue, or Cancel to keep the session.

No session is revoked before Accept. After a successful non-current-session revocation, that row disappears from the list. Successfully revoking the row marked Current signs the customer out of Website.
Revoke sessions in bulk
The bottom of a non-empty list provides two different actions:
- Delete all sessions opens a confirmation to revoke all sessions. After successful completion, the customer is signed out of Website.
- Delete all sessions except current opens a confirmation that preserves the row marked Current.


Read the confirmation carefully before selecting Accept. Revocation cannot be reversed from this page, and another open client might not reflect the change immediately.
Understand empty and inactive states
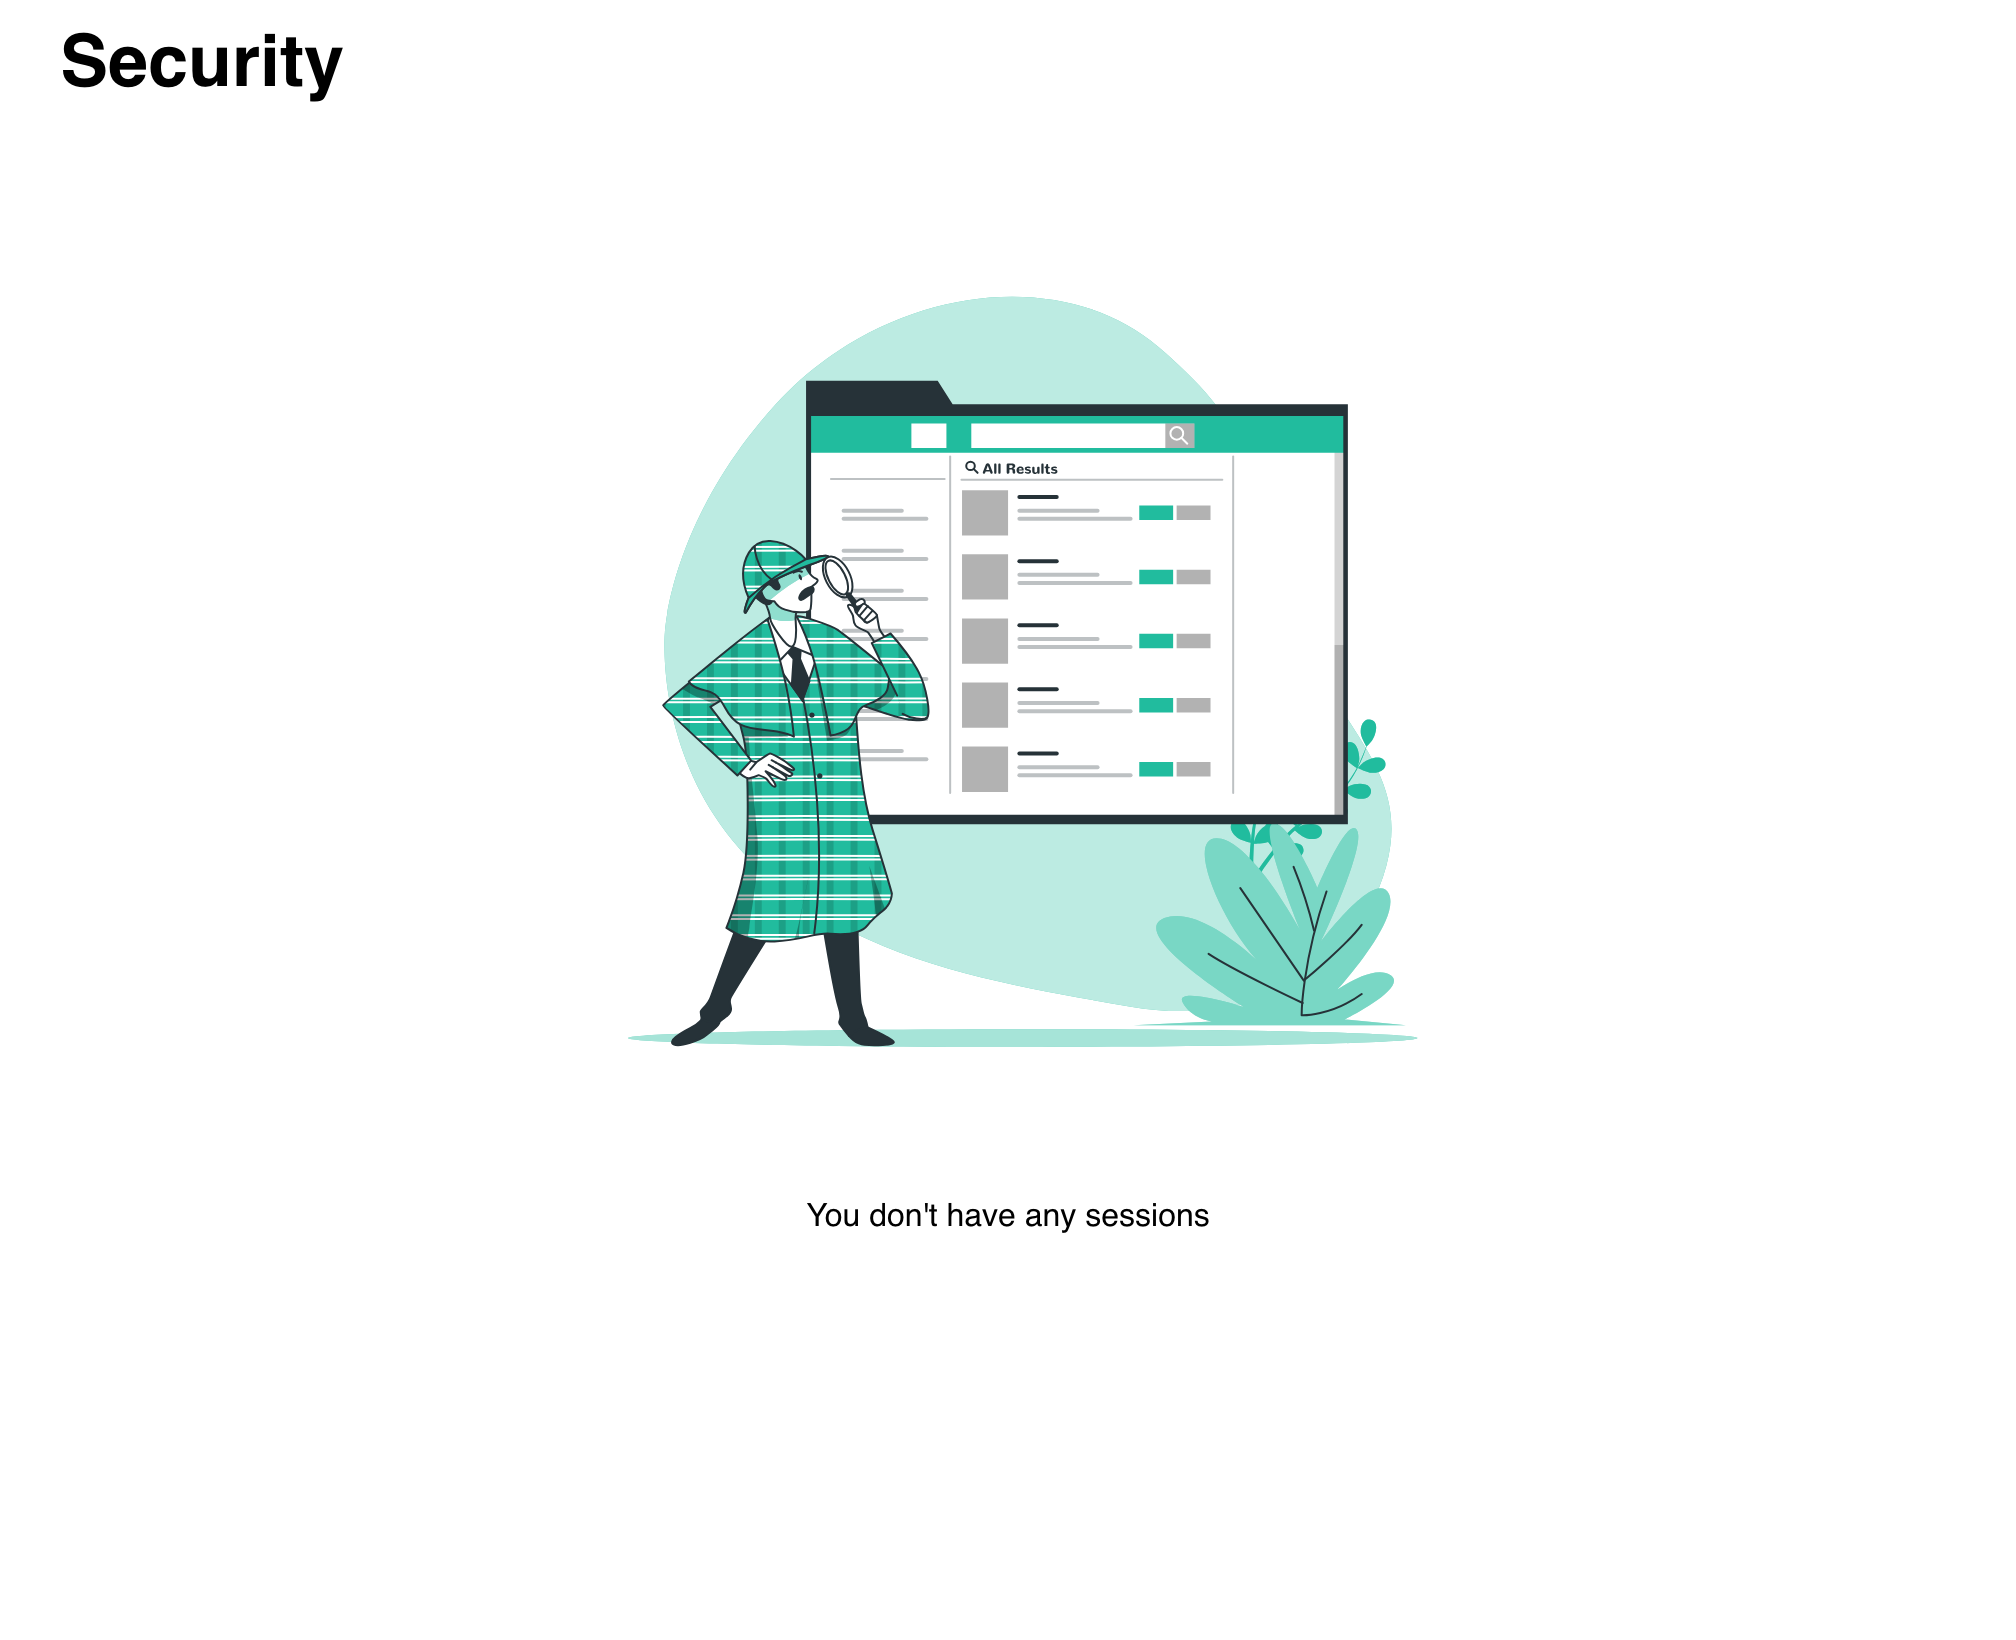
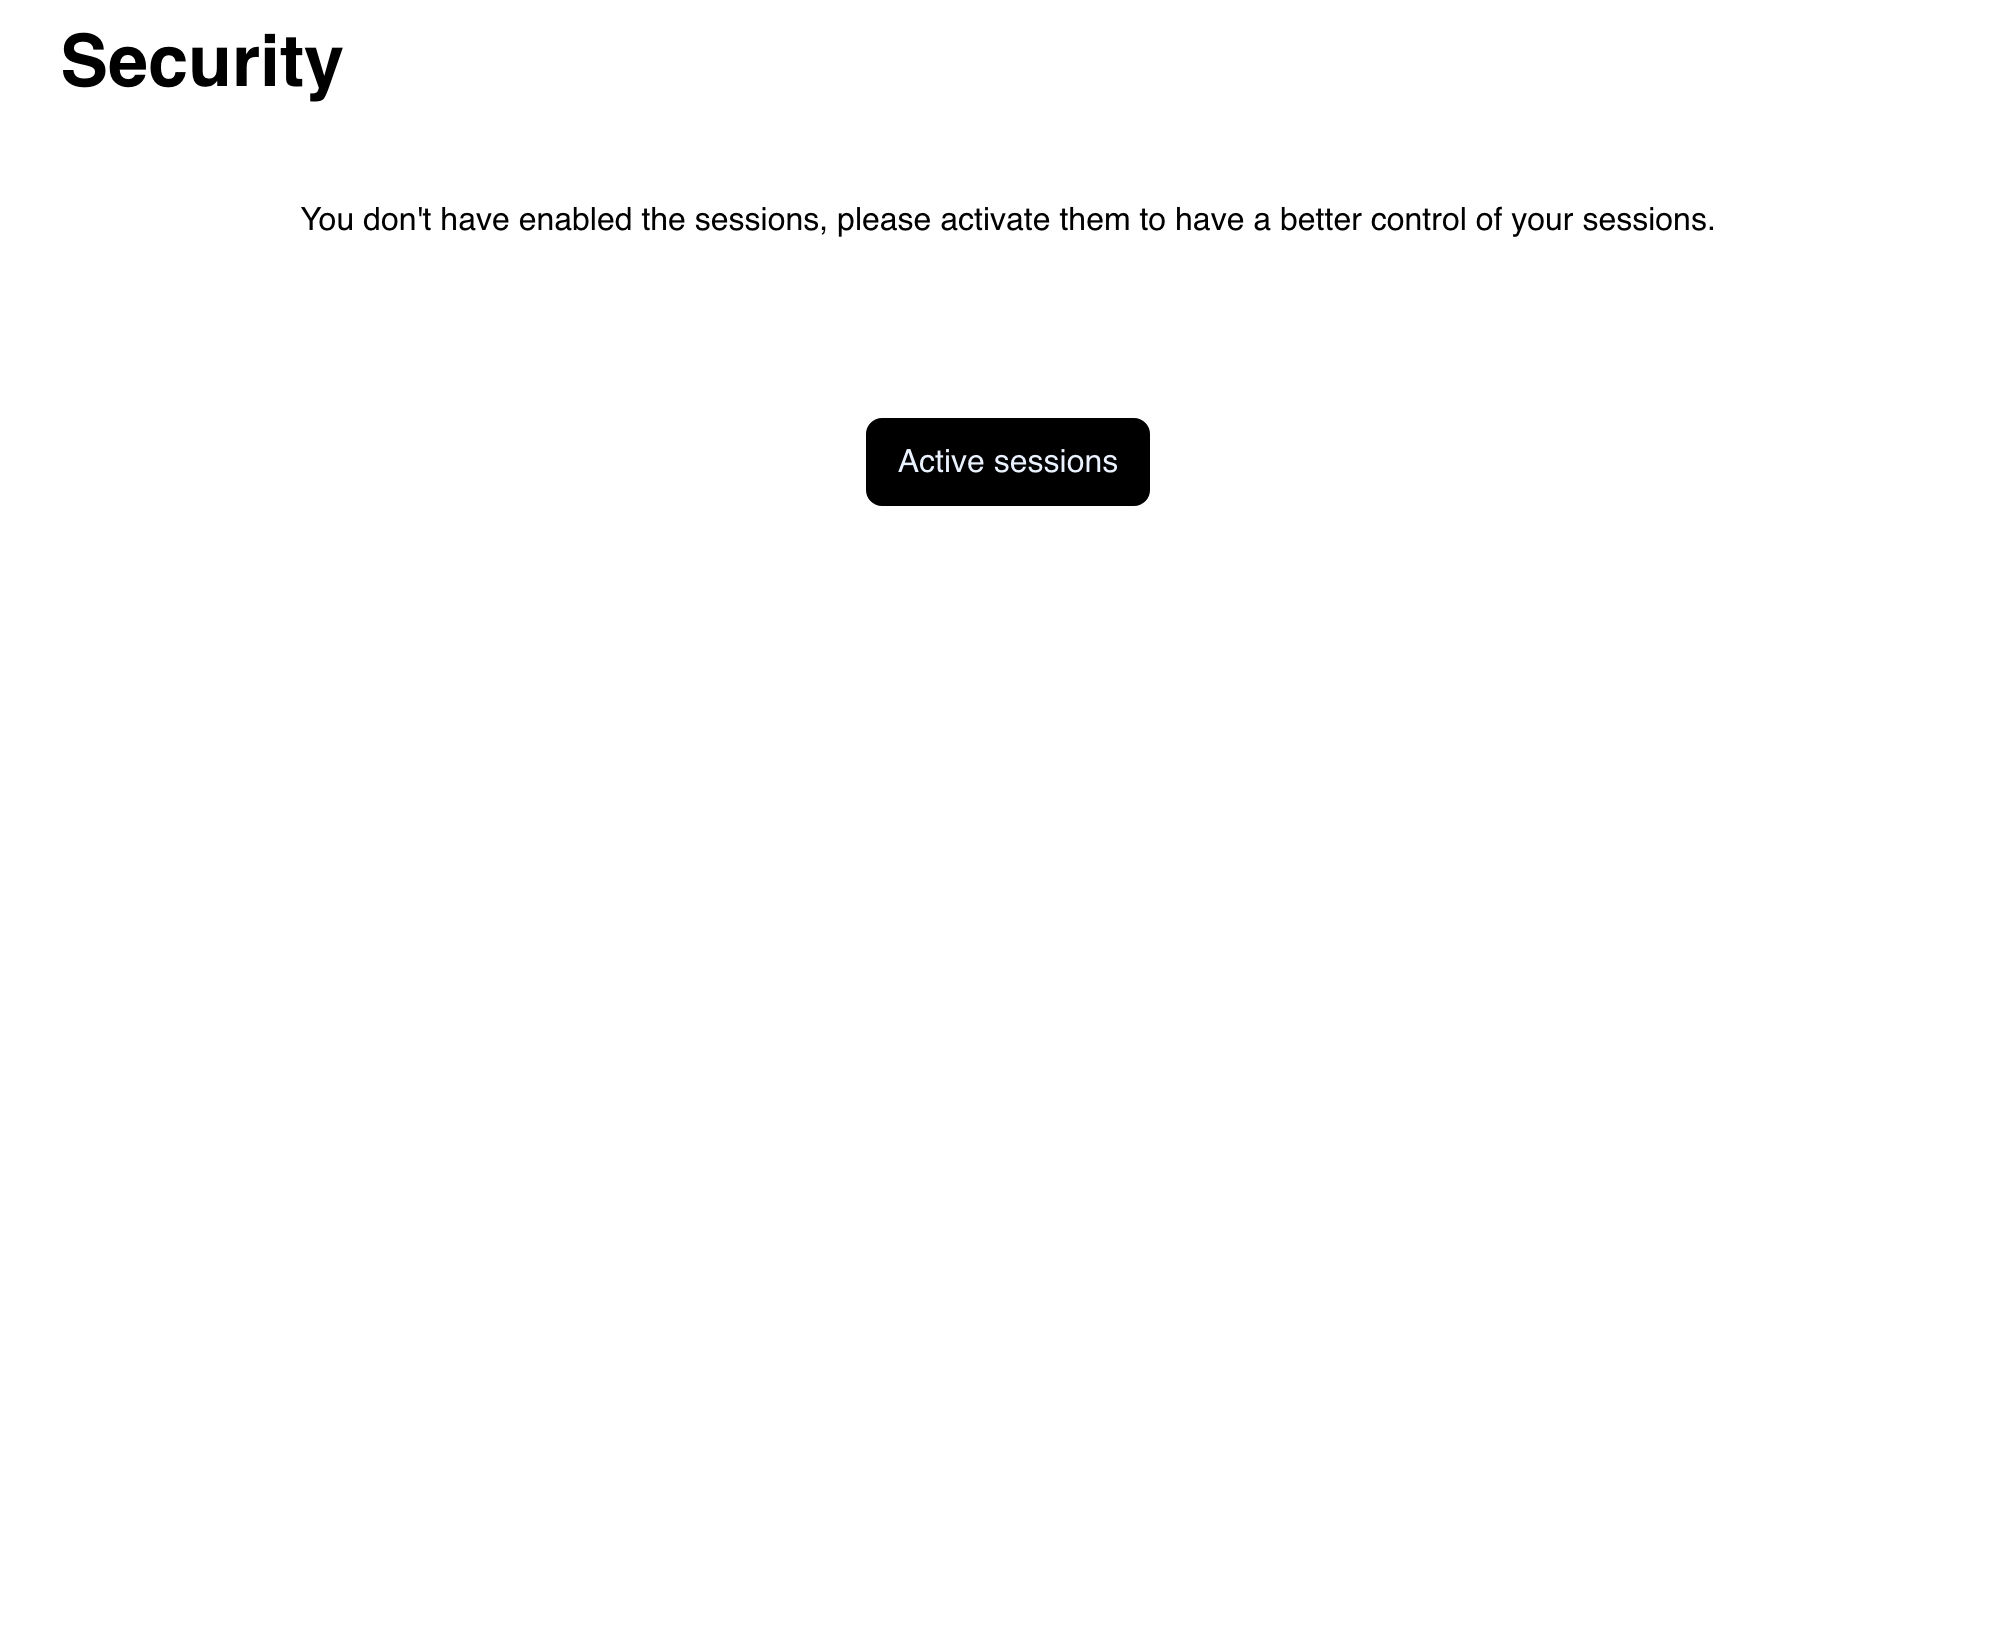
A managed session list with no records shows You don't have any sessions. This is an empty list, not a prompt to activate session management.
An inactive state instead explains that sessions are not enabled and shows Active sessions. Selecting that action opens a confirmation and can change how the account's sessions are managed. The activation result is not covered in this guide.
Use Security on mobile
Mobile shows the same session dates, Current marker, row controls, and bulk actions in a vertical layout.
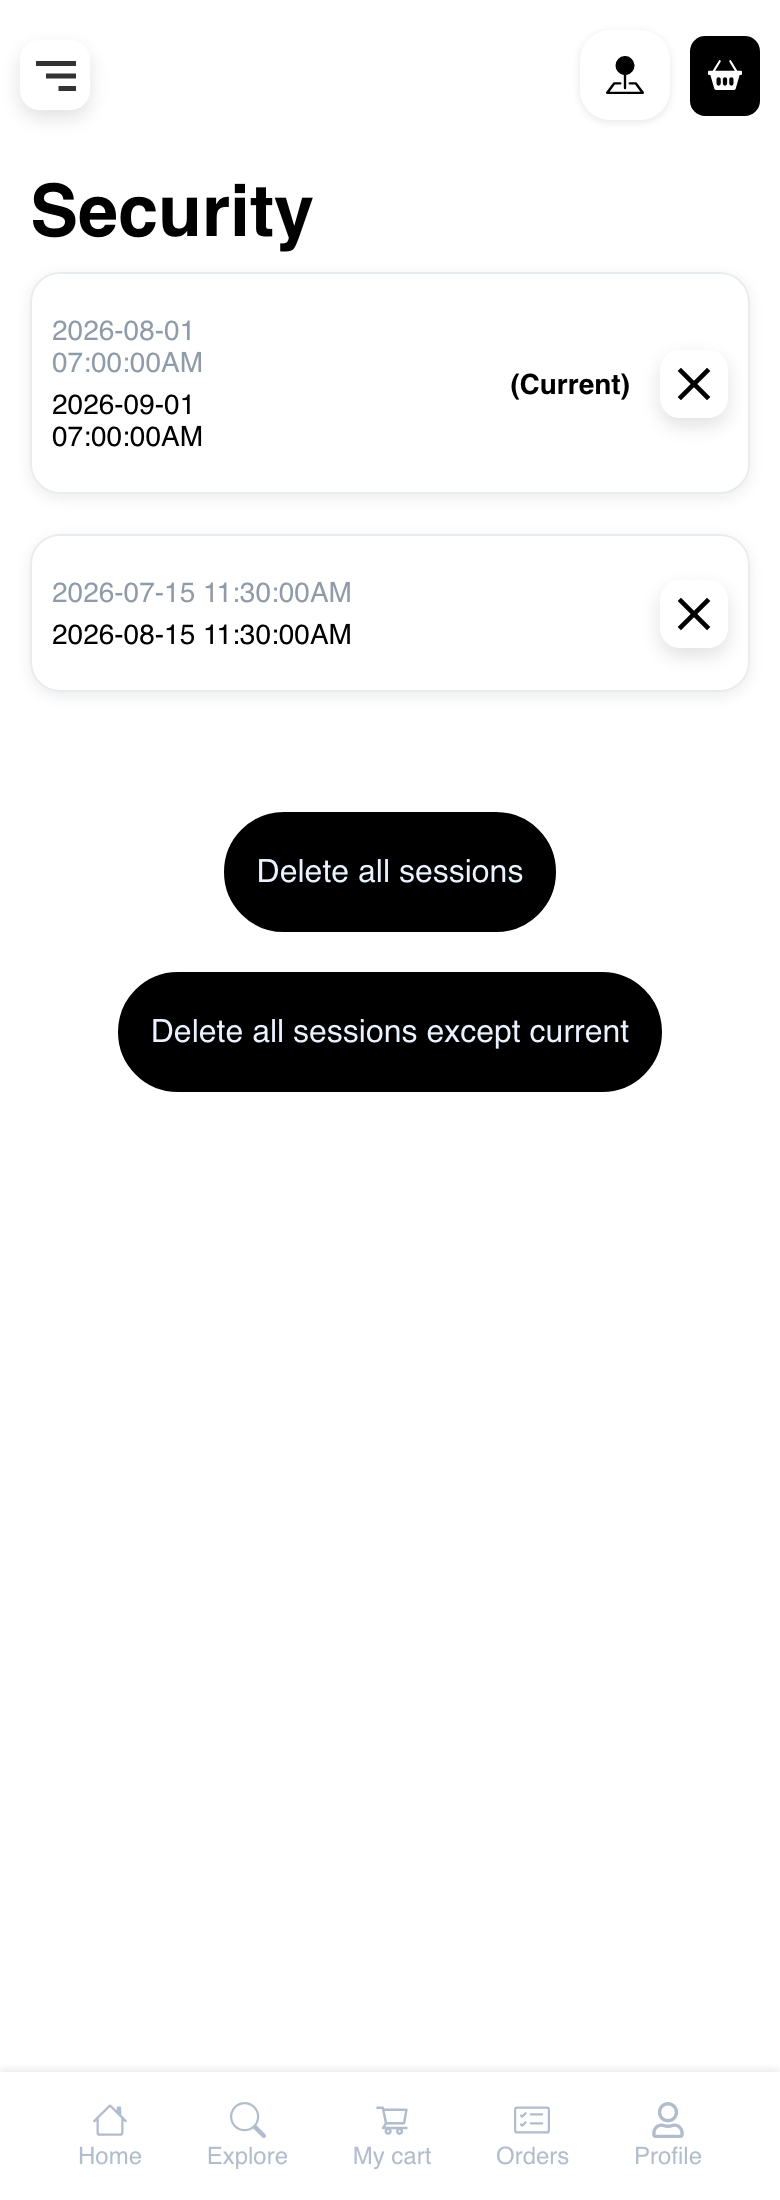
Check the intended row and confirmation text before accepting a revocation on a smaller screen.
Troubleshooting
Sessions or Security is missing
Confirm that the customer is signed in and has completed any requested profile information. The account-menu option also depends on the Website's configuration. Contact the business if the option remains unavailable.
The page says there are no sessions unexpectedly
Reload the page and try again. A list-loading problem can look like the ordinary empty state because the current page does not always display a separate load-error message.
A revoked session still appears
Wait for the action to finish, then reload the page. Avoid selecting the same action repeatedly while a request is in progress. If the row remains, follow any on-screen message or contact the business.
I was signed out
Successfully revoking the current session or deleting all sessions signs the customer out. Sign in again if continued access is appropriate.
Related guides: Sign in or create an account · Complete verification and profile requirements · Manage an account profile