Configure store ordering channels
Ordering channels controls how customers reach a store's ordering menu: the store's URL slug, and widgets you can add to an external website so customers can order without leaving it.
Set the store slug
A slug is the part of the store's URL that identifies it, appearing after the domain name:
www.ordering.co/yourstore
Choose any word as the slug — pick one that's easy for customers to remember and that represents the brand well.
-
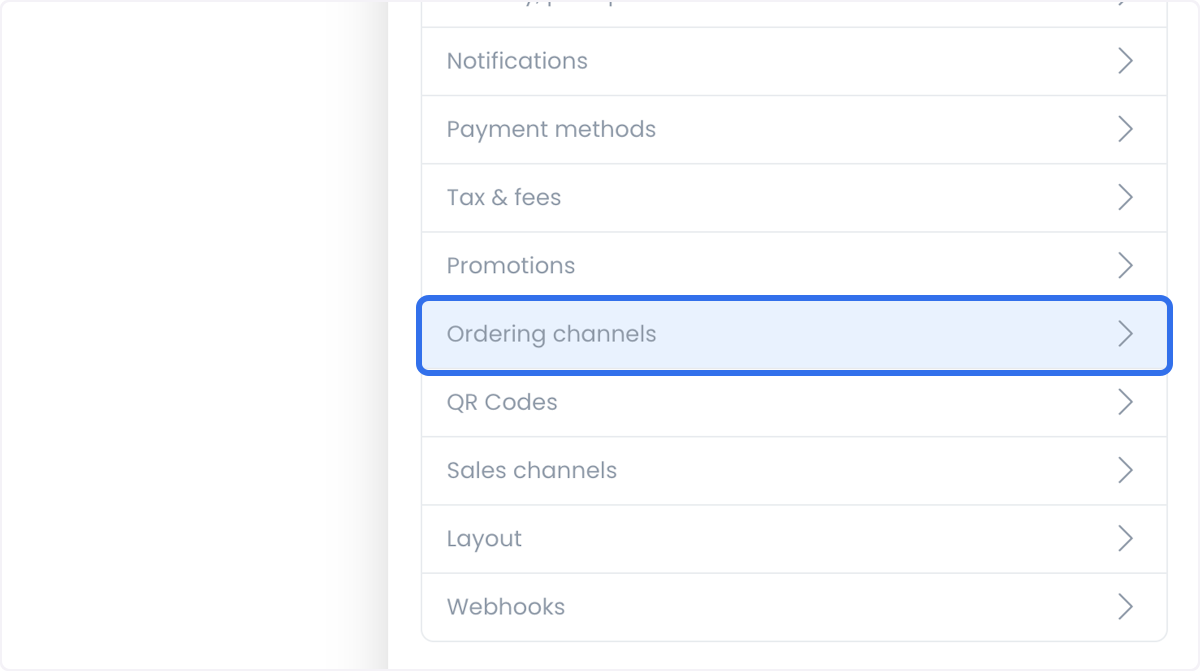
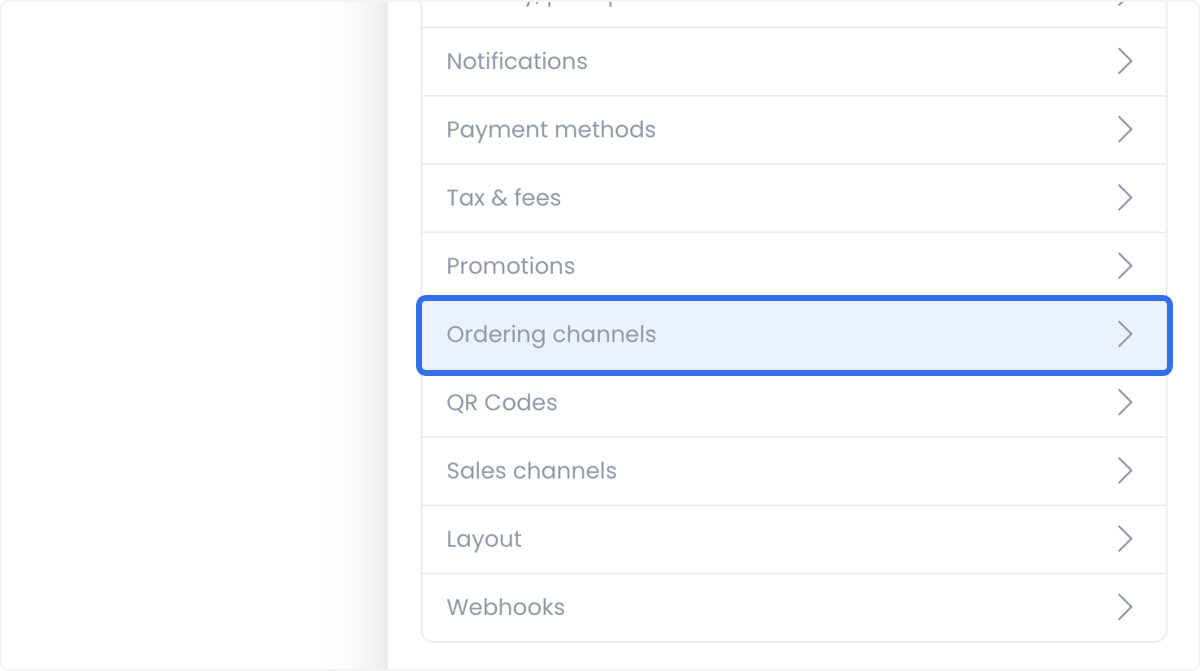
Select Ordering channels.
-
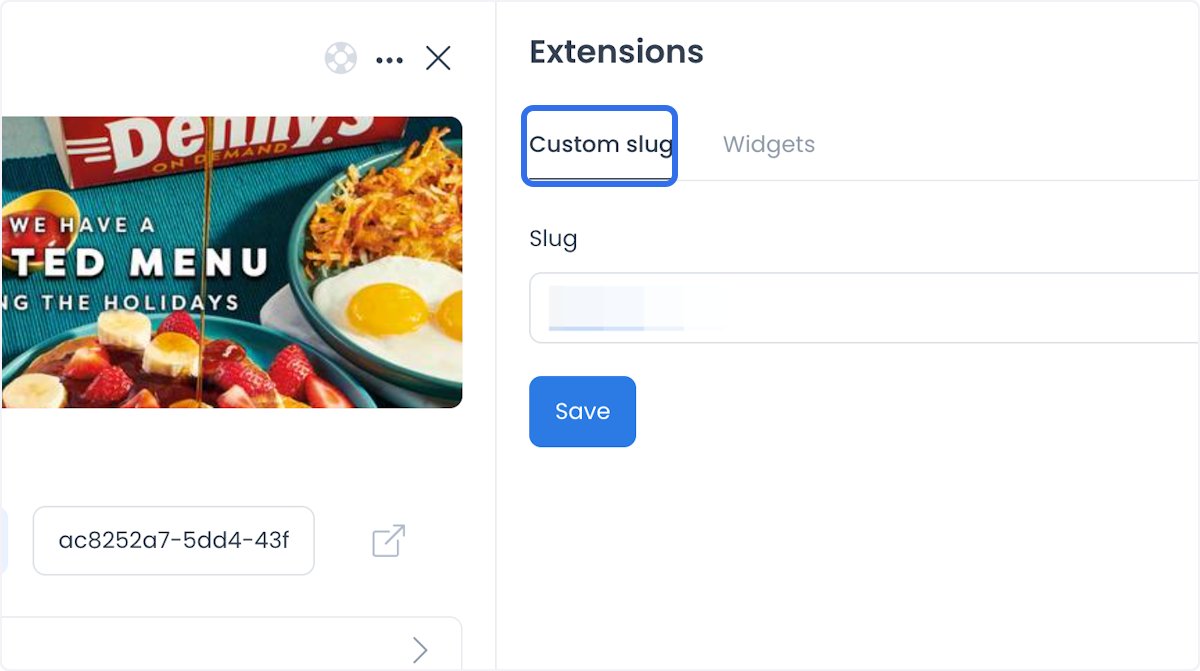
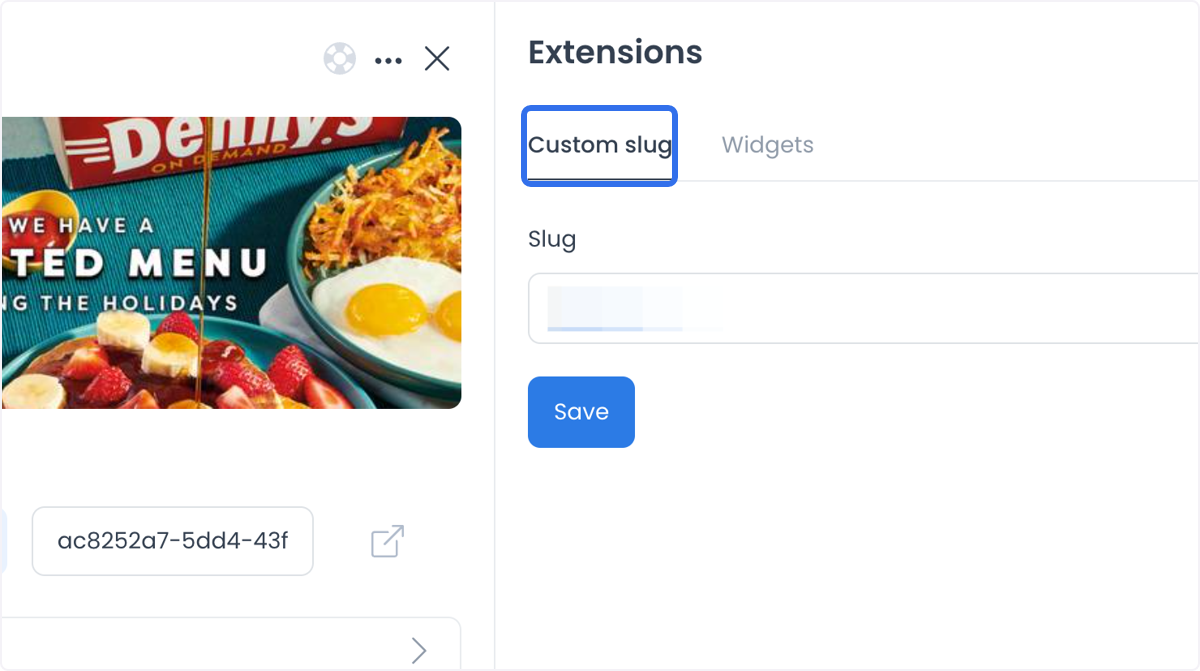
Enter the slug you want. Make sure it's unique and represents the store well.
Add an ordering widget
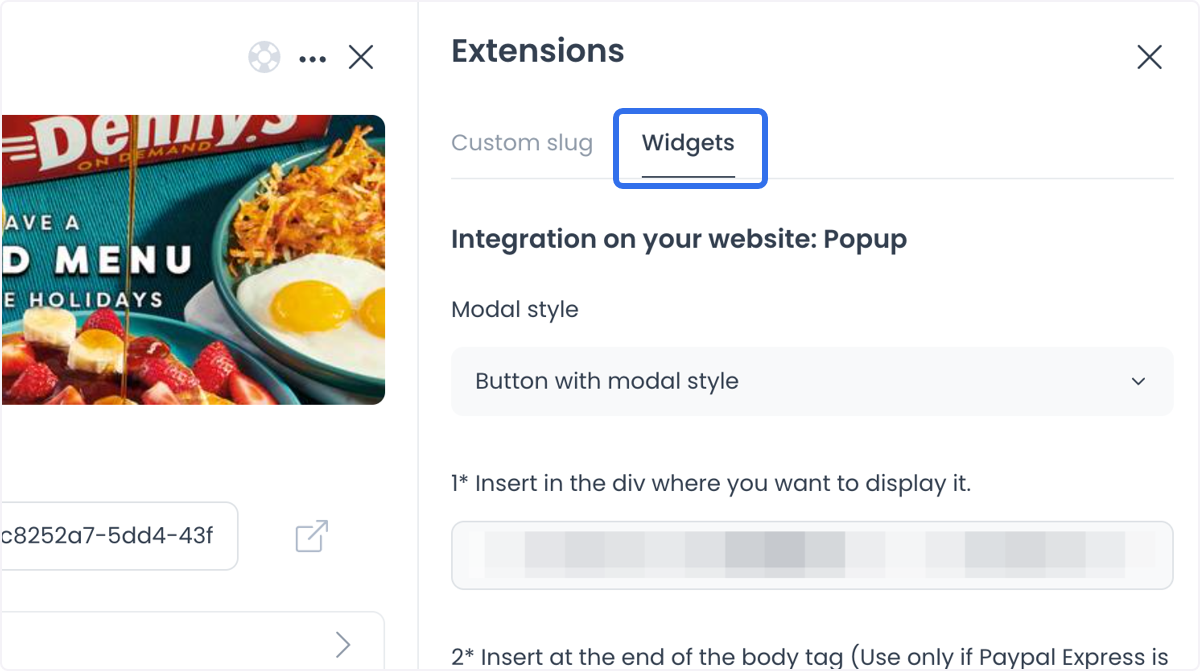
Widgets let customers place orders directly from an external website. There are two types:
-
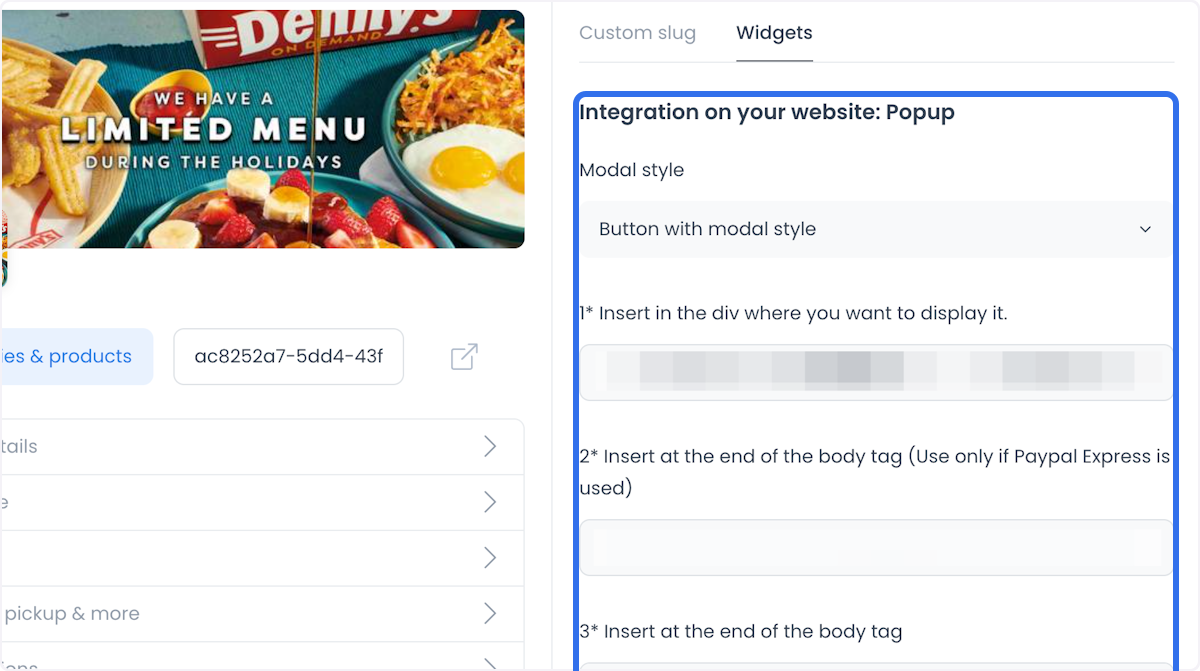
Popup widget: opens a small ordering window when a customer clicks a designated area on the website, without leaving the current page.
-
Inline widget: embeds directly into a section of the website, integrating the ordering flow into the page layout.
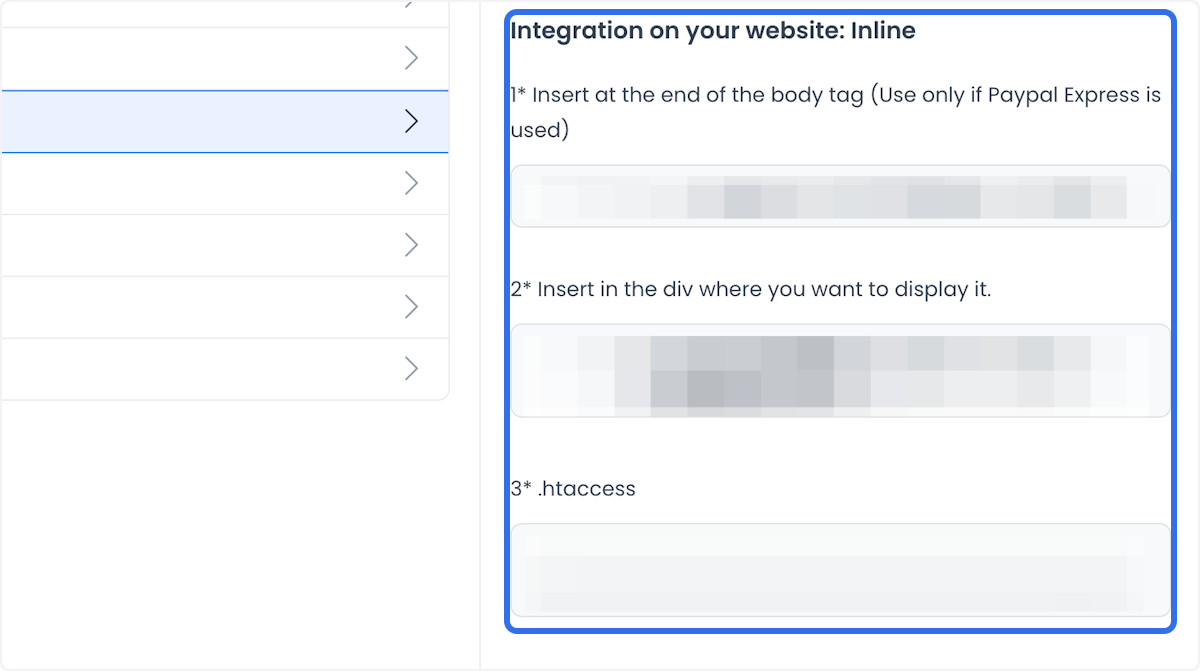
Choose Popup or Inline, then add the required information to configure the widget on the target website.
Use cases
- Local restaurants: use a memorable slug so nearby customers find the ordering page easily, and add an inline widget so they can order without leaving the site.
- E-commerce websites: embed a popup widget on product pages to support quick purchase decisions.
- Food delivery platforms: give each partner store its own slug, and use inline widgets on a shared site to streamline ordering across multiple vendors.
- Event catering: create an event-specific slug and use a popup widget on the event page to capture orders.