Store integrations, custom fields, and logs
Open Stores, then select the store you want to review. The sections in this guide apply to that store. Access can depend on your role, the project's configuration, and which integrations the store has.
| Section | What to use it for |
|---|---|
| Custom fields | Manage the custom data attached to the store. The menu entry appears when the project enables custom fields and your profile has access. |
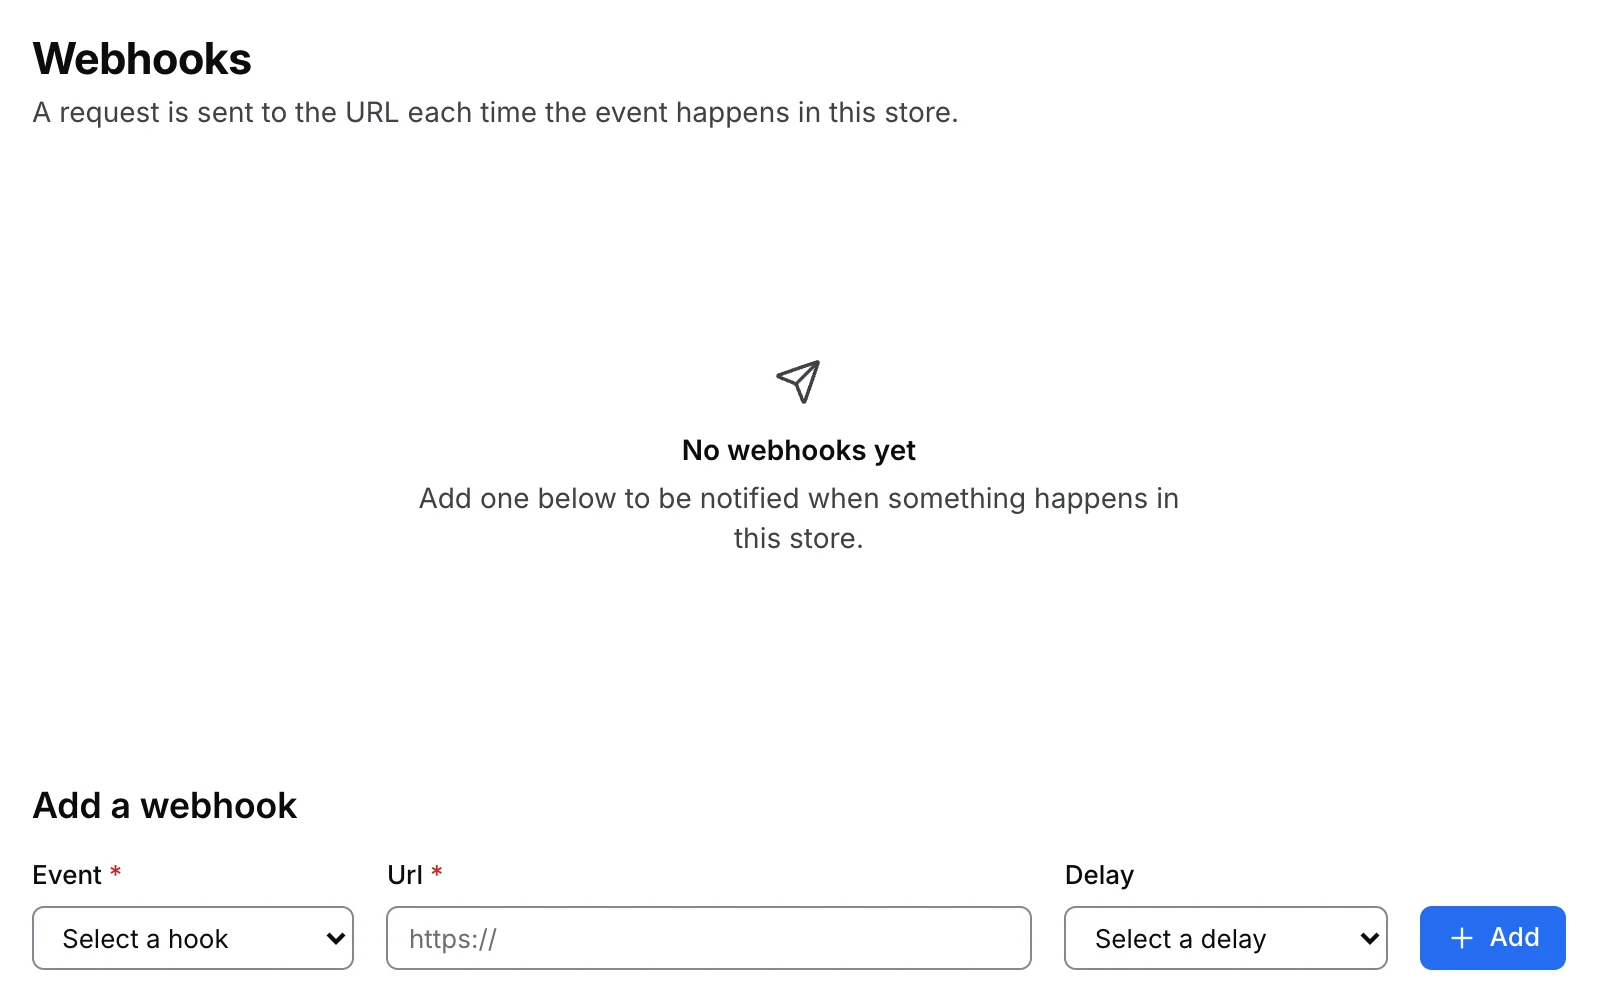
| Webhooks | Review store-specific event hooks. When you have permission, select the event, enter the destination, choose an available delay, and save. Check the destination before you enable an event with customer data. |
| Integrations settings | Review or change the integration fields the store exposes. The menu entry requires an administrator and a store with integration settings. |
| Spoonity key | Manage the store's key after Spoonity is set up for that store. The section shows the credential in a masked field. Use the controls for viewing or editing it only when authorized. |
| Logs | Review recorded changes to the store. Use the entries to check who changed what, when that detail is available. |
Find Custom fields under Store. Look for the other sections under Integrations & activity. If a section is missing, check the role and store setup before using a copied link. A section may be reachable by a direct link and still display a message that setup is required.
Keep keys, webhook URLs, payloads, and real record identifiers out of screenshots and shared materials. For settings that apply to the whole project, see Project webhooks and the Connect overview.
Use Connect → POS & menu sync for store POS connections. To manage installed project plugins and project API keys, open Settings → Apps & developers → API & integrations.