Manage and share menus
Use Menu to organize the products, categories, order types, descriptions, images, and videos that a store presents to customers. The menu and sharing controls can make persistent changes, so confirm the selected store and menu before editing or saving.
Adding products, changing order types, editing details, uploading media, sharing a menu, and saving changes can affect a customer-facing catalog. Validate changes in a non-production store first, then check the intended storefronts after saving; a confirmation message may not mean the update has reached every storefront.
Open the menu
- Select a category already in the store. For example, select Pizzas if that is the category you need to update.
- Select Menu → Main.
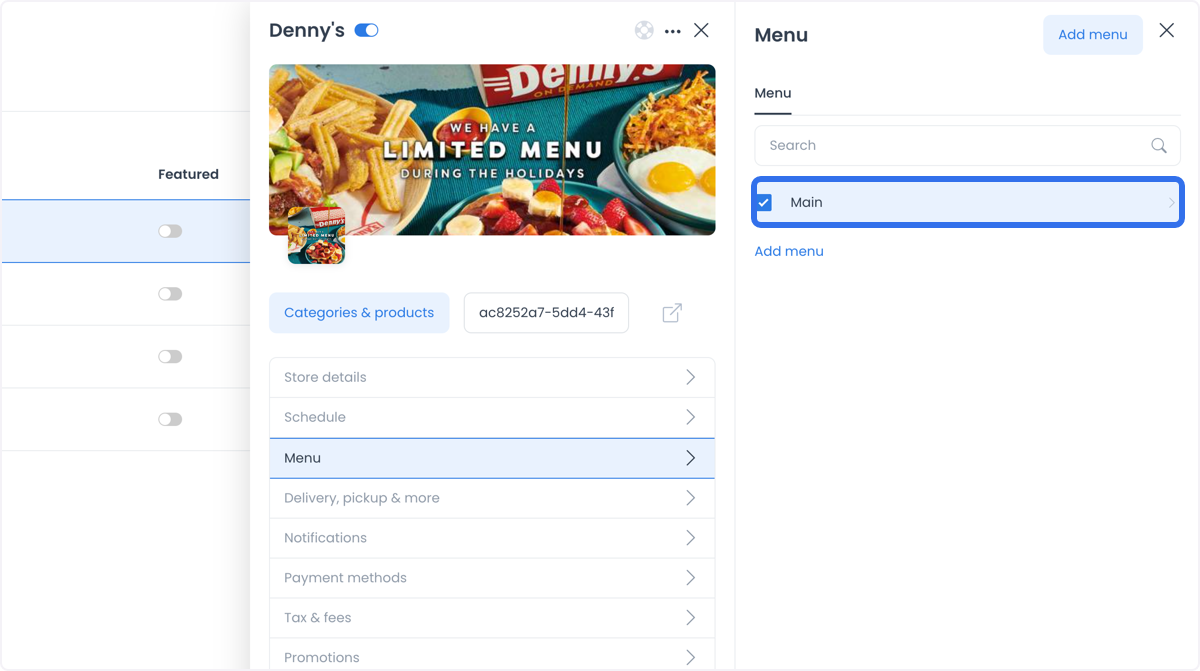
The menu panel can let you configure the store’s order types and the products associated with the menu.
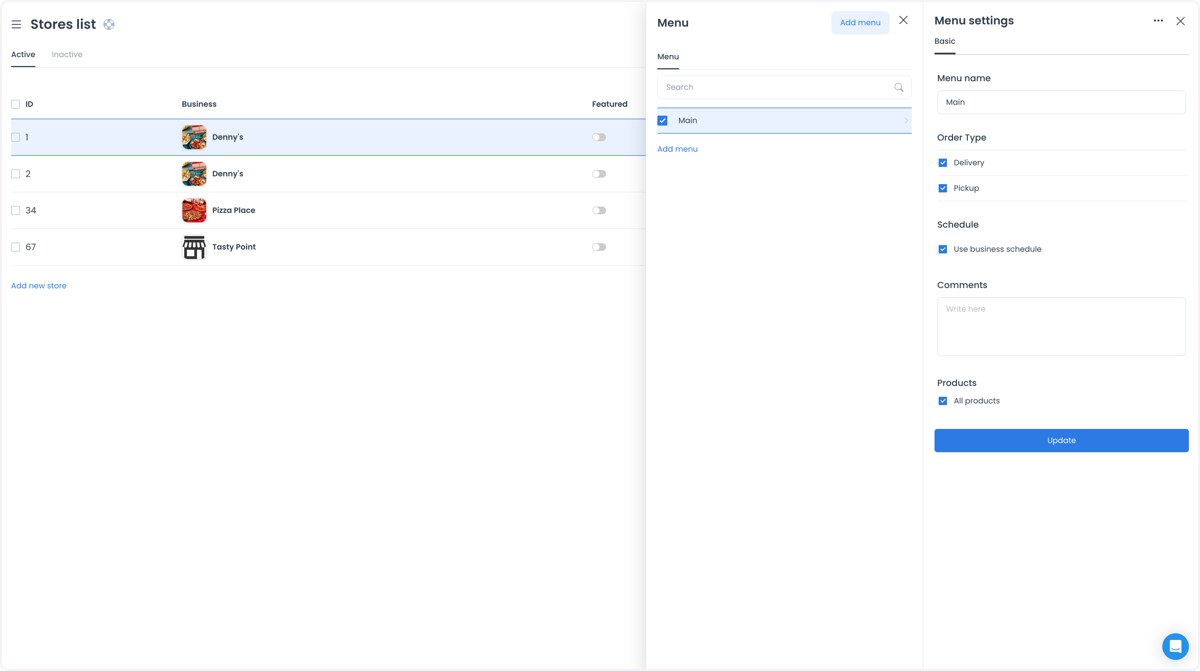
Configure the menu
Add products
Add the products the store intends to offer. A product entry can include the details customers need to understand it.

Organize categories and products
Choose the categories and products that belong in the menu so the customer-facing structure matches the store’s offering.
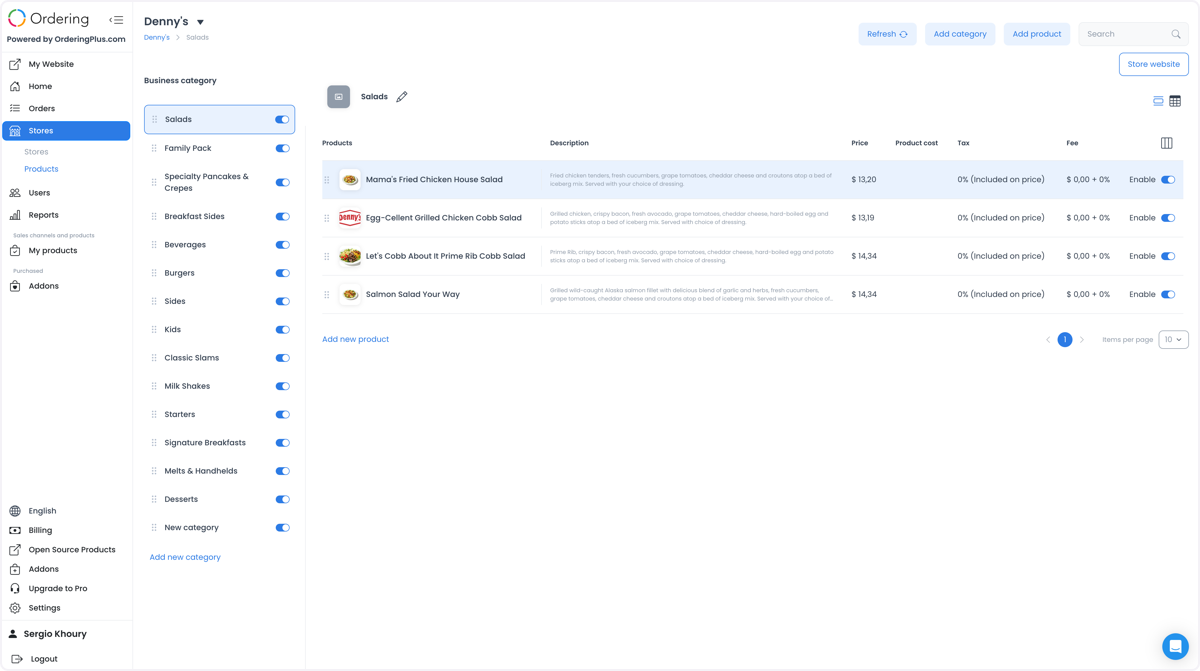
Add presentation and details
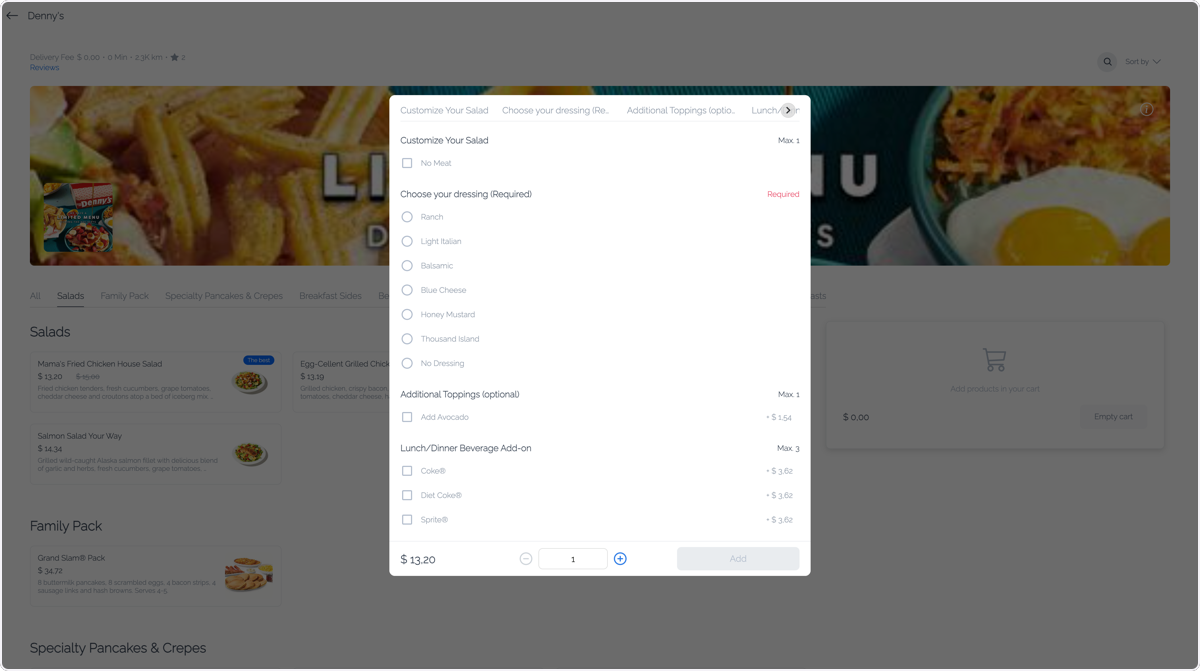
Use images and videos when they help customers understand an offering. Include clear descriptions, ingredients or characteristics, product options, prices, duration, and special requirements where they are relevant to the store’s catalog.
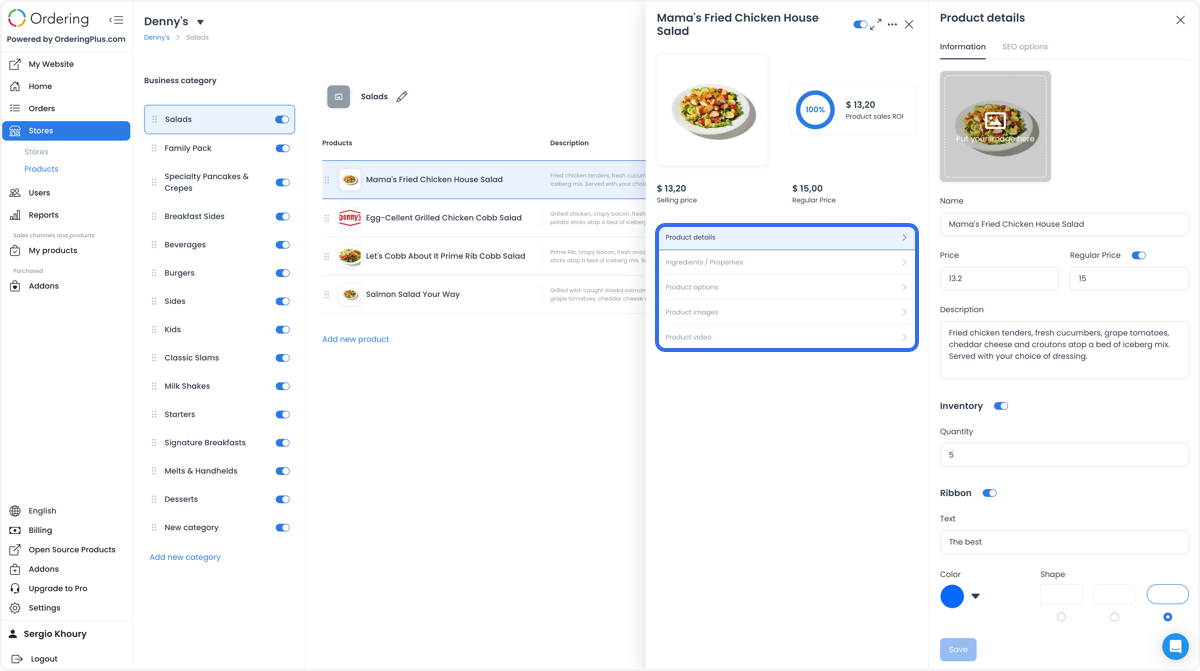
Review the customer-facing menu
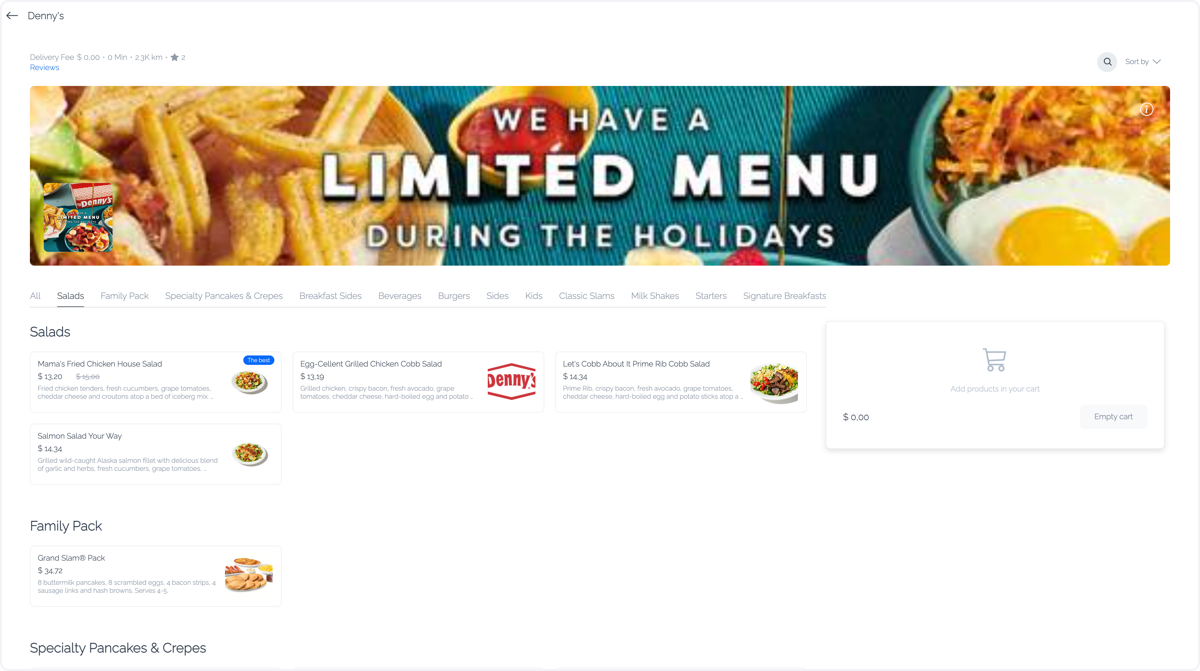
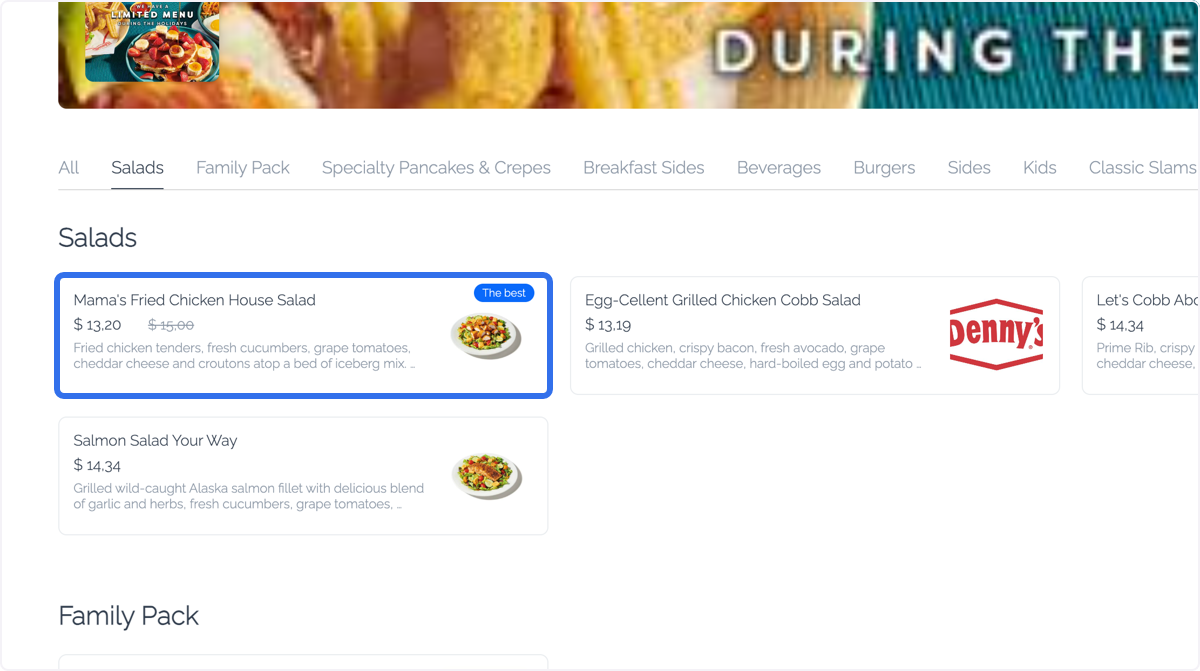
Open the store’s customer-facing page through the approved workflow and compare the visible product image, description, options, and ordering context with the menu you configured.
Share a menu with other stores
Use the sharing workflow only after you have confirmed the intended menu and destination stores.
-
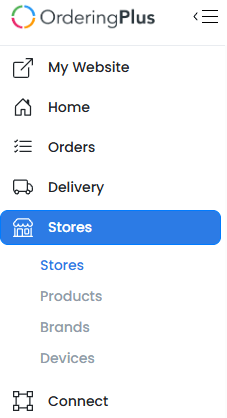
In the Dashboard sidebar, select Stores.
-
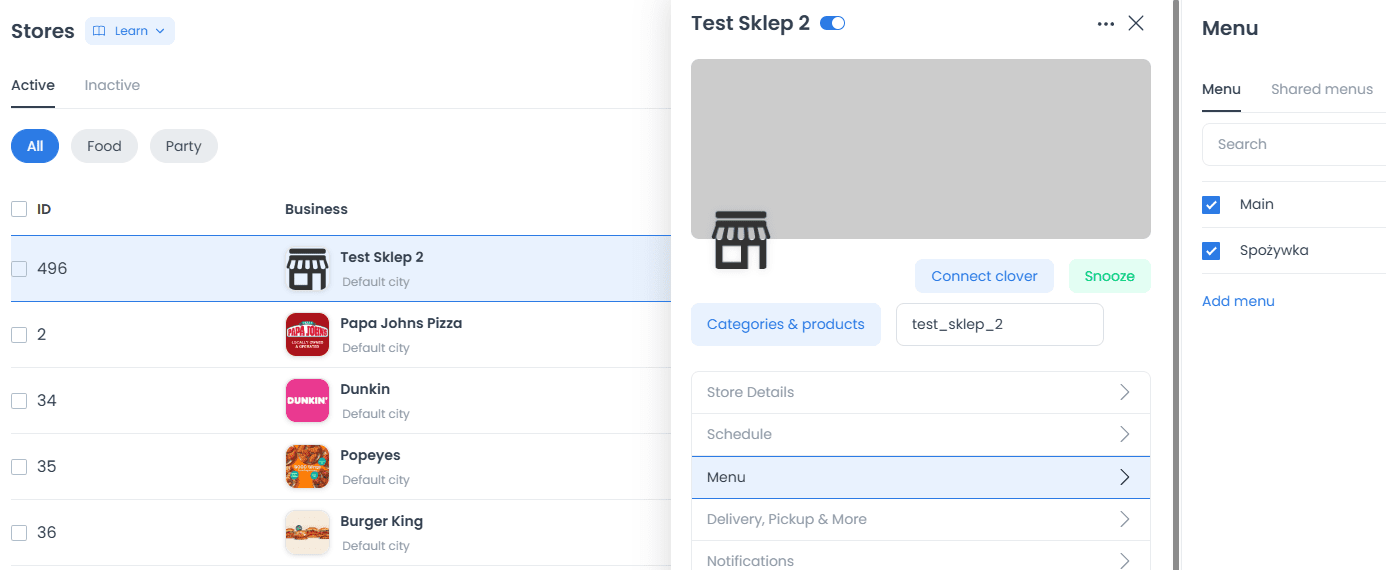
Select the desired store and open Menu. The panel shows the menus available for that store.
-
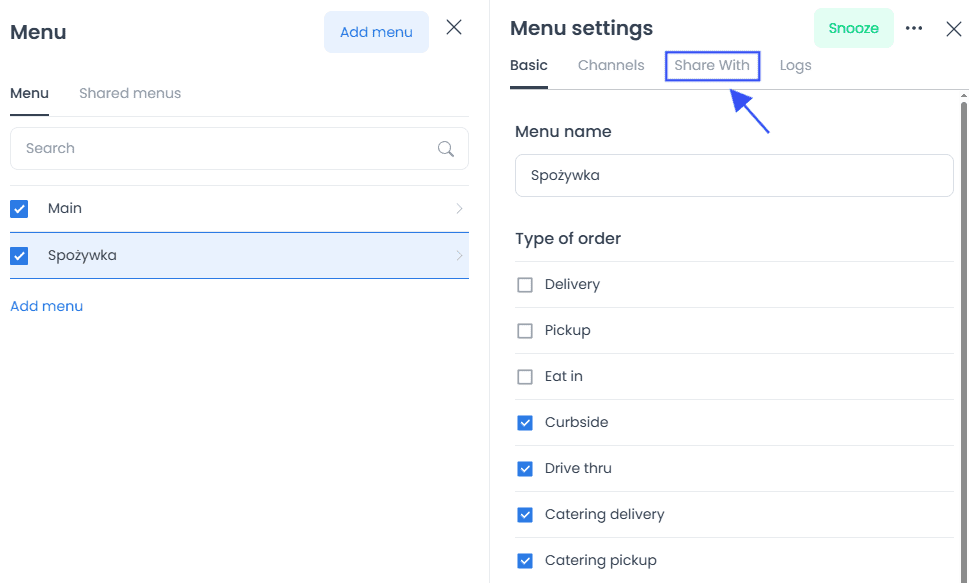
Open a menu, then select the Share With tab in the right-side panel.
-
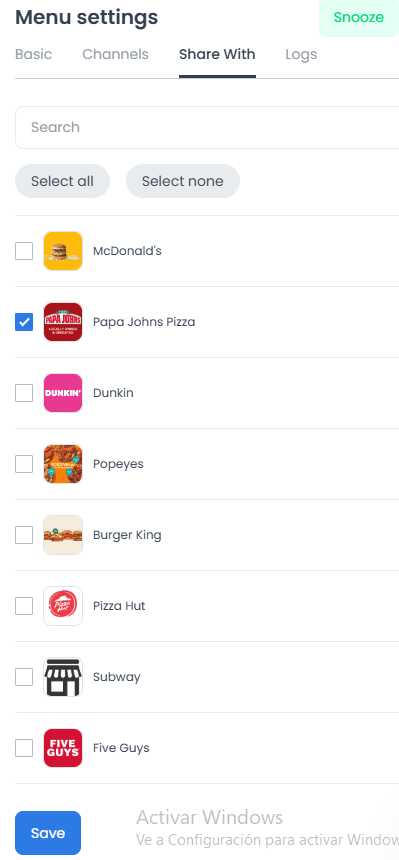
Select the stores that should receive the menu, then choose Save through the approved workflow.
-
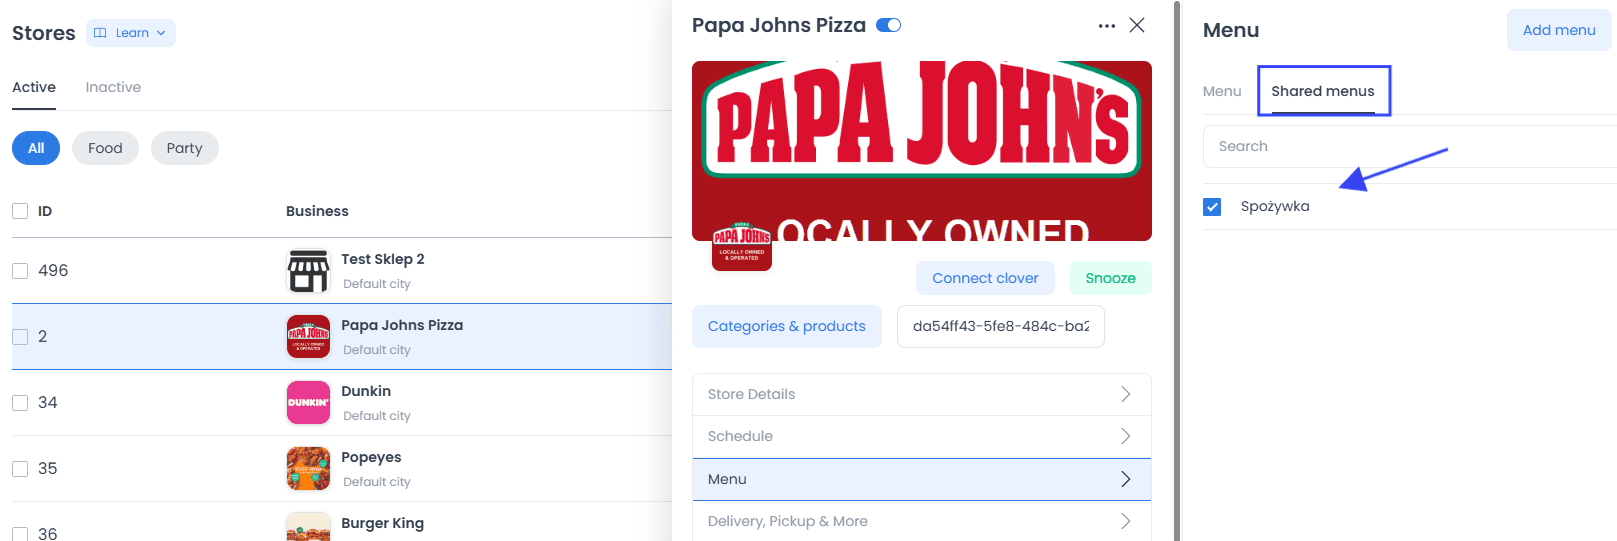
To review shared menus, enter a store and select Shared Menus.
Common catalog uses
- A restaurant or café can highlight seasonal items, keep menu details current, and group food and beverage items into easy-to-browse categories.
- A retail store can use product descriptions, images, and categories to help customers understand an item before adding it to a cart.
- A service business can describe services, pricing, duration, and requirements, and use media only where it makes the offering clearer.
Check before you finish
- The selected store and menu are correct.
- Product information, media, categories, and order types match the intended offering.
- The customer-facing preview is reviewed separately from the editor state.
- Shared menus were sent only to the intended stores and appear under Shared Menus where expected.
Related guides: Products overview · Create a product category