Manage product images
Use Product images to stage individual product images and their titles, or to open the batch-upload workflow. Adding an image in the Dashboard does not establish a gallery, SEO effect, or visibility in every website or app.
To change a selected product, you need edit access. The inspected route permits administrator and business-owner levels, and Stores navigation is hidden in read-only modes. Project configuration, product type, and product state can limit visible controls. An image or title shown in the Dashboard is an observable editor state, not proof of upload acceptance, server persistence, or customer-facing behavior.
Add one product image
The original guidance suggests a 2:1 aspect ratio, meaning an image that is twice as wide as it is tall. Treat that as a content-preparation suggestion, not a required or verified rendering rule. You can prepare an image in an editor of your choice; the original guidance mentioned GIMP, which is not required by Ordering.co.
- Open the product panel and select Product images.
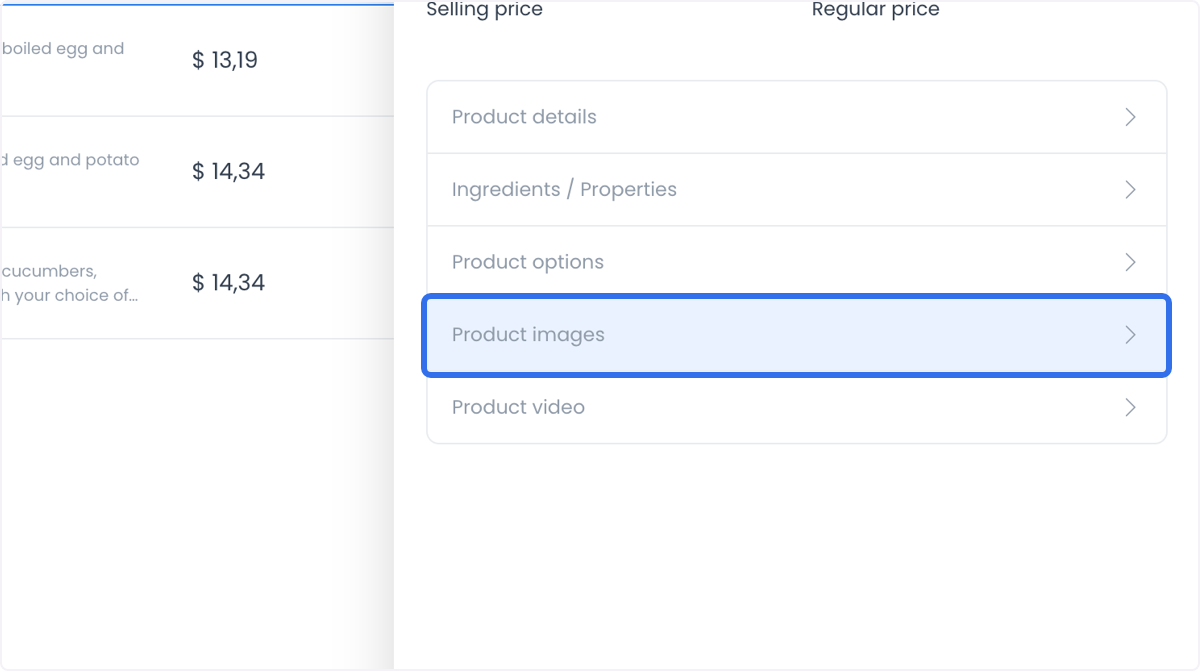
- Use the image drop area and the Title field.
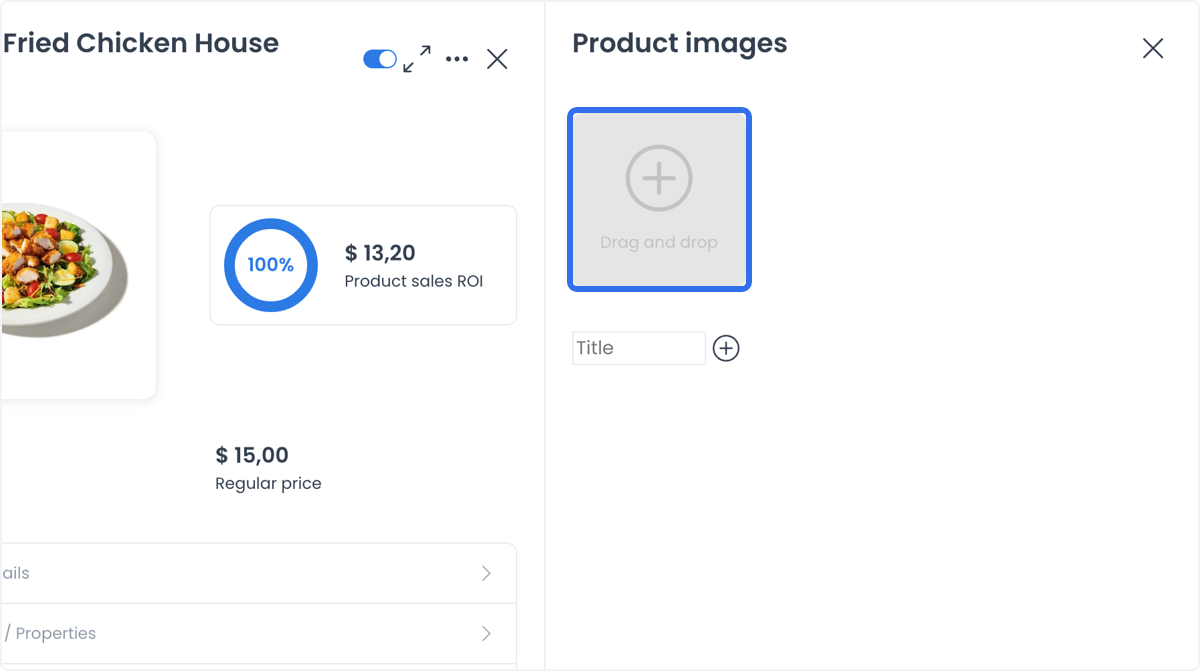
- Select the image file to stage.
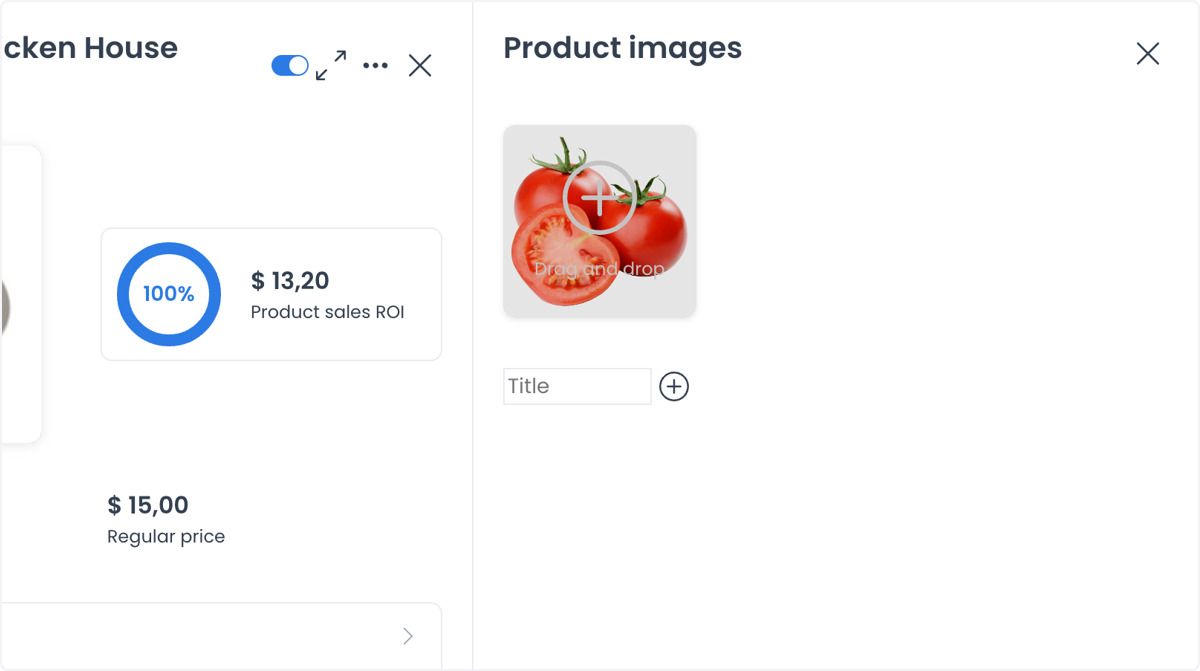
- Enter a descriptive title, then select the + control only in an approved product-maintenance workflow.
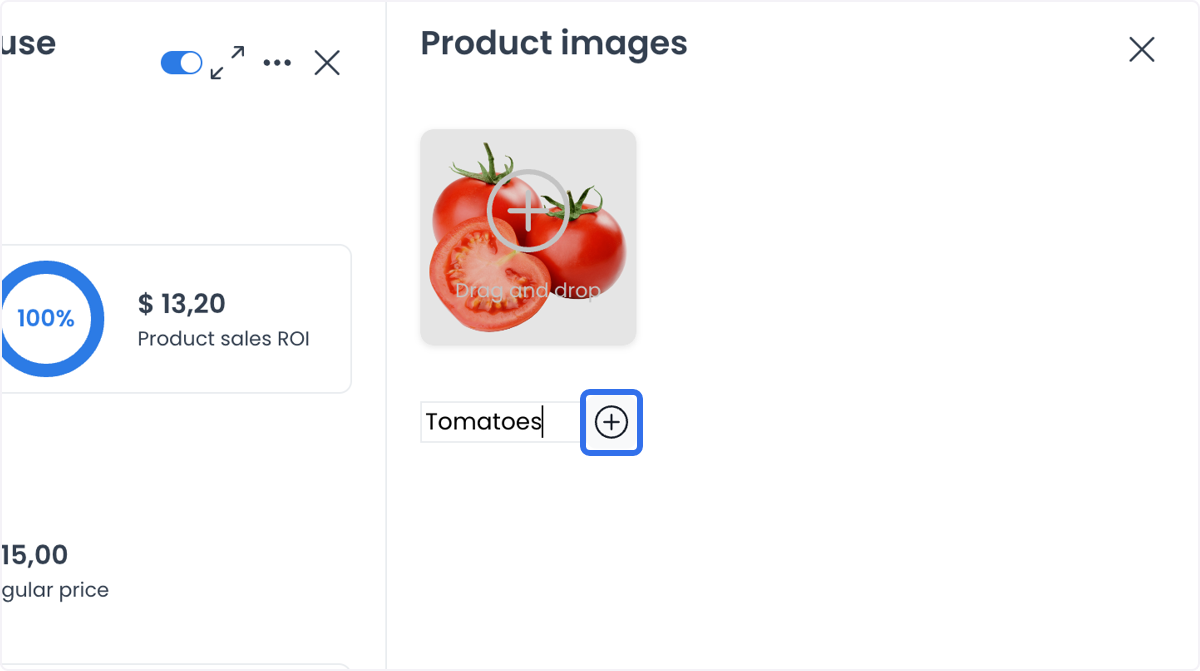
The panel can show the selected image and title before submission. Selecting + or a save action crosses an upload or catalog-write boundary; it does not prove that the file was accepted, associated with the intended product, persisted, or displayed as a gallery.
Upload product images in bulk
The archived interface shows Spreadsheet Mode and an Upload images in batch action. It documents a workflow surface, not a supported upload capacity, timing, or outcome.
- Open the store's categories and products, then select Spreadsheet Mode.
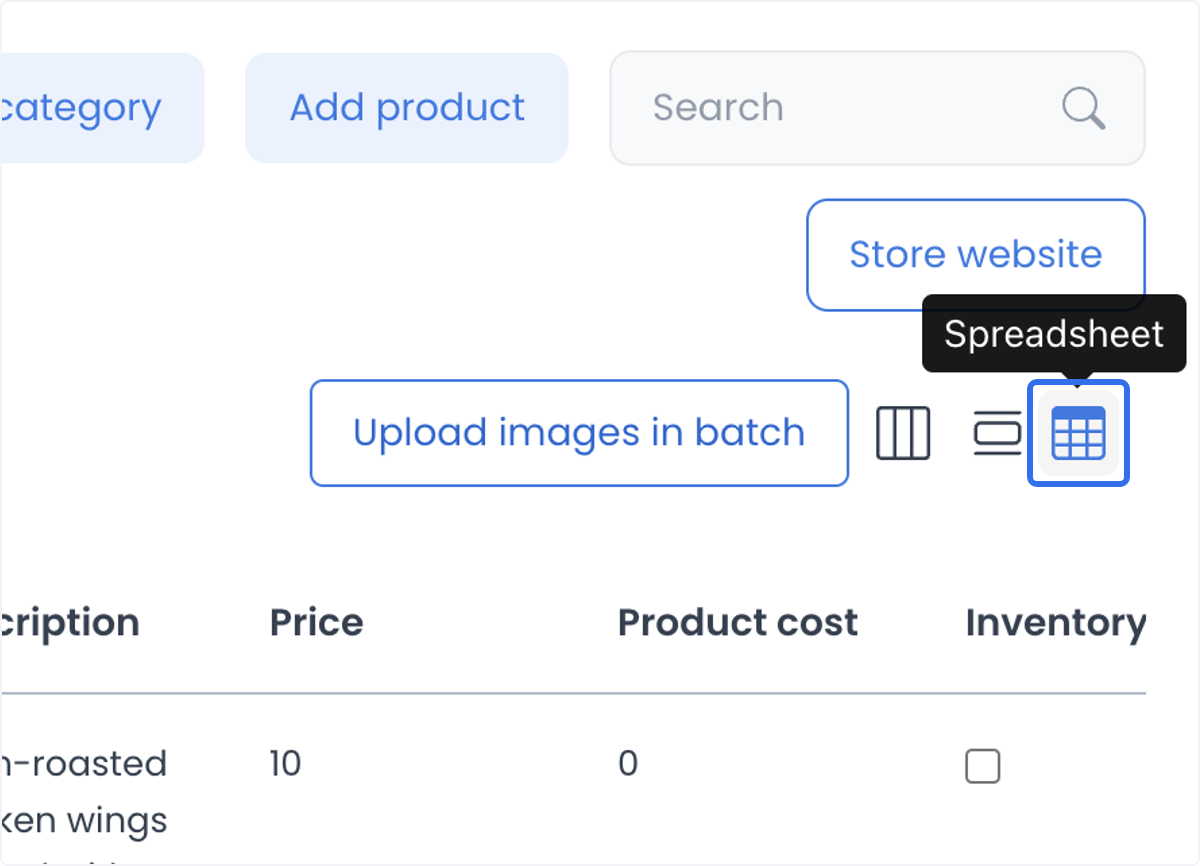
- Select Upload images in batch.
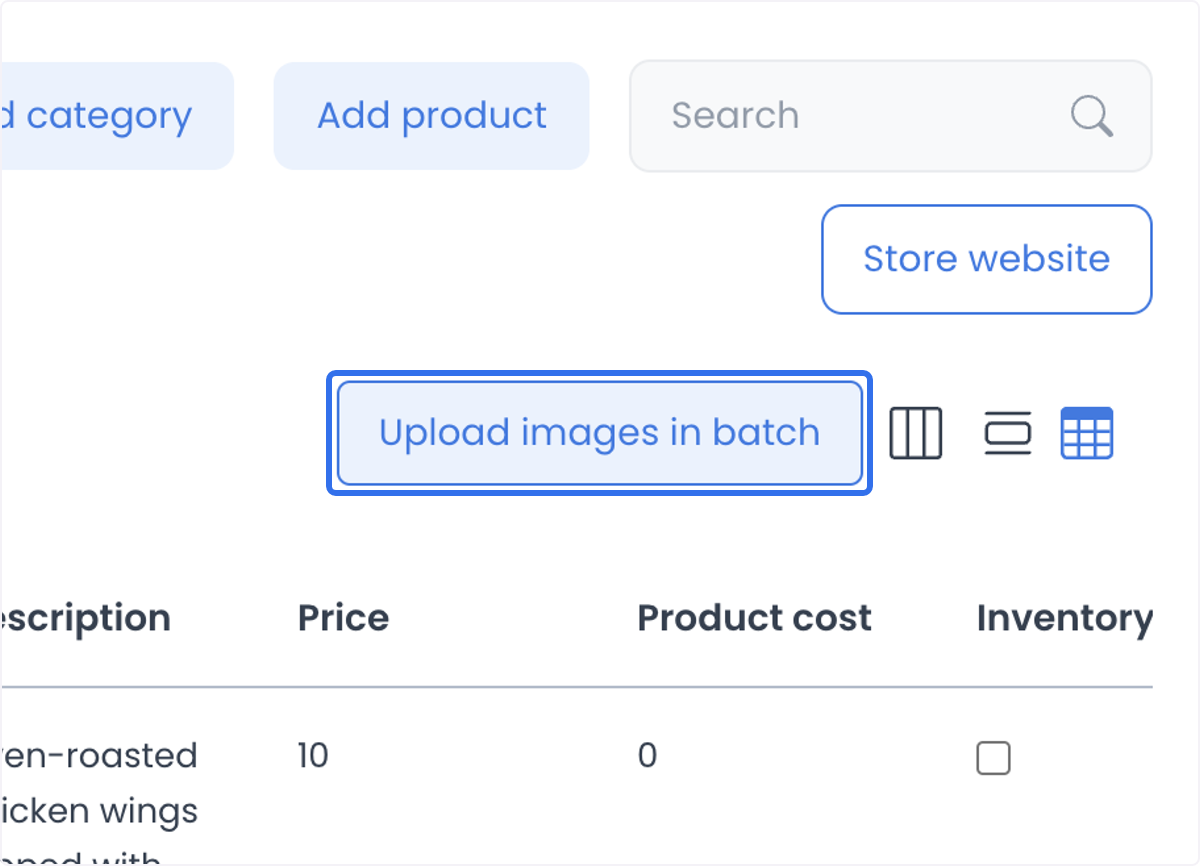
-
Follow the requirements shown in the dialog:
- Use PNG or JPG files.
- Name each image file with the corresponding Product ID.
- Find the Product ID in Spreadsheet Mode.
- Keep the page open and avoid refreshing while the workflow is in progress.
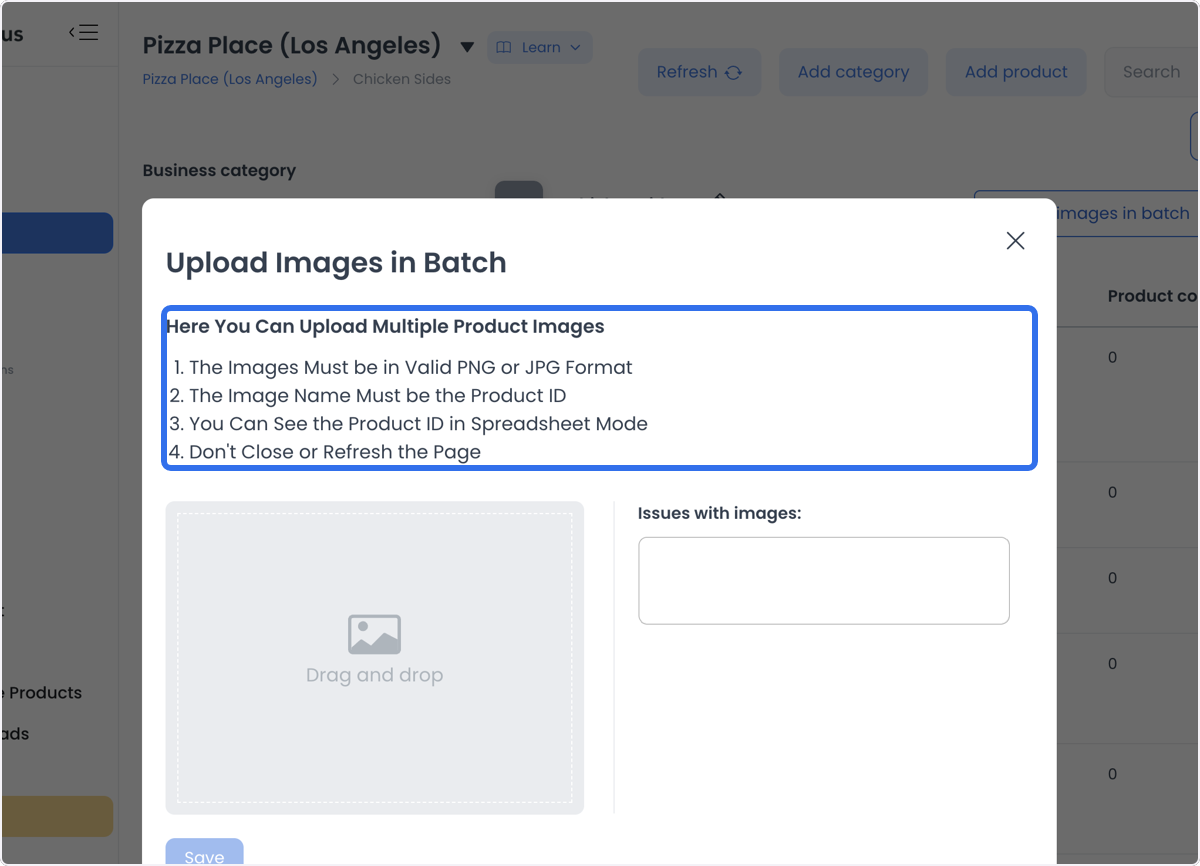
- Review the drop area and any reported image issues, then select Save only in an approved upload workflow.
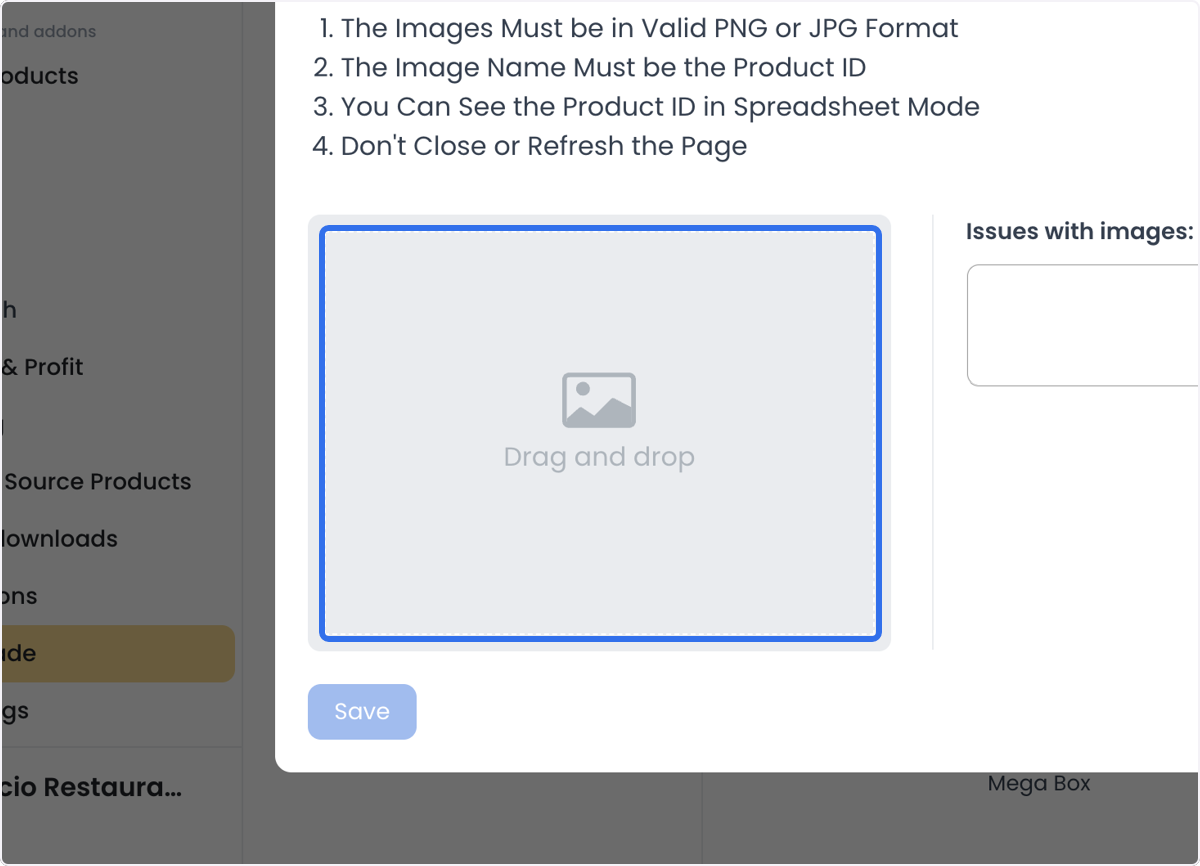
The dialog can show staged files and reported issues. Save crosses an upload or catalog-write boundary; verify the intended product and channel after an approved change rather than inferring success from the dialog.
Organize image maintenance
Restaurant teams, marketplace operators, and teams preparing seasonal product updates can use these controls to organize image maintenance. This guide does not claim a number of images, a time saving, automatic matching, consistent presentation, or a customer-facing result.