Connect Zapier
Connect Ordering.co events to other apps by selecting a trigger in Zapier and sending matching webhook payloads from the Dashboard. This page uses New User and a Gmail email as the documented example. You can choose a different Ordering.co trigger and a different action.
Saving a webhook or testing a Zap step does not prove a later live Zap will run.
Create a Zap
Create a Zapier account at https://zapier.com.
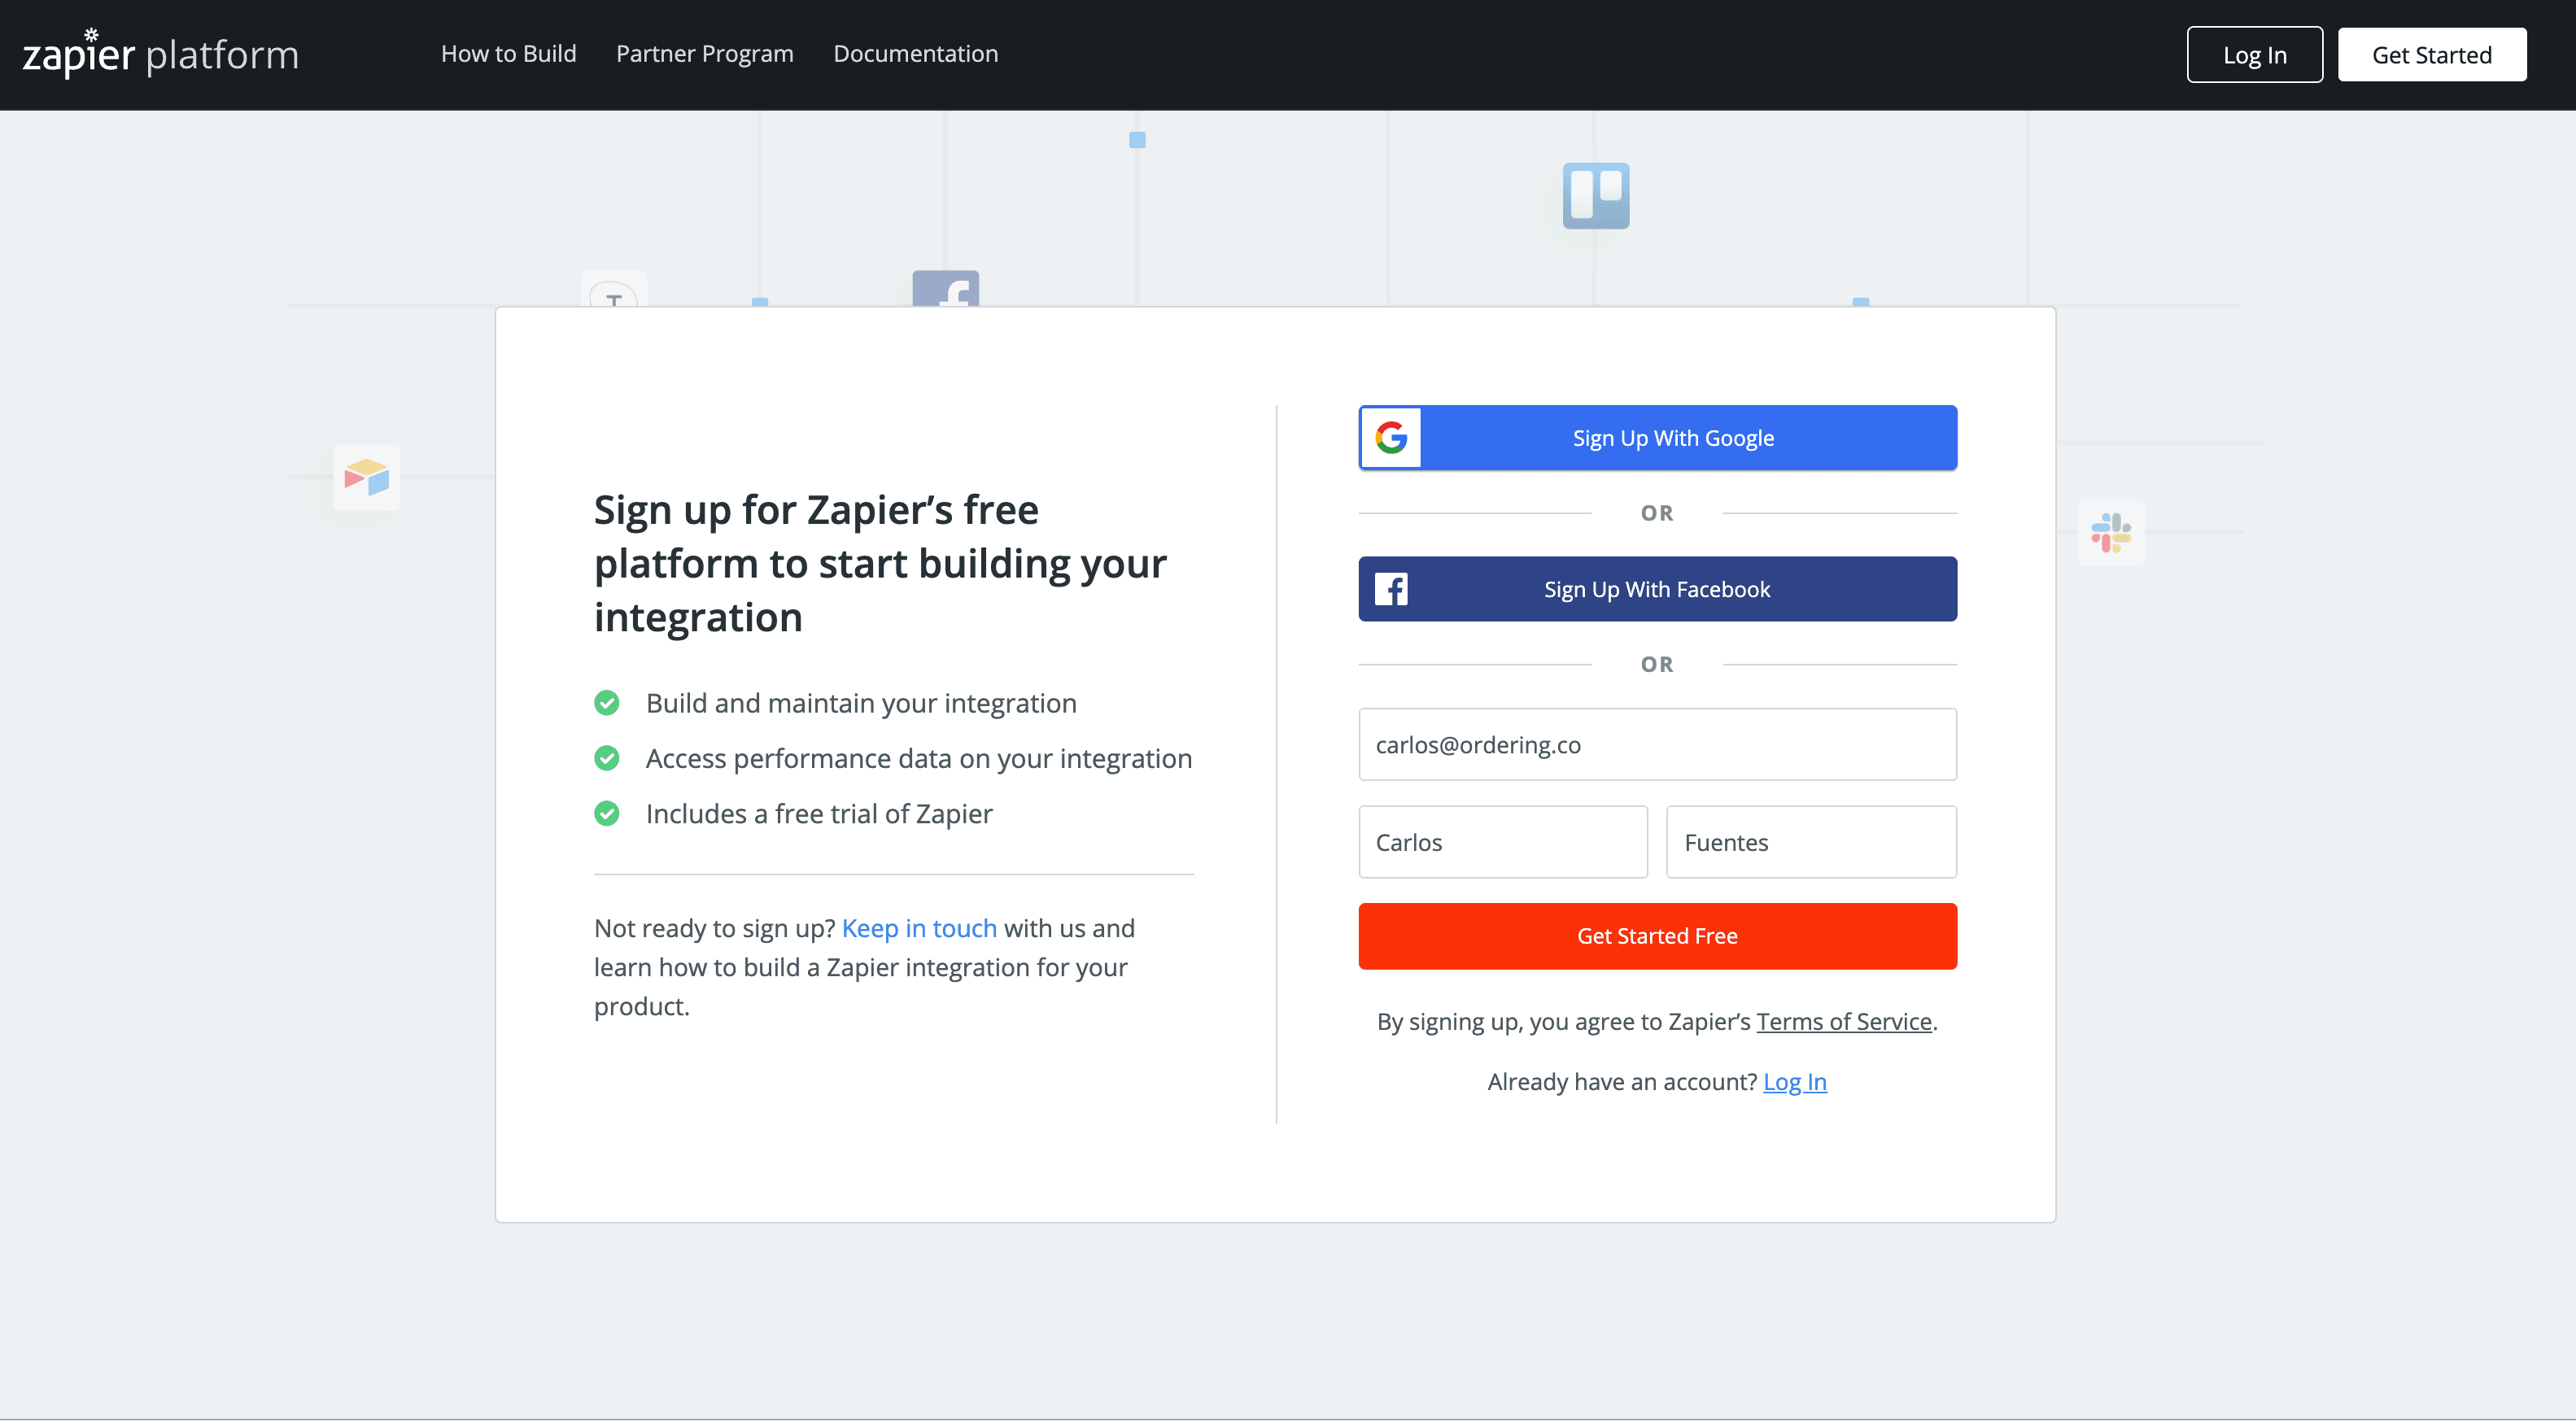
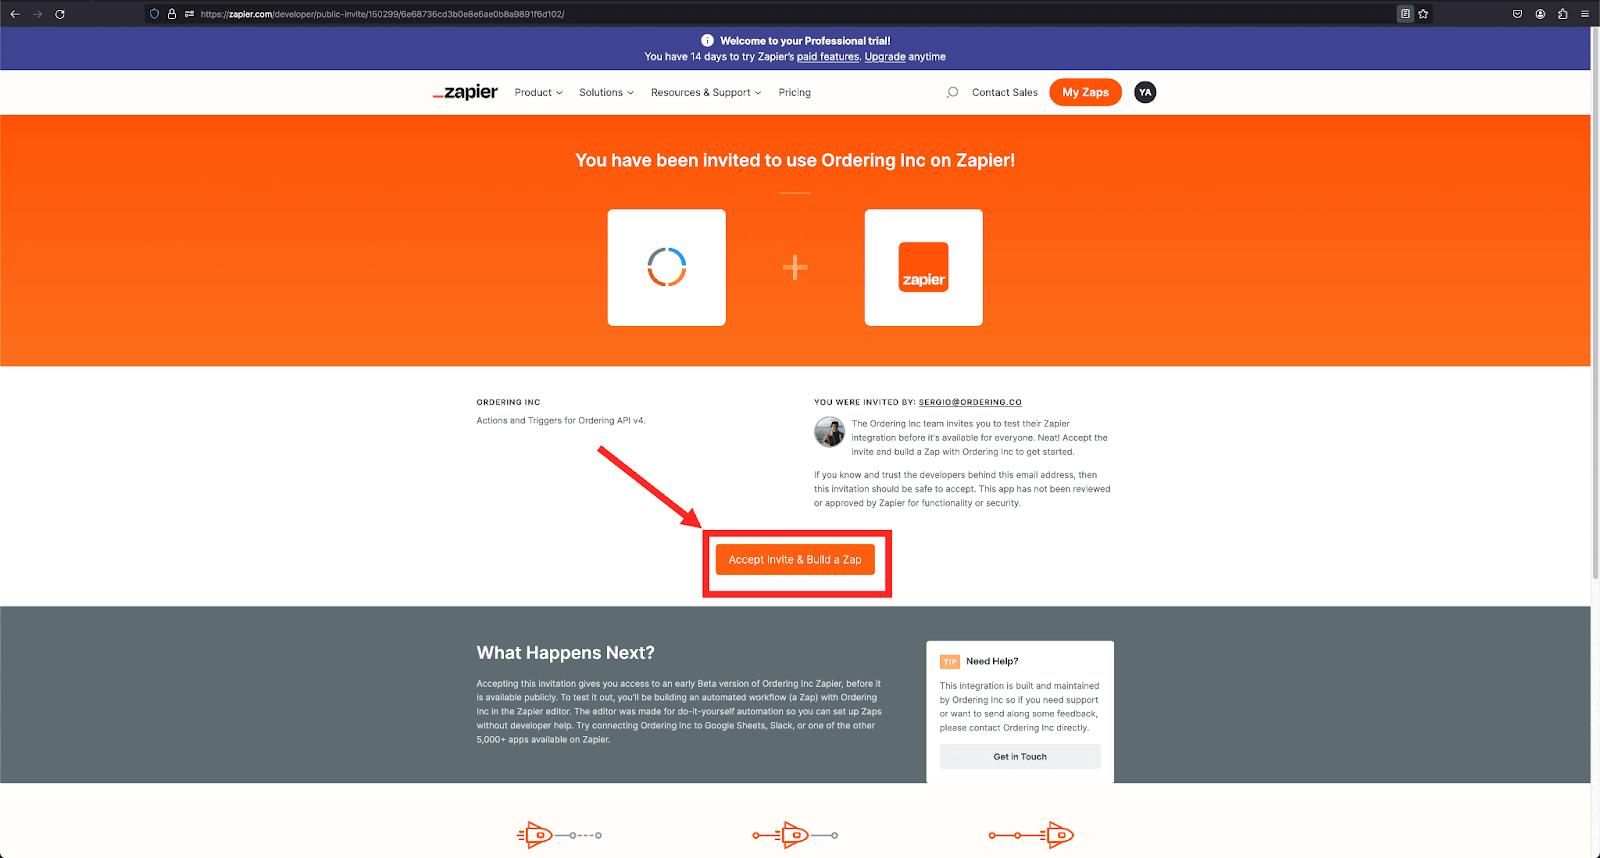
Ordering.co publishes a Zapier invite for this integration. Accept the invite at:
https://zapier.com/developer/public-invite/95428/39e9b81c2840d6528e83be4d4ffd95ca/
If you cannot use that invite, contact Ordering.co support and ask for the current Zapier link.
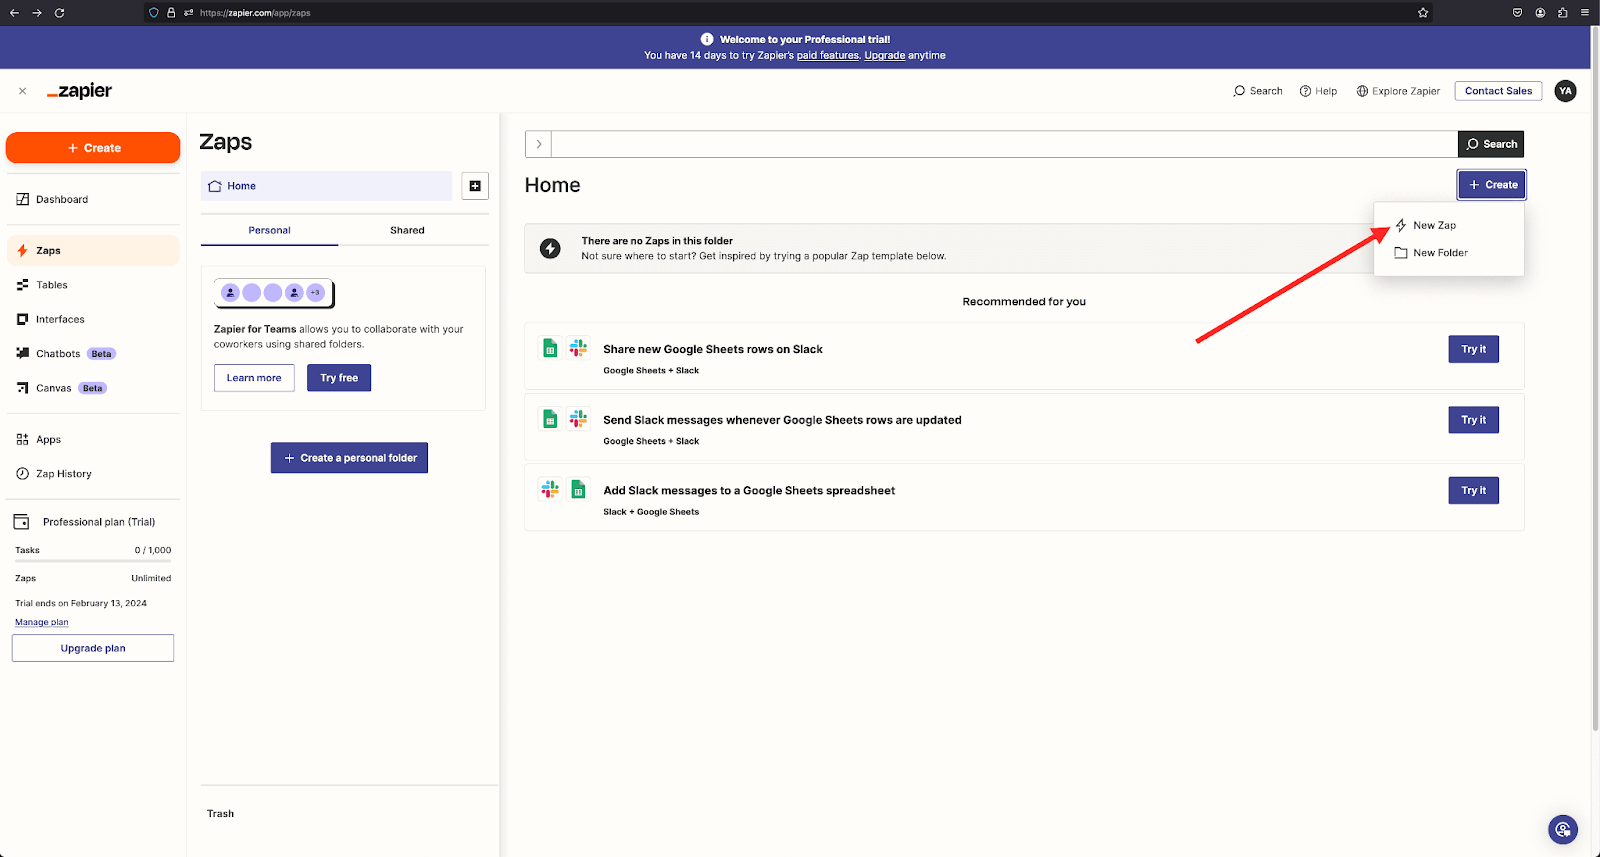
After you log in, select Create Zap (the capture may show Create New Zap).
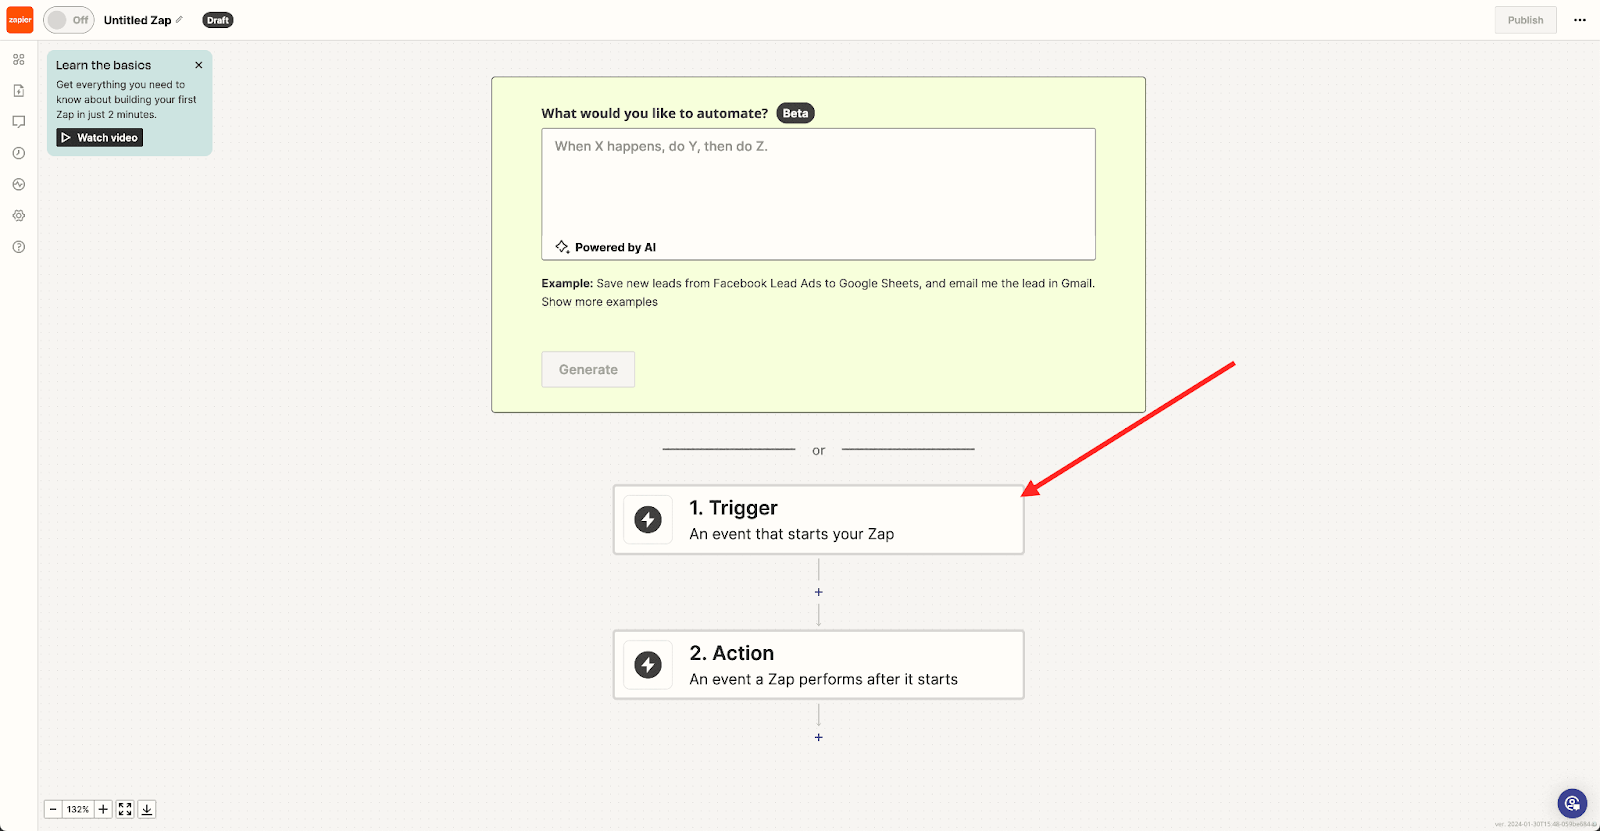
Select the trigger event
Choose the trigger first. Examples include a new user signing up or an order being placed. Zapier lists the Ordering.co triggers your invite includes.
Select the most recent Ordering.co app version. The capture uses Ordering (1.3.0).
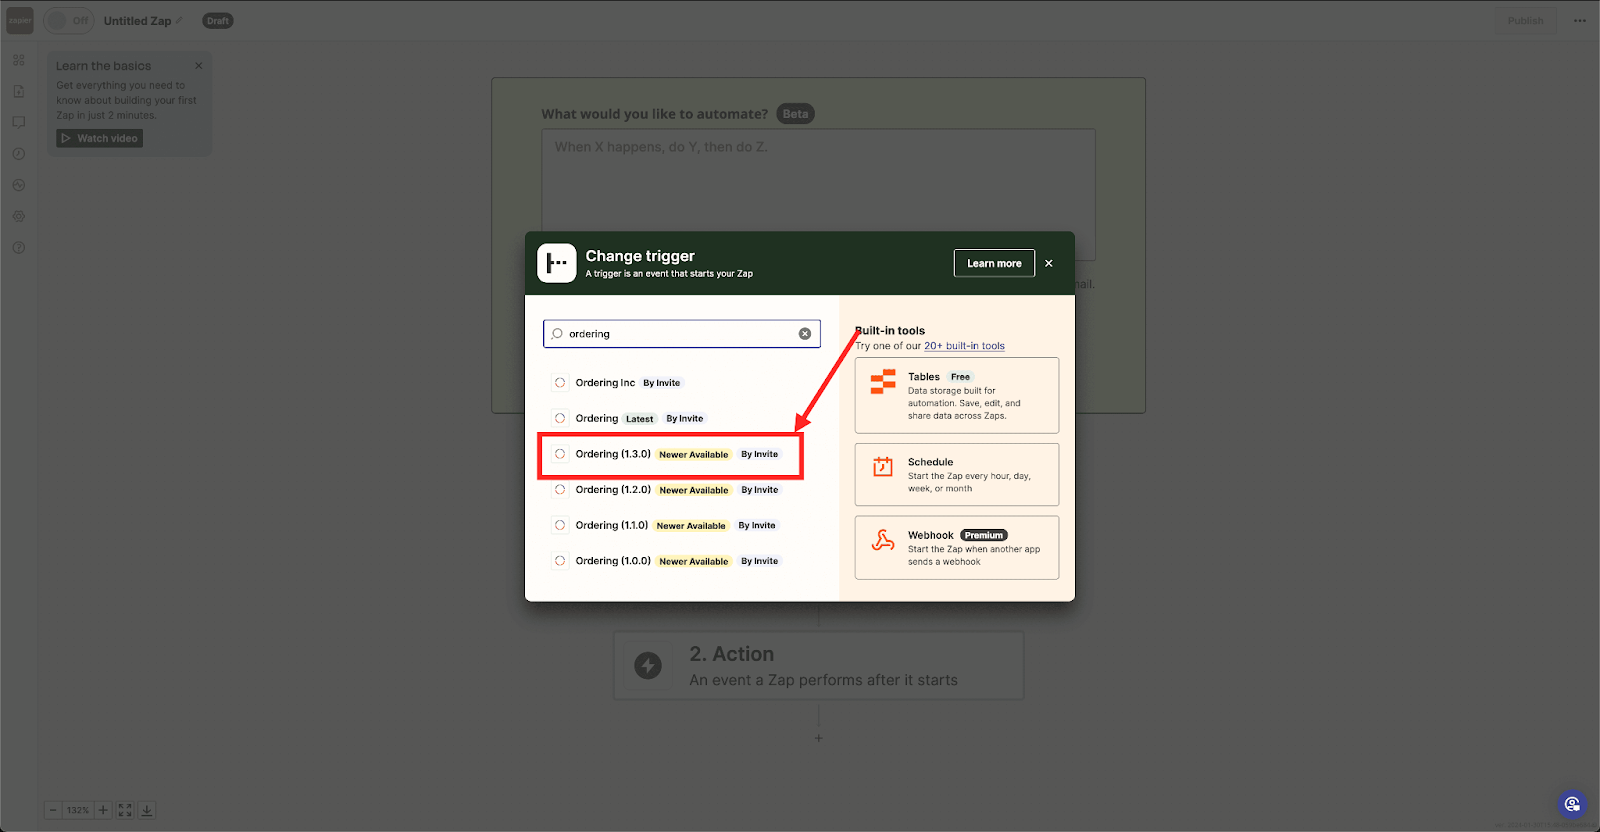
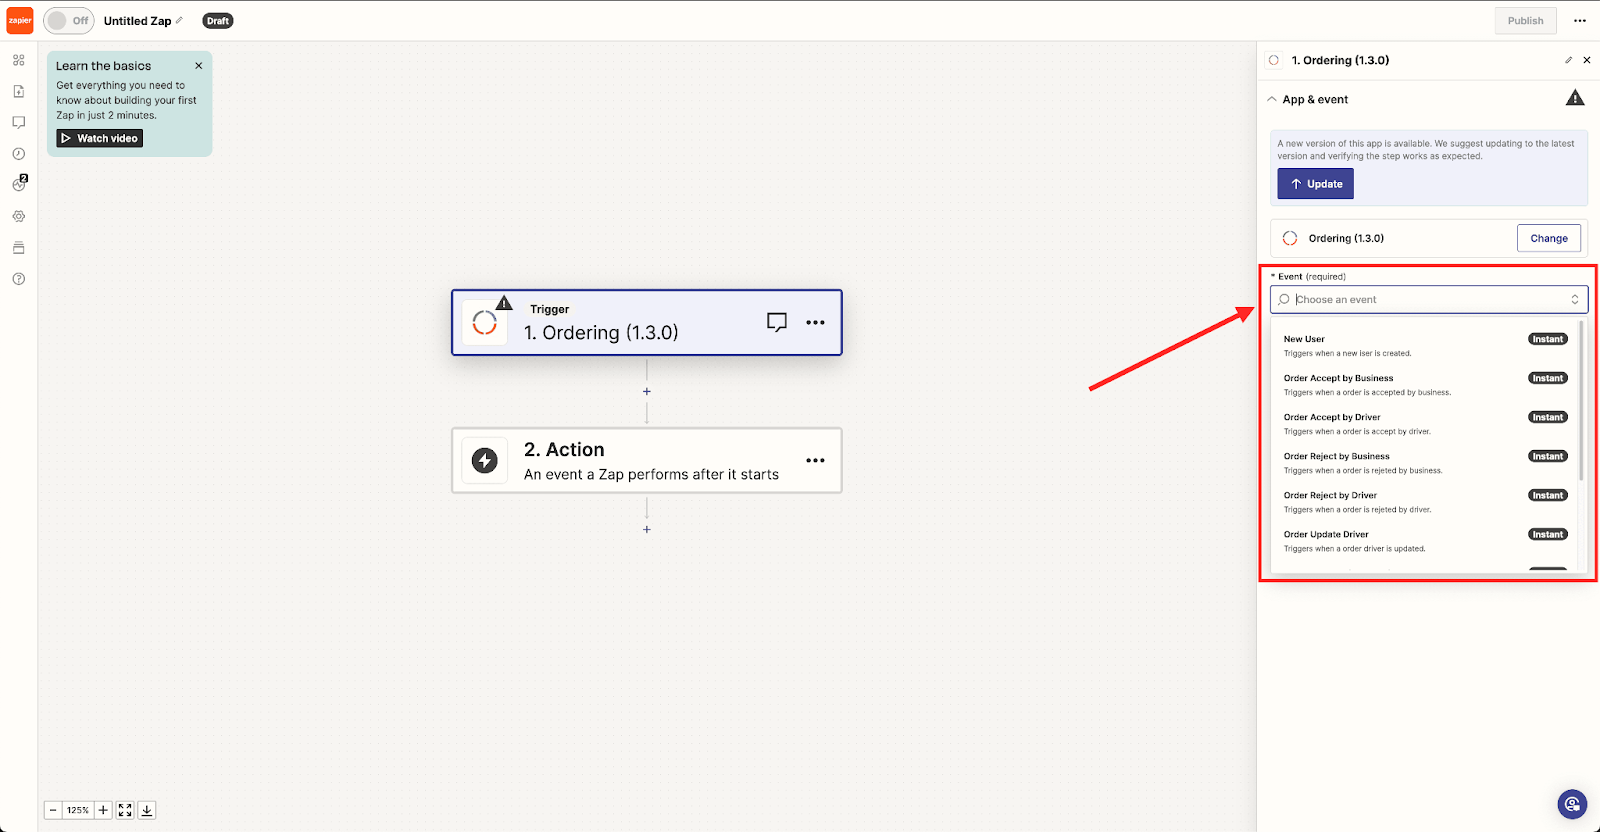
Choose the event Ordering.co should send. This example uses New User: when a user is registered, Zapier receives information about that user.
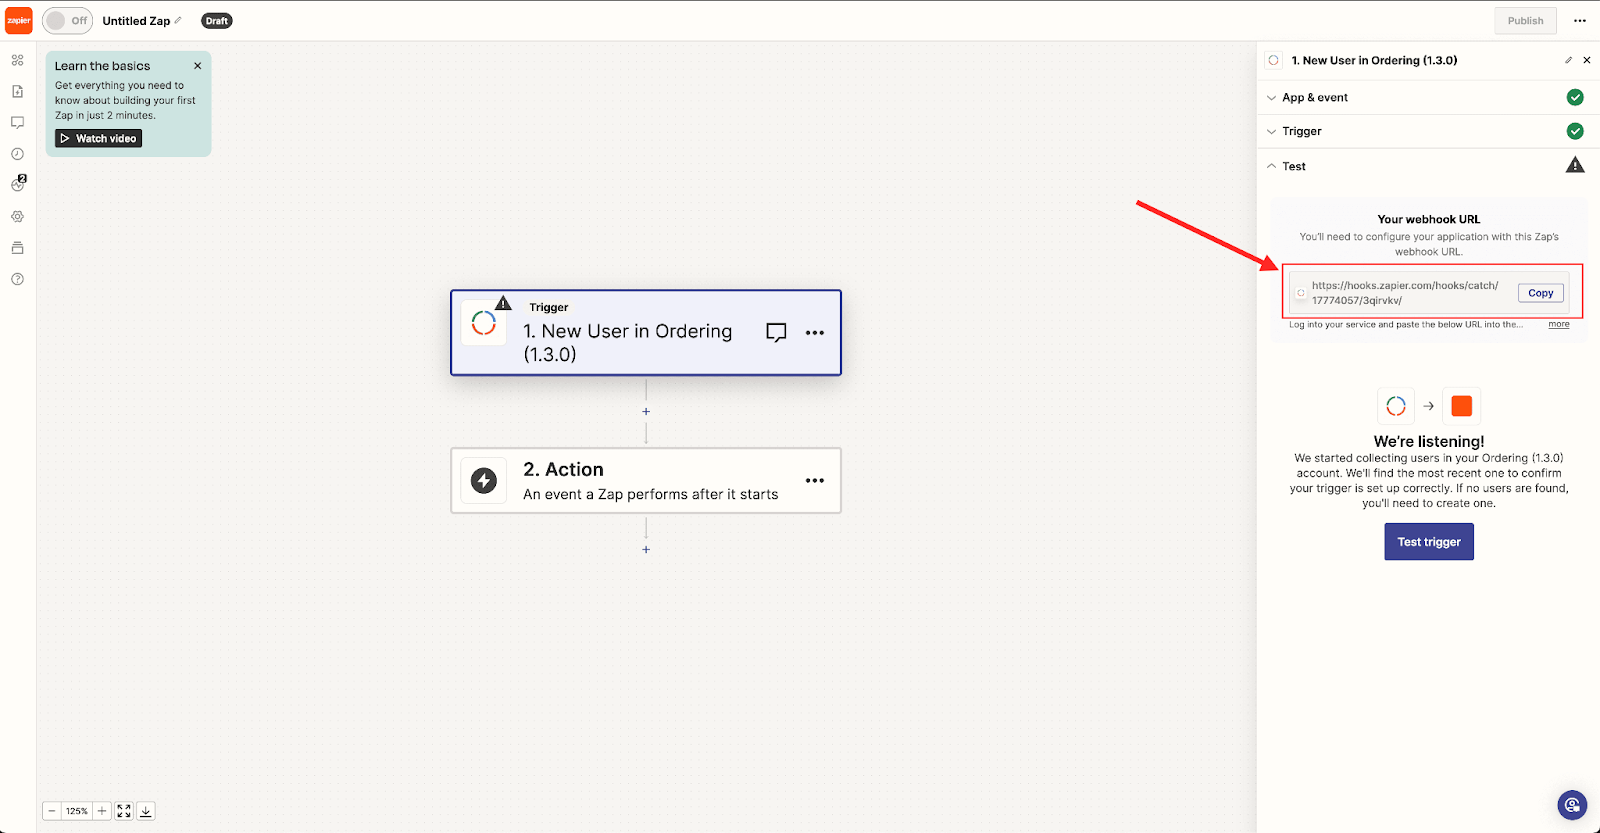
Copy the webhook URL Zapier shows for this trigger. You will paste it into the Dashboard.
Add the webhook in the Dashboard
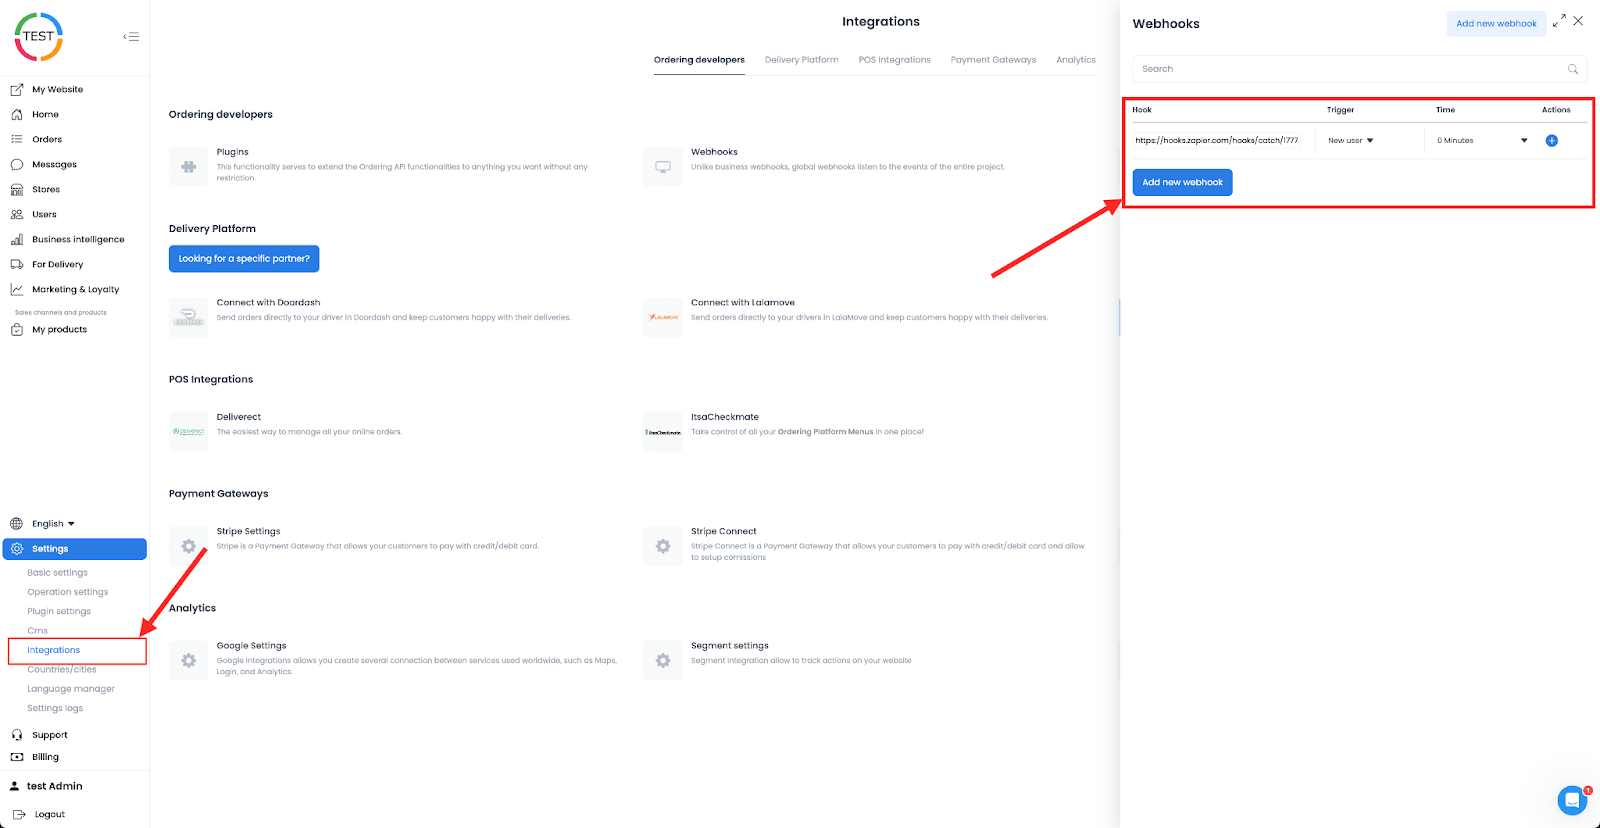
In the capture, open Settings, select Integrations, then Webhooks on the Ordering developers tab. In current Dashboards, the same global webhook list lives under Settings → Pro → Developers → Webhooks. See Configure webhooks. That Developers toolset is separate from the Google Analytics, Facebook Pixel, and Intercom fields on Integrations.
Select Add new webhook, paste the Zapier webhook URL, and choose New User for the trigger. The Dashboard trigger must match the Zap trigger.
Select the plus (+) control to save the webhook. If you skip that control, the webhook is not stored.
Test the trigger
Create a matching event in Ordering.co (this example creates a new user), then select Test trigger in Zapier.
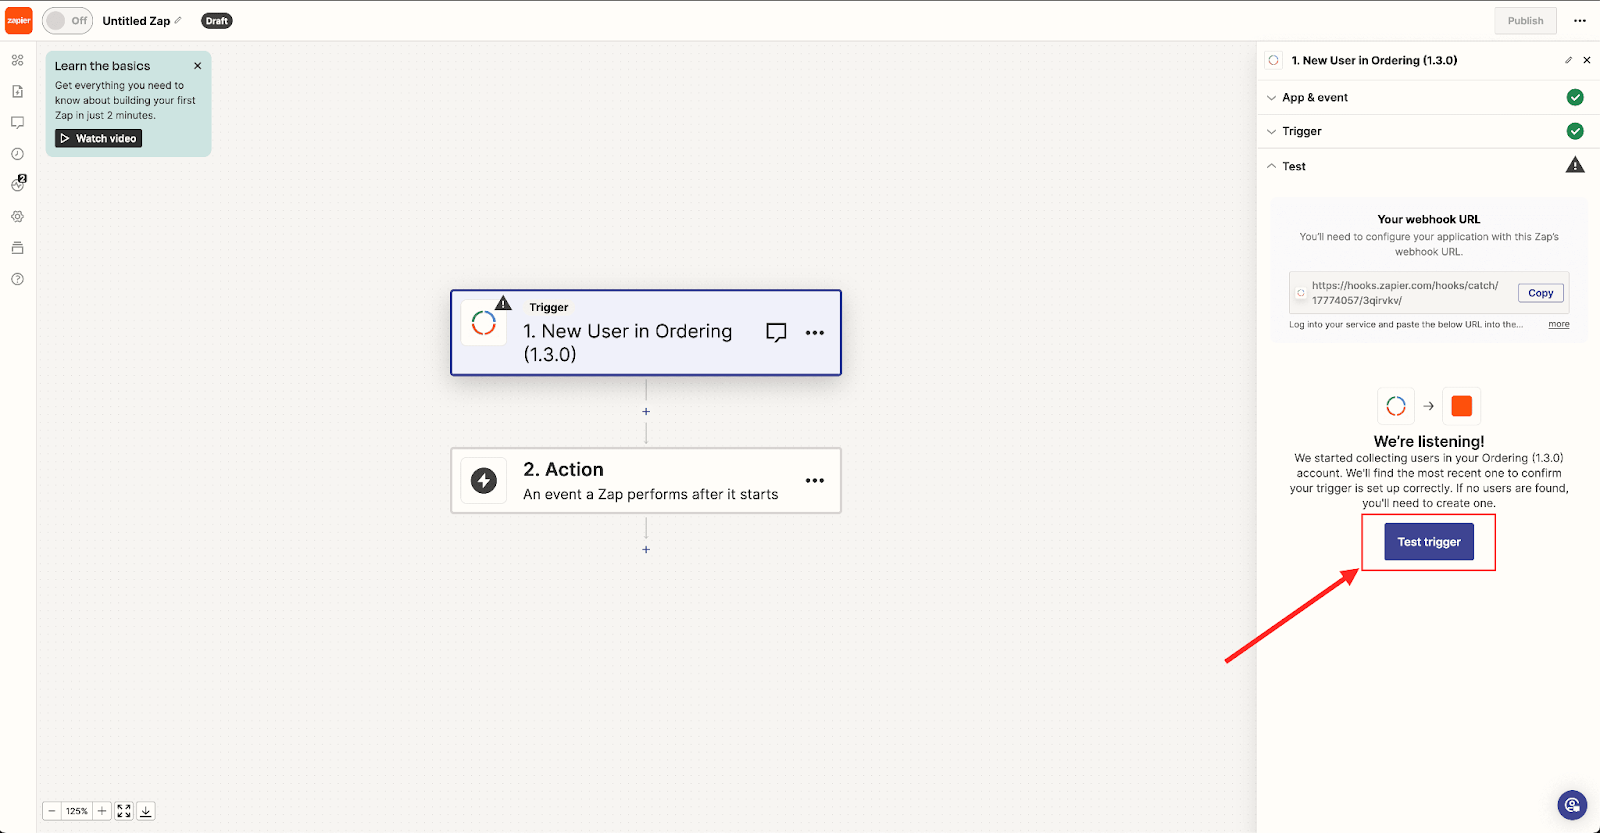
Review the payload Ordering.co sent. Select Find new records if you need Zapier to load the received record. If the fields look correct, continue.
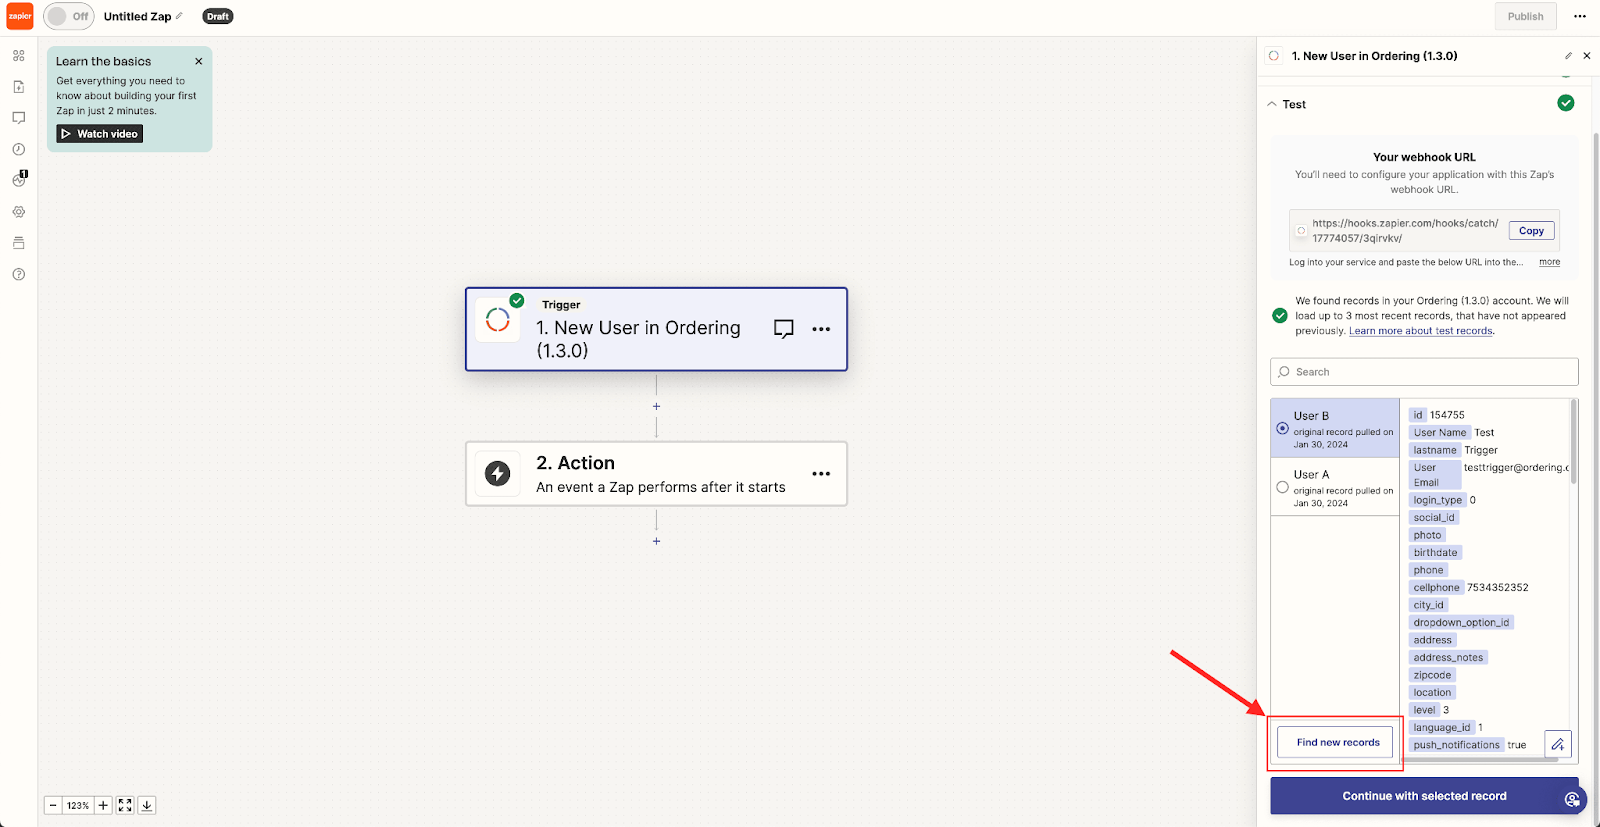
A successful test shows that Zapier received that webhook. It does not prove the action step will run later.
Select the action
Choose the action Zapier should run. This example sends email through Gmail and connects the Gmail account that will send the message. You can pick a different action.
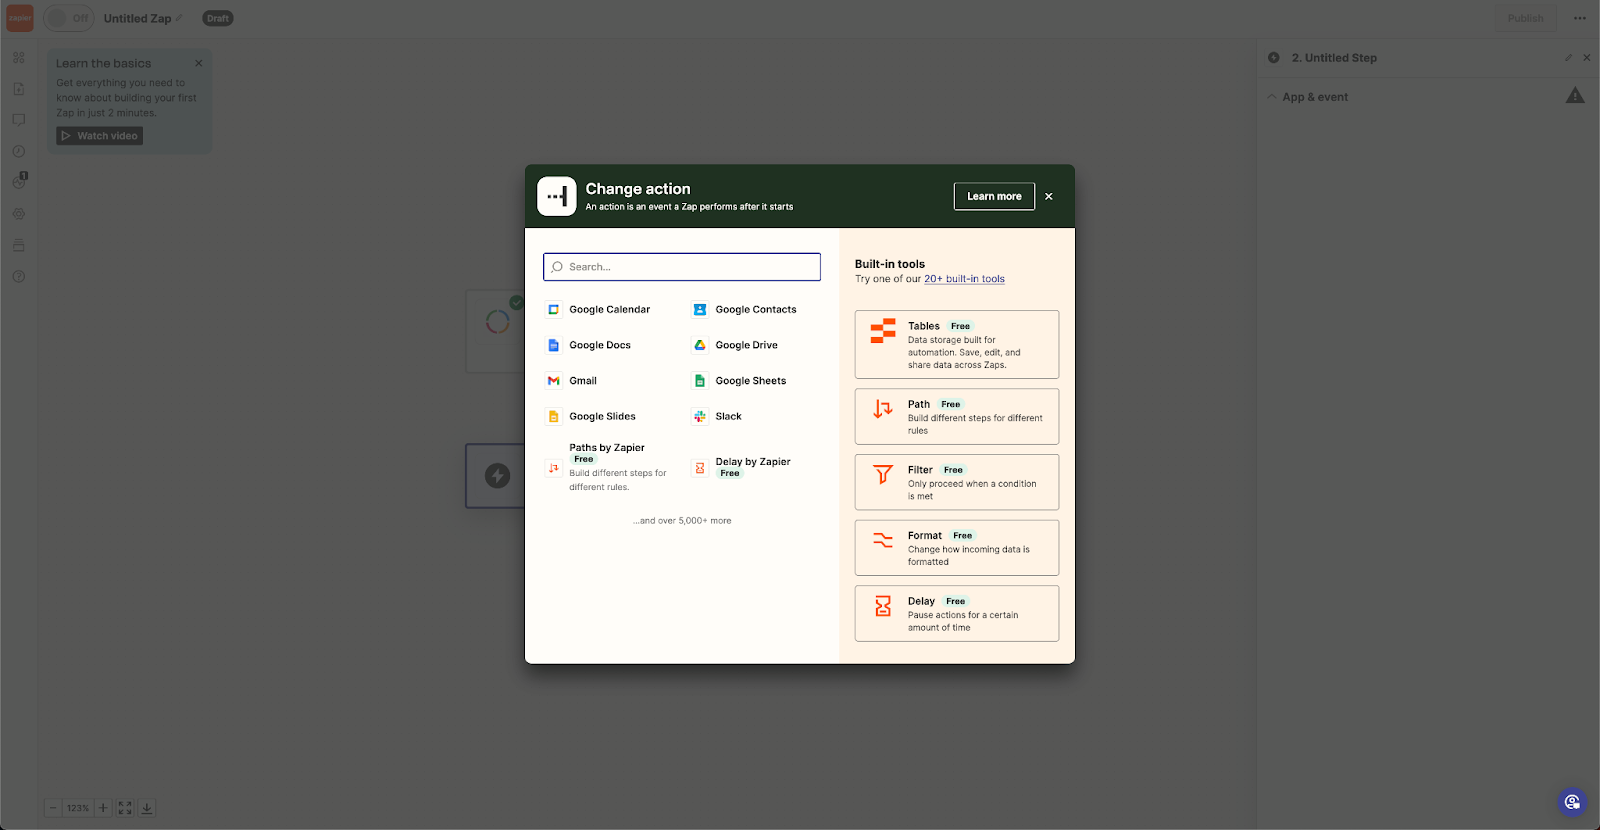
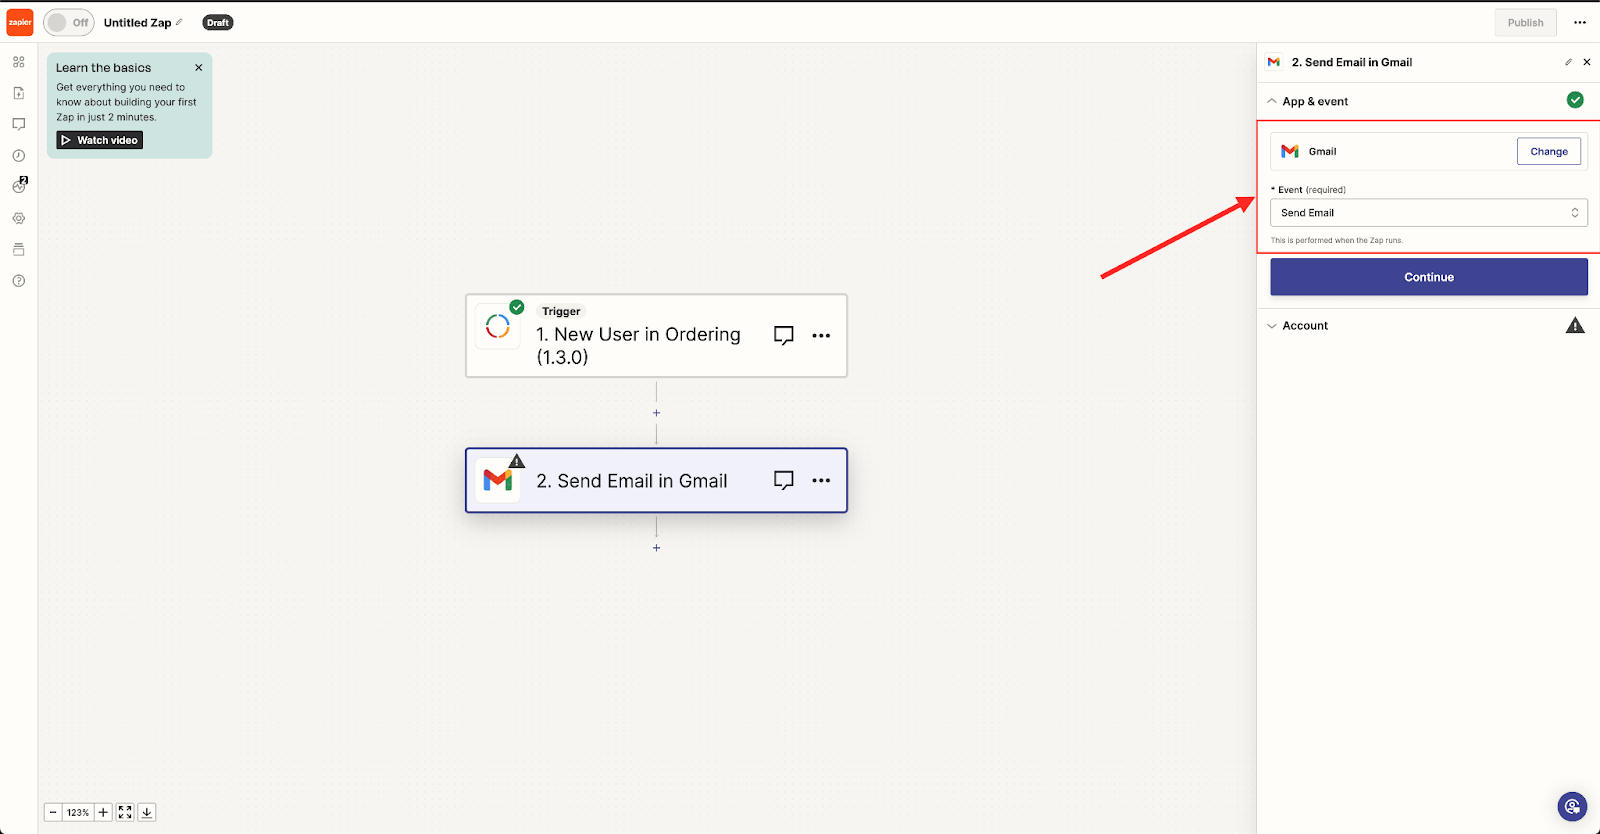
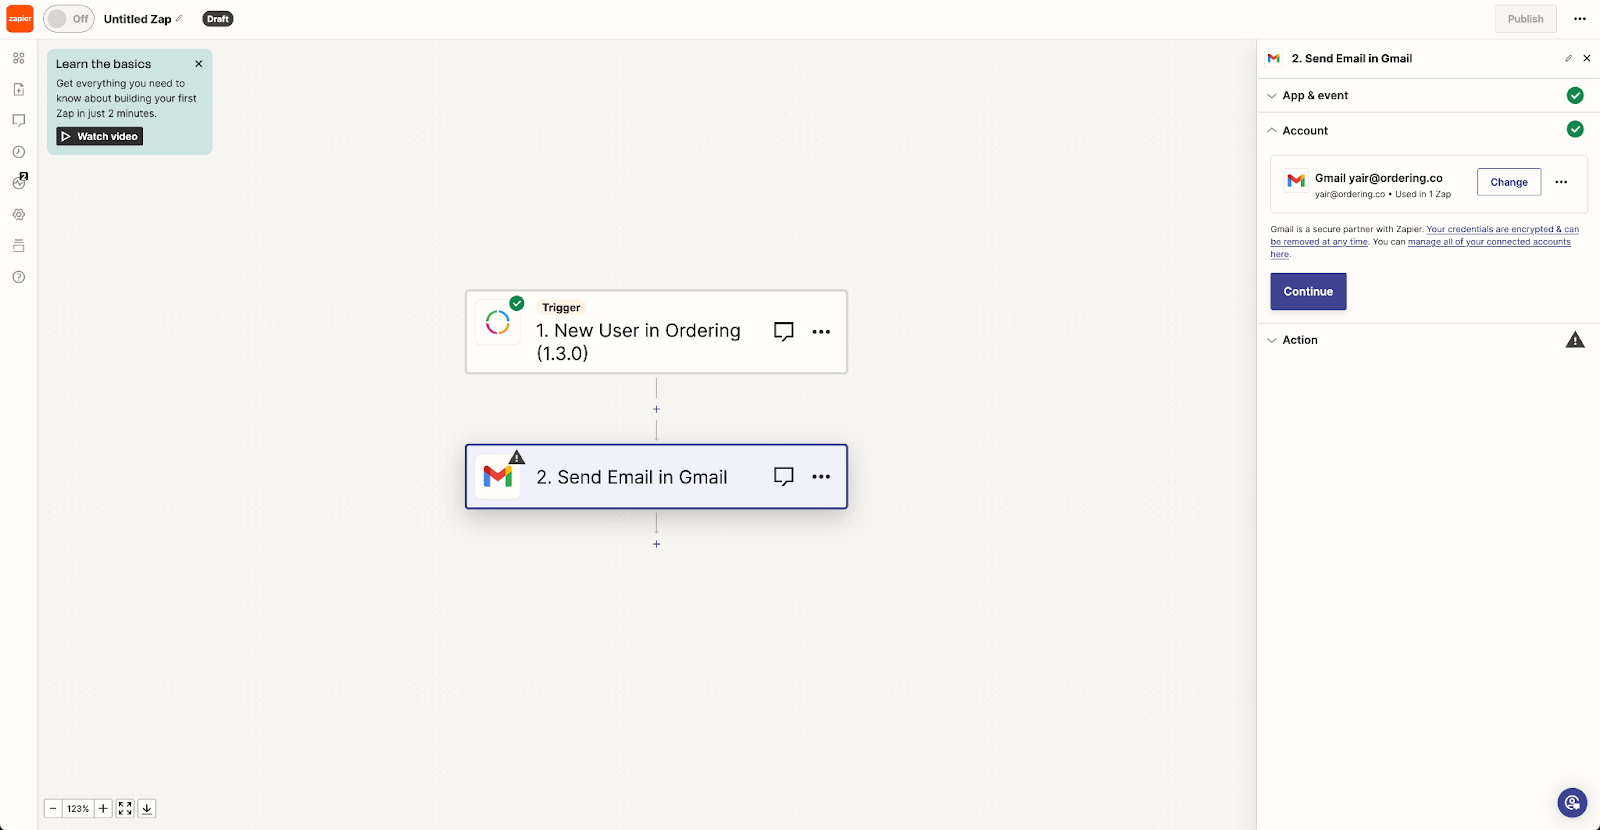
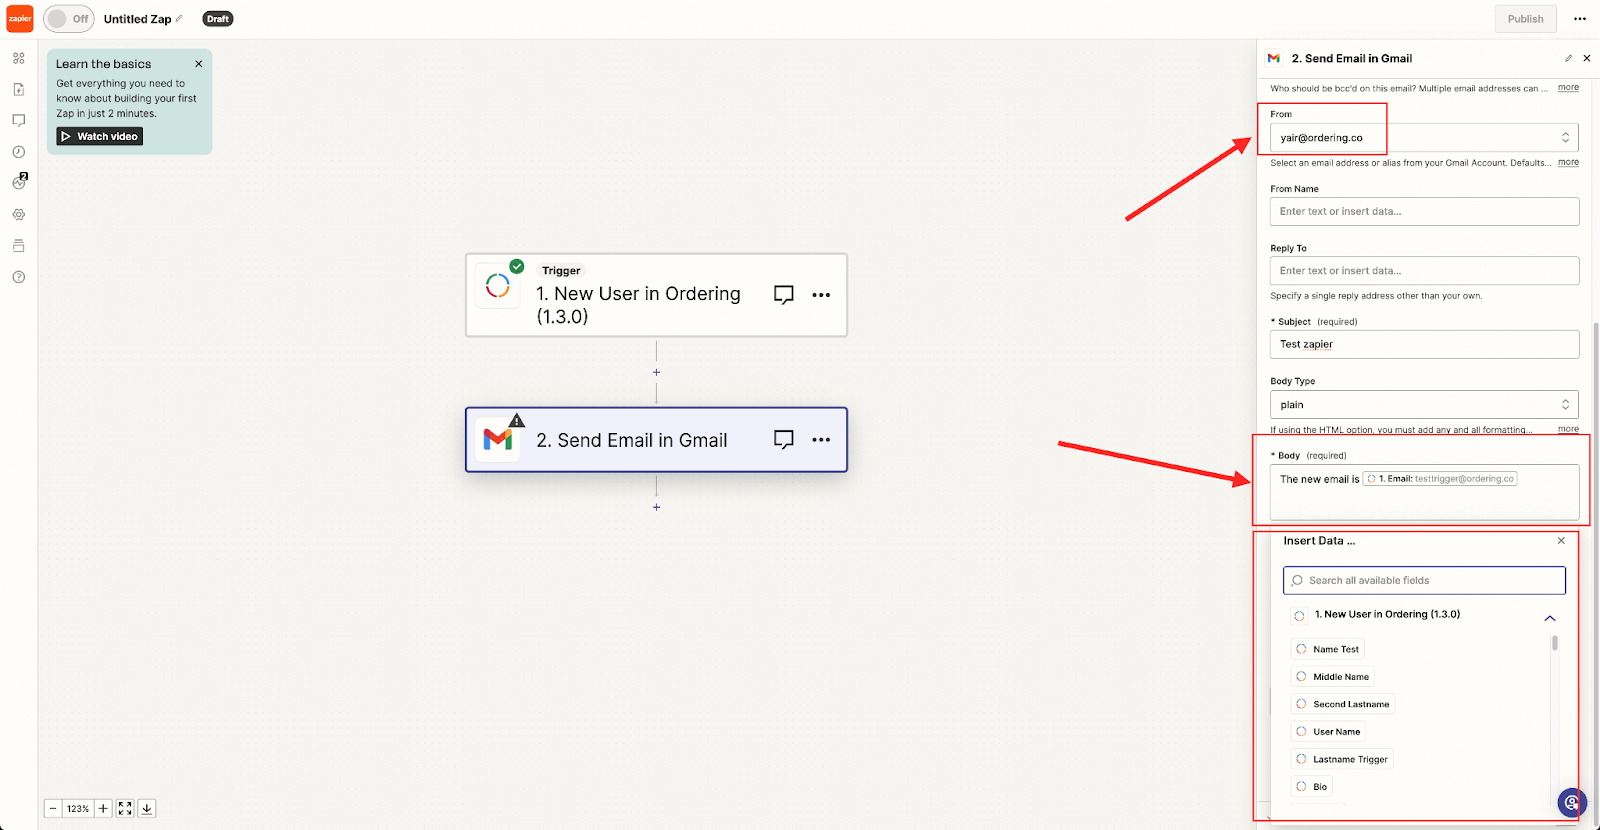
Configure the sender, recipient, and body. Map webhook fields into the message. This example puts the new user's email in the body. You can map any field the webhook includes.
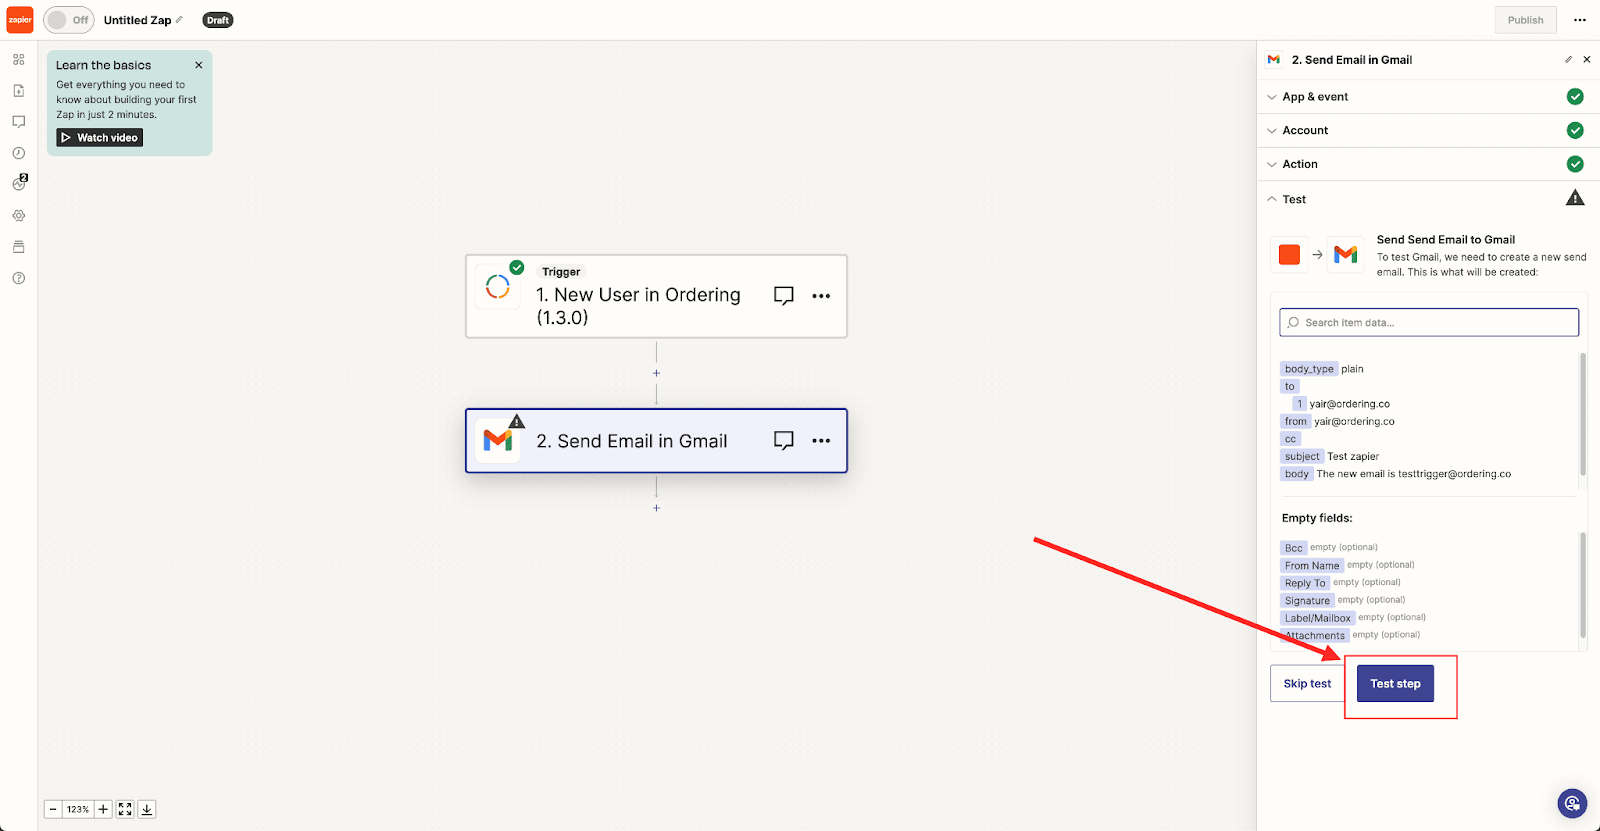
Select Test step. Zapier sends the example email if Gmail accepts the request.
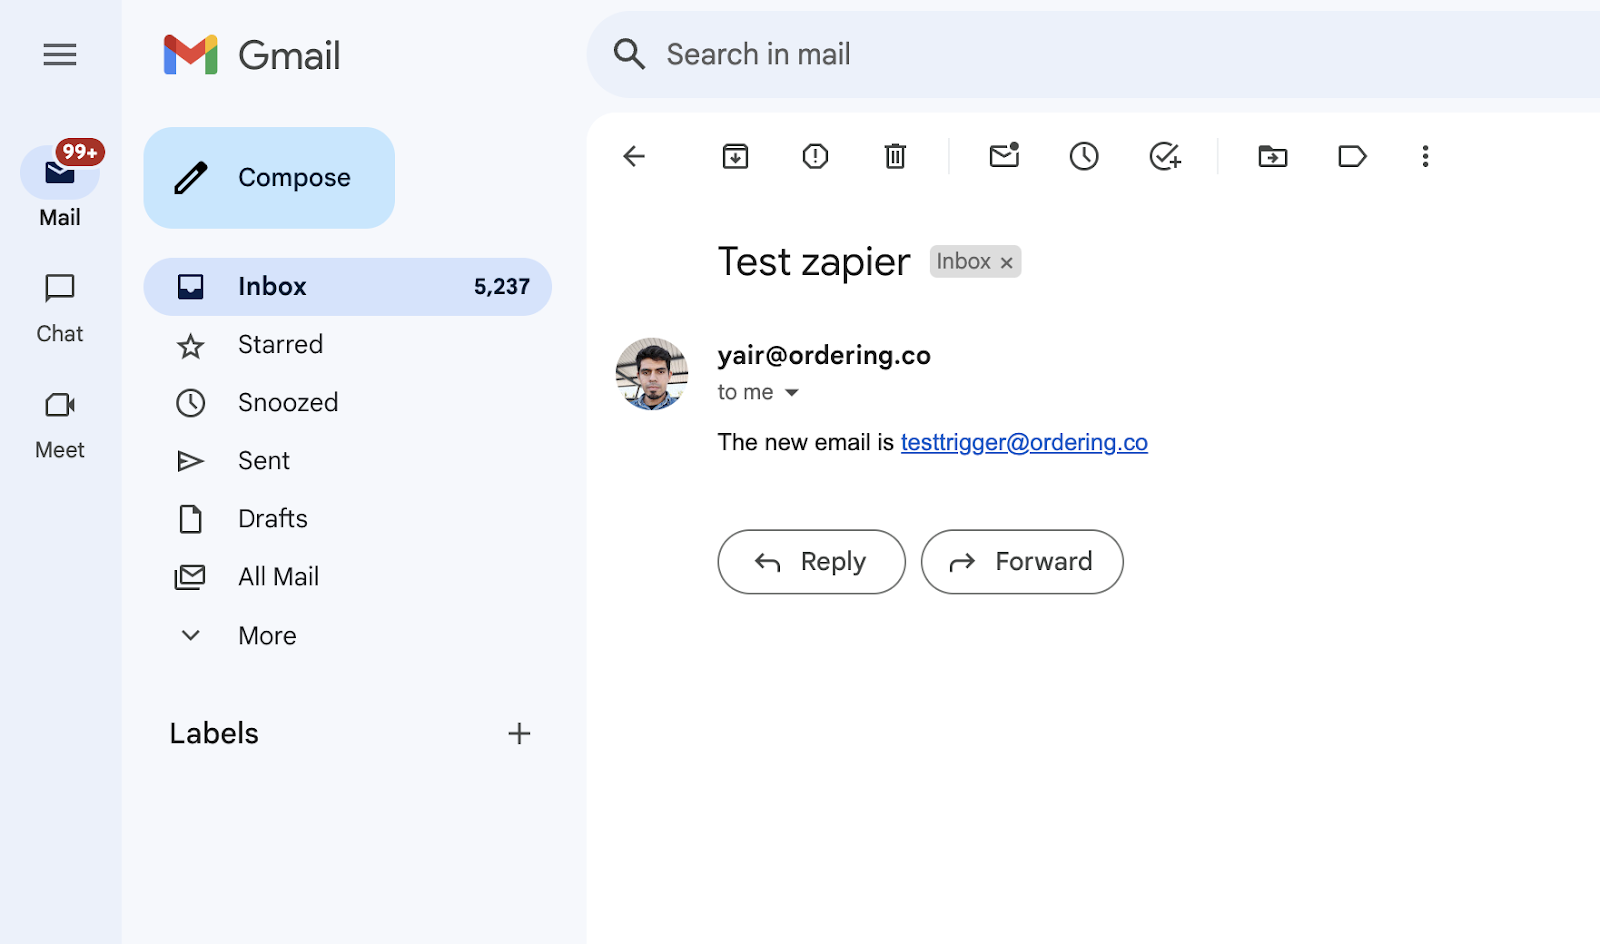
You can now create other Zaps with different Ordering.co triggers and the fields those webhooks include. Publish the Zap in Zapier when you want it to run on later events.
Ordering.co integration page: Zapier