Set up Google Analytics
Google Analytics can record visits, transactions, and other storefront behavior. Create a Google Analytics account, copy the property ID, paste it into Settings → Pro → Integrations, and save. Some websites also need the global site tag (gtag.js) in the Builder header, then a website rebuild.
Open Google Analytics at https://analytics.google.com/analytics/web. Saving the ID in Ordering.co does not create hits in Google Analytics.
Current properties usually show a Measurement ID that starts with G- under Admin → Data Streams. Older properties show a Tracking ID that starts with UA- under Tracking info → Tracking Code. Paste the ID your property actually displays into Google Analytics ID. See Integrations.
Create a Google Analytics account
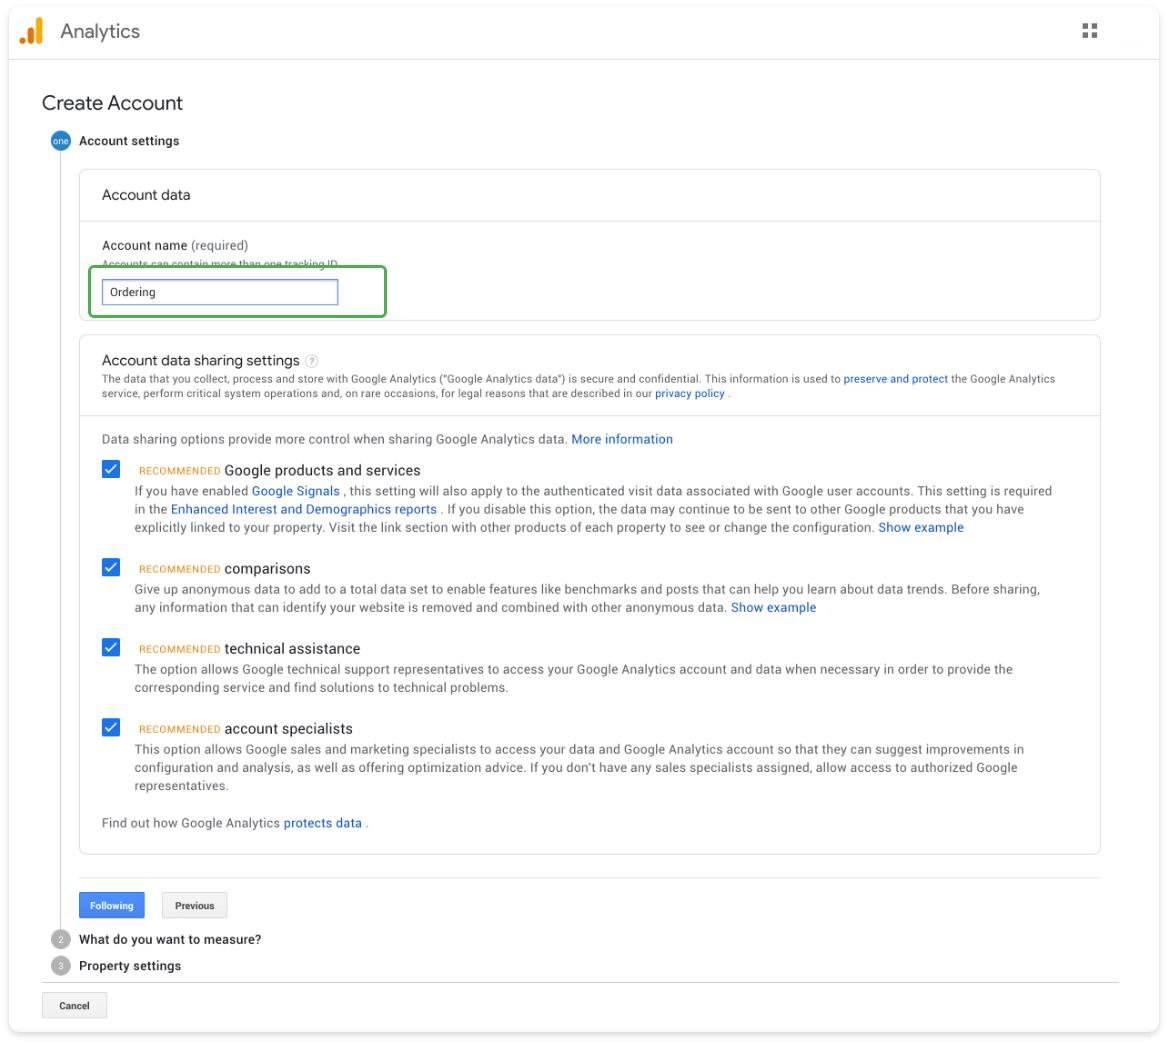
Fill in the website and account details.
- Account name: The name of this Analytics account.
- Select the checkboxes Google shows for the account, then select Next.
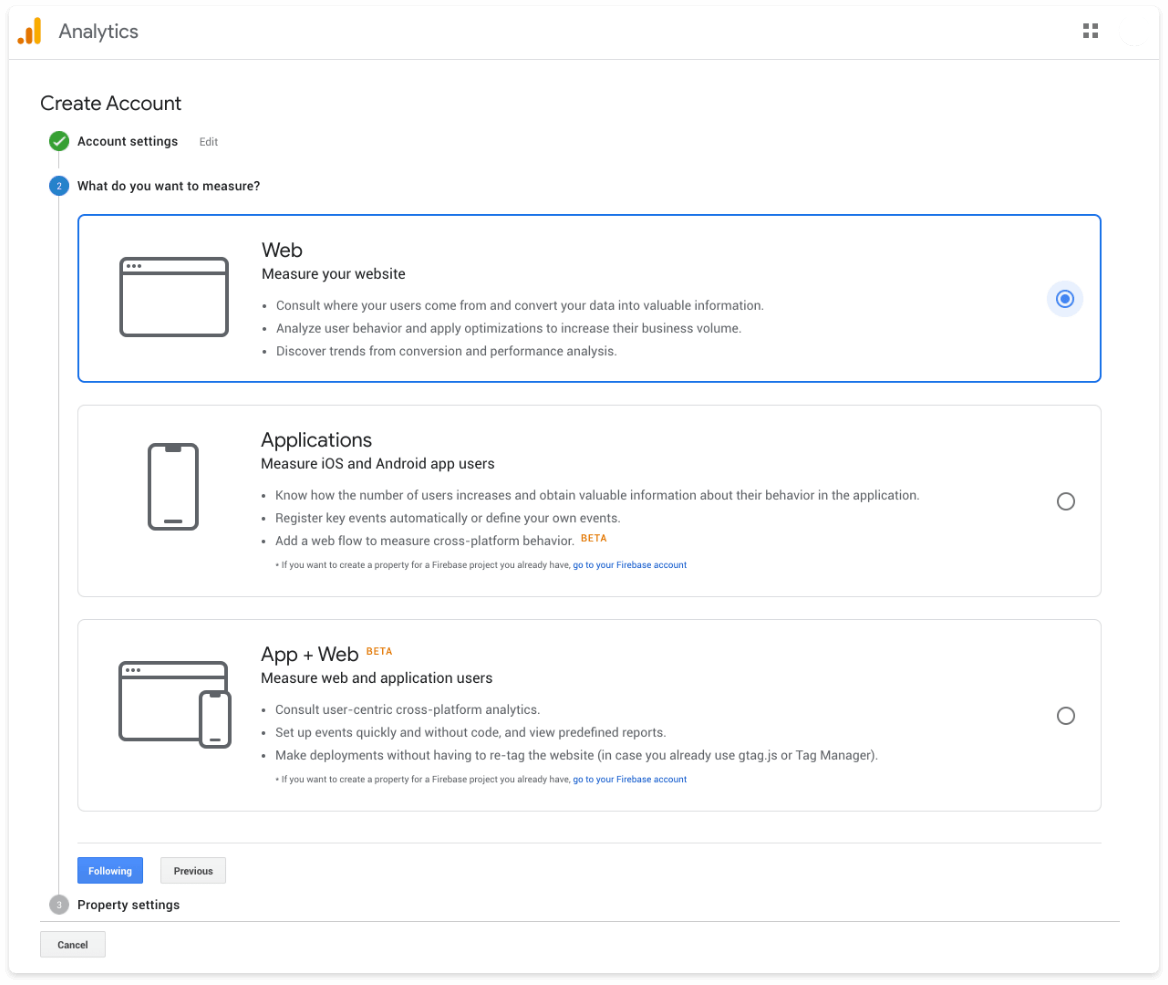
Select Web
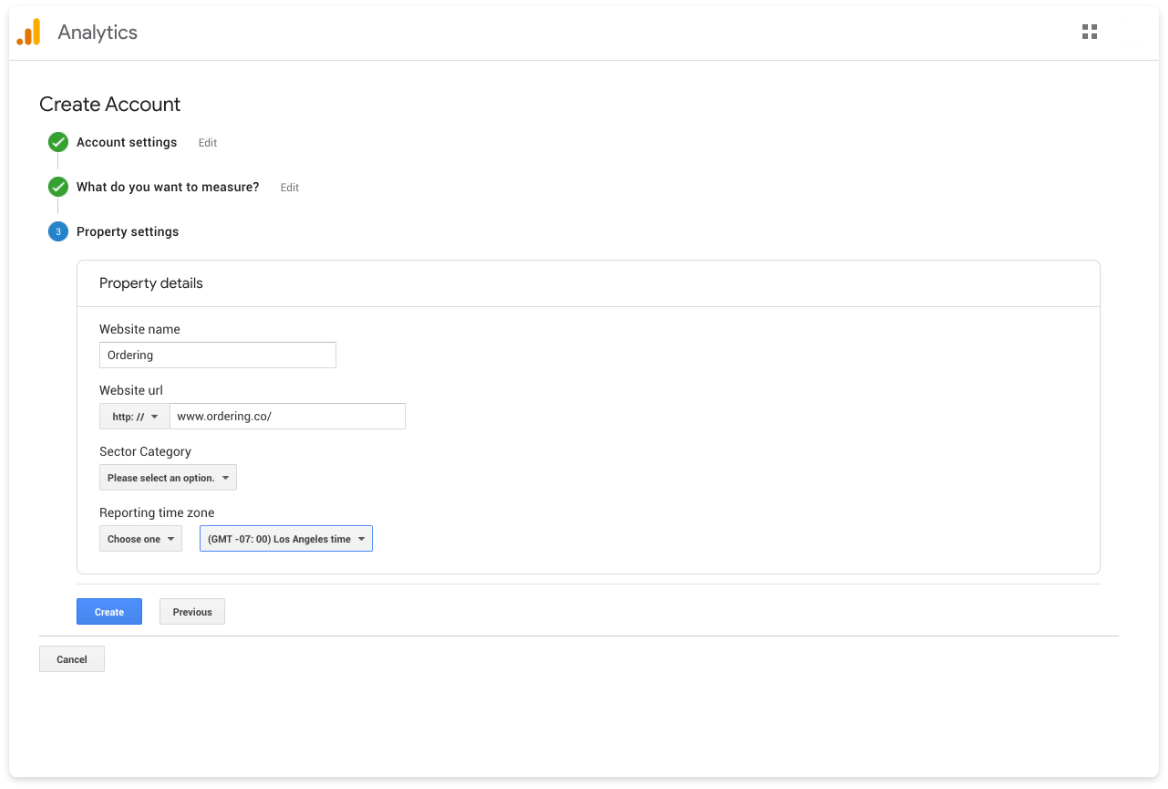
Then set:
- Property Name: The name of your website.
- Industry category: The category that fits the business.
- Reporting Time zone: The location and time zone of the business.
- Currency: The currency you report in.
Select Create.
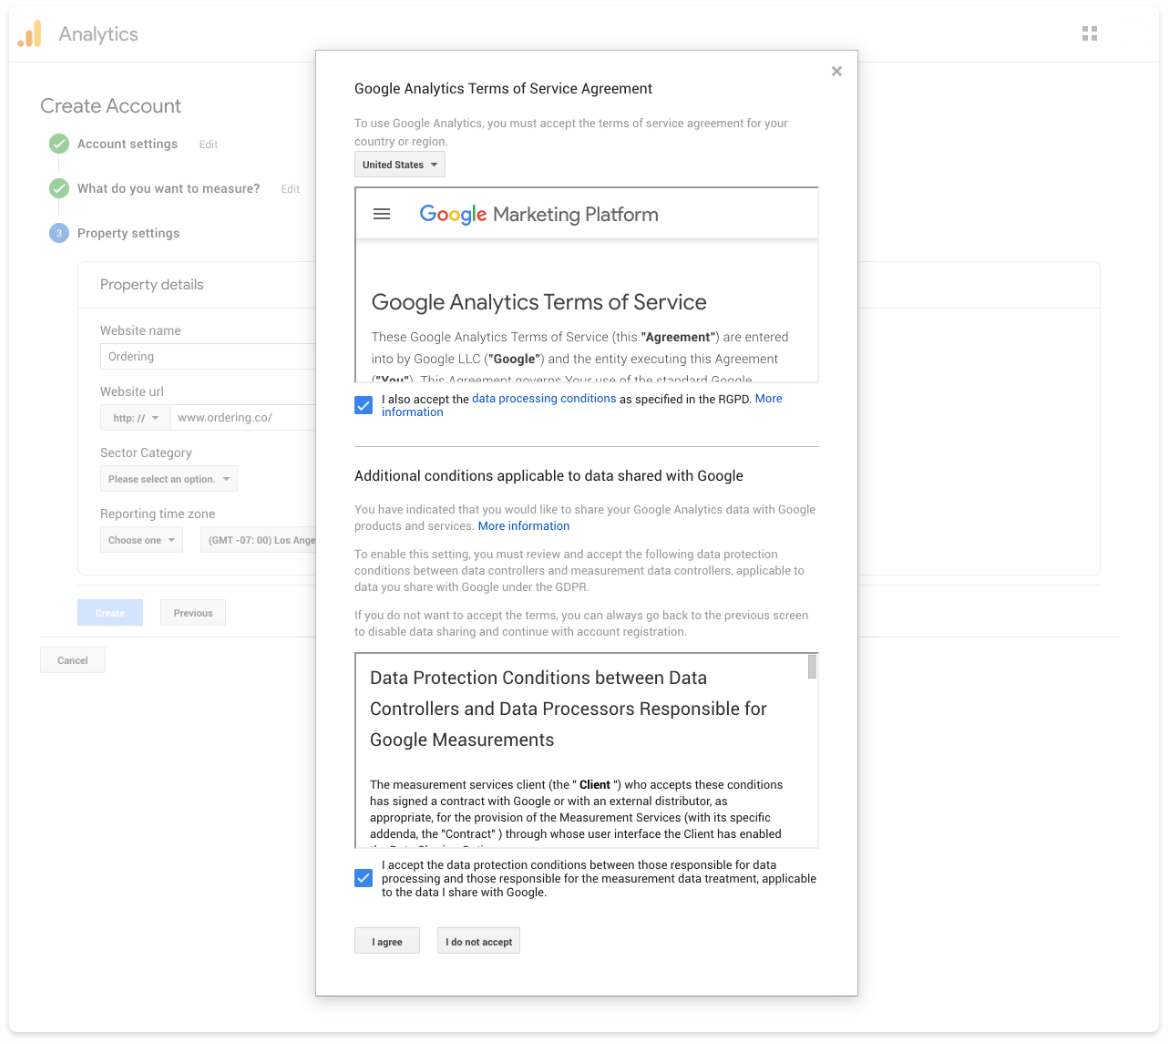
Accept the terms
Accept Google's terms and conditions to finish creating the property.
Copy the tracking ID
In older Google Analytics, open Admin (bottom left), then Tracking info → Tracking Code.
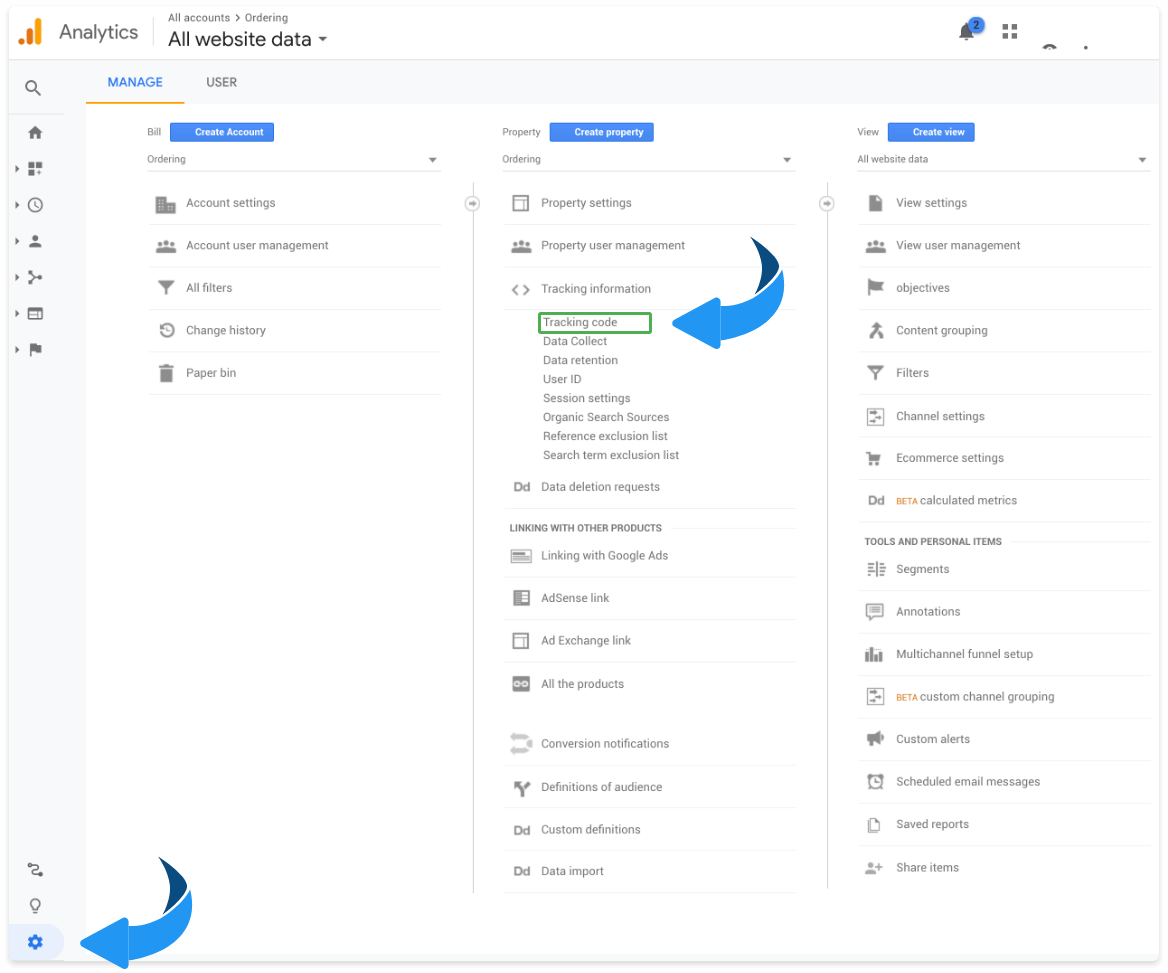
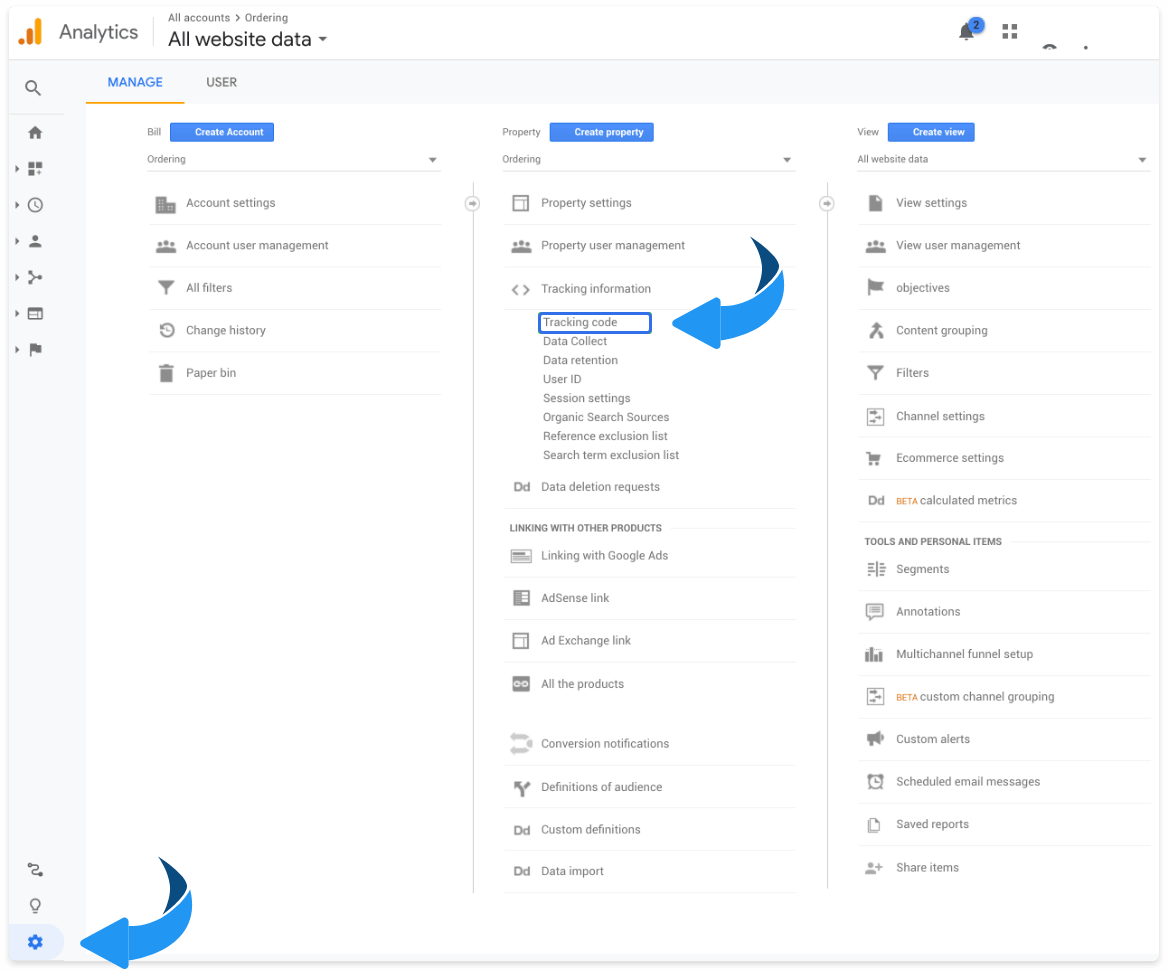
Copy the Tracking ID and paste it into Google Analytics ID in the Dashboard.
Some Dashboards open Settings → Advanced settings and an Integration: Google Analytics panel with Google Analytics ID and Save.
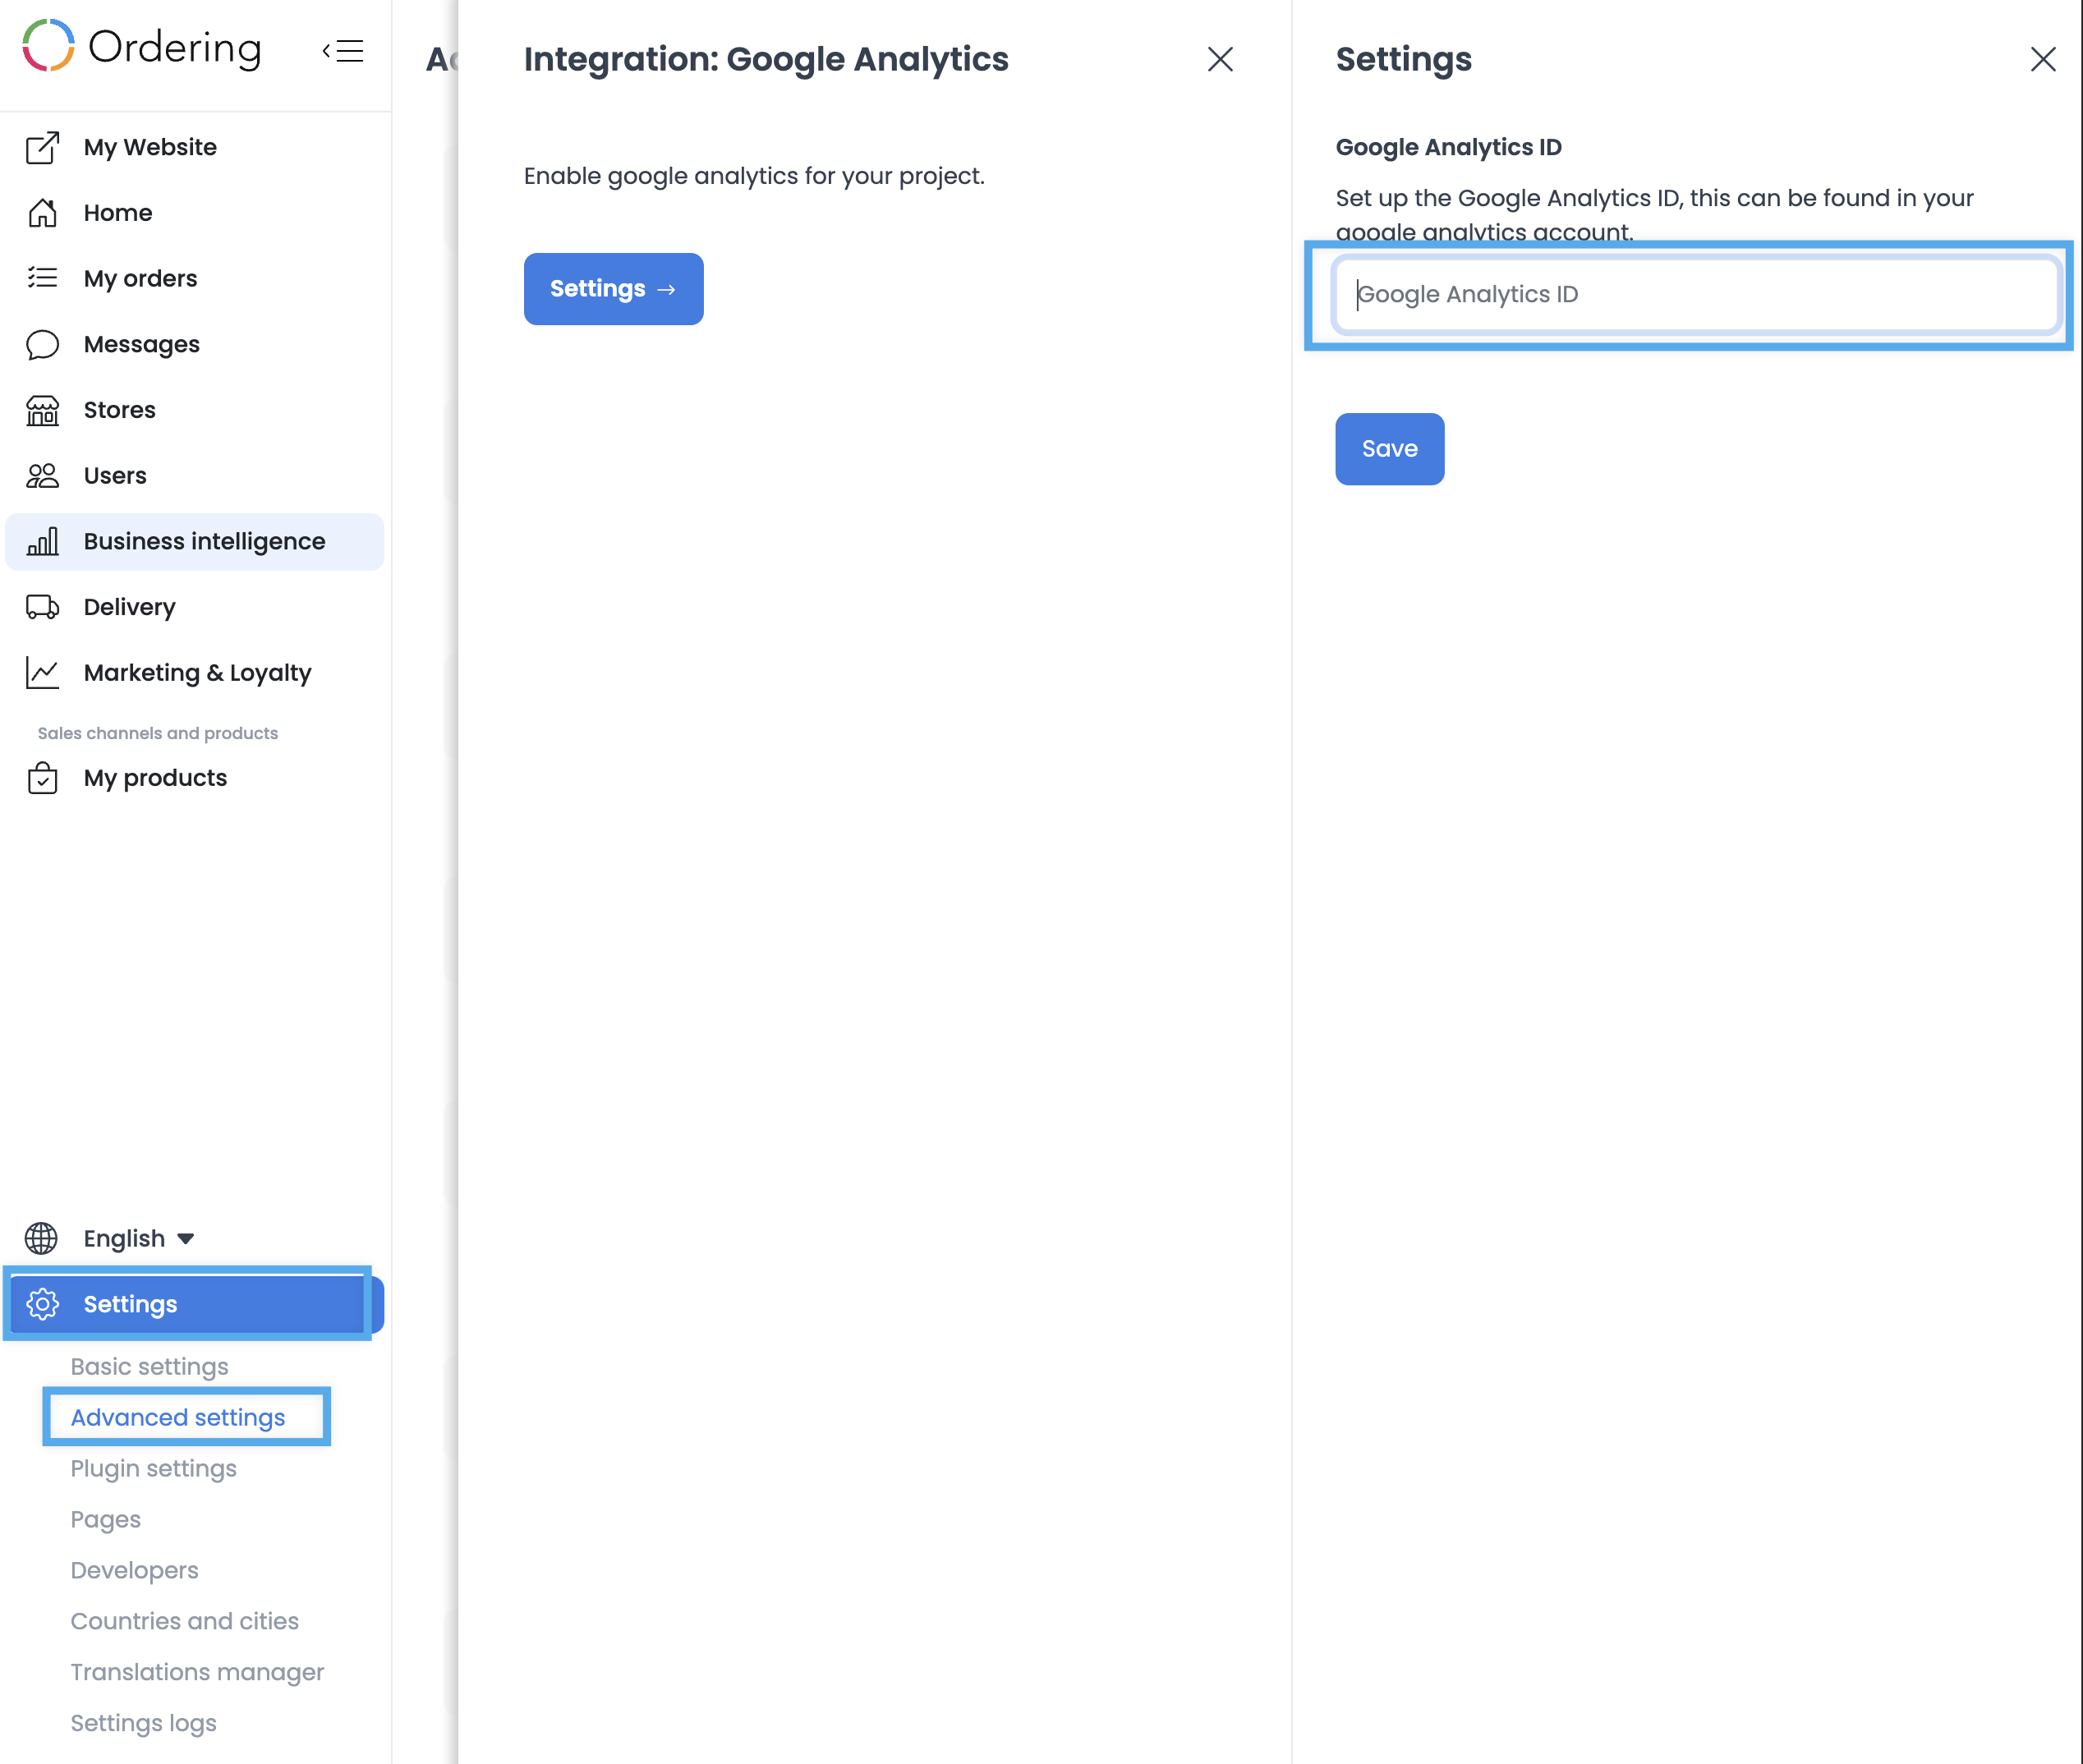
Later Integrations pages keep Google Analytics ID on Settings → Pro → Integrations. Paste the Tracking ID from Google Analytics into that field.
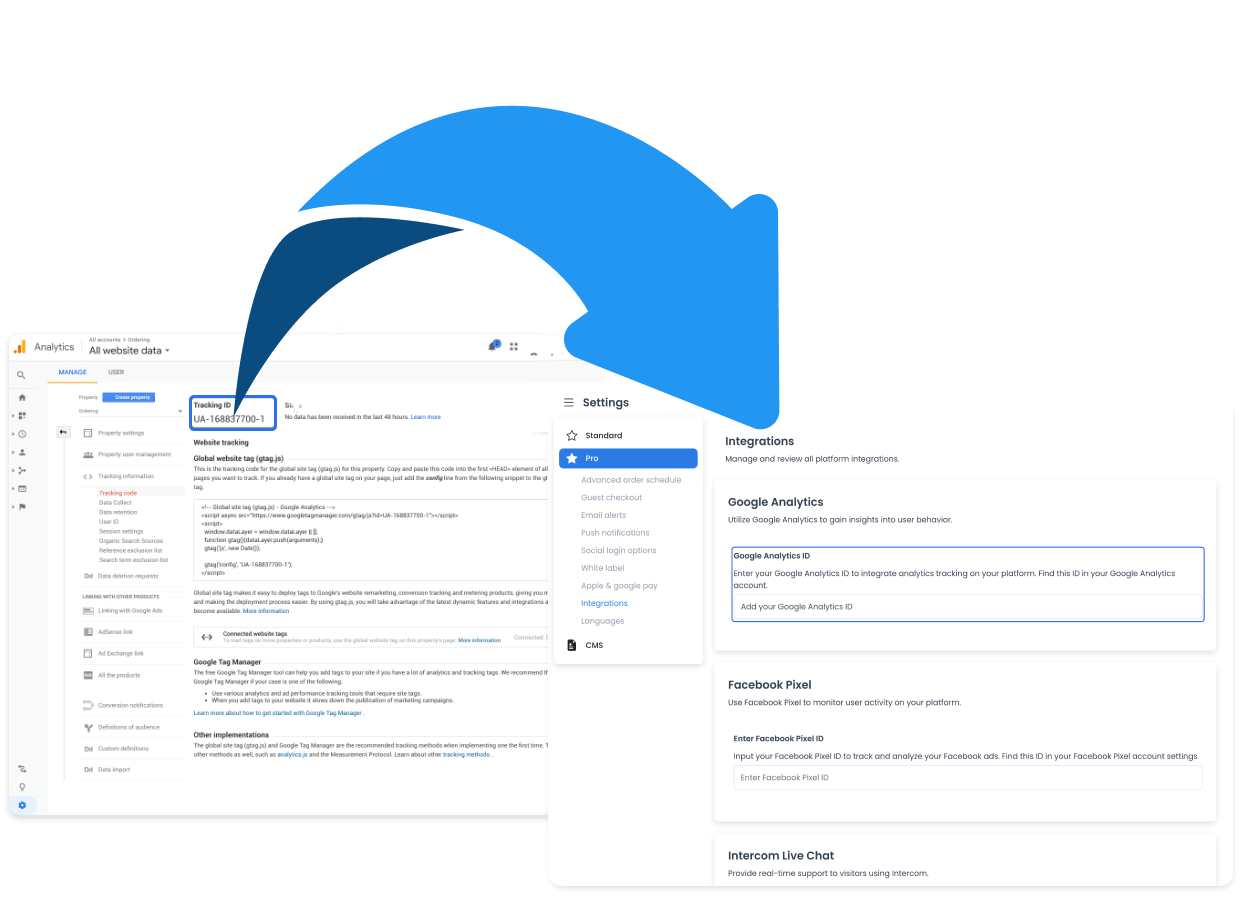
After you save, rebuild the website if you use the Ordering.co website Builder. Saving the Dashboard field does not by itself publish the tag.
Add the global site tag in the Builder
If the website is built with the Ordering.co Builder, add the snippet or Global website tag (gtag.js) in the website header.
- Open the Builder.
- Go to Settings.
- Open the THIRD-PARTY tab.
- Paste the tag into the Code on head field.
- Select UPDATE.
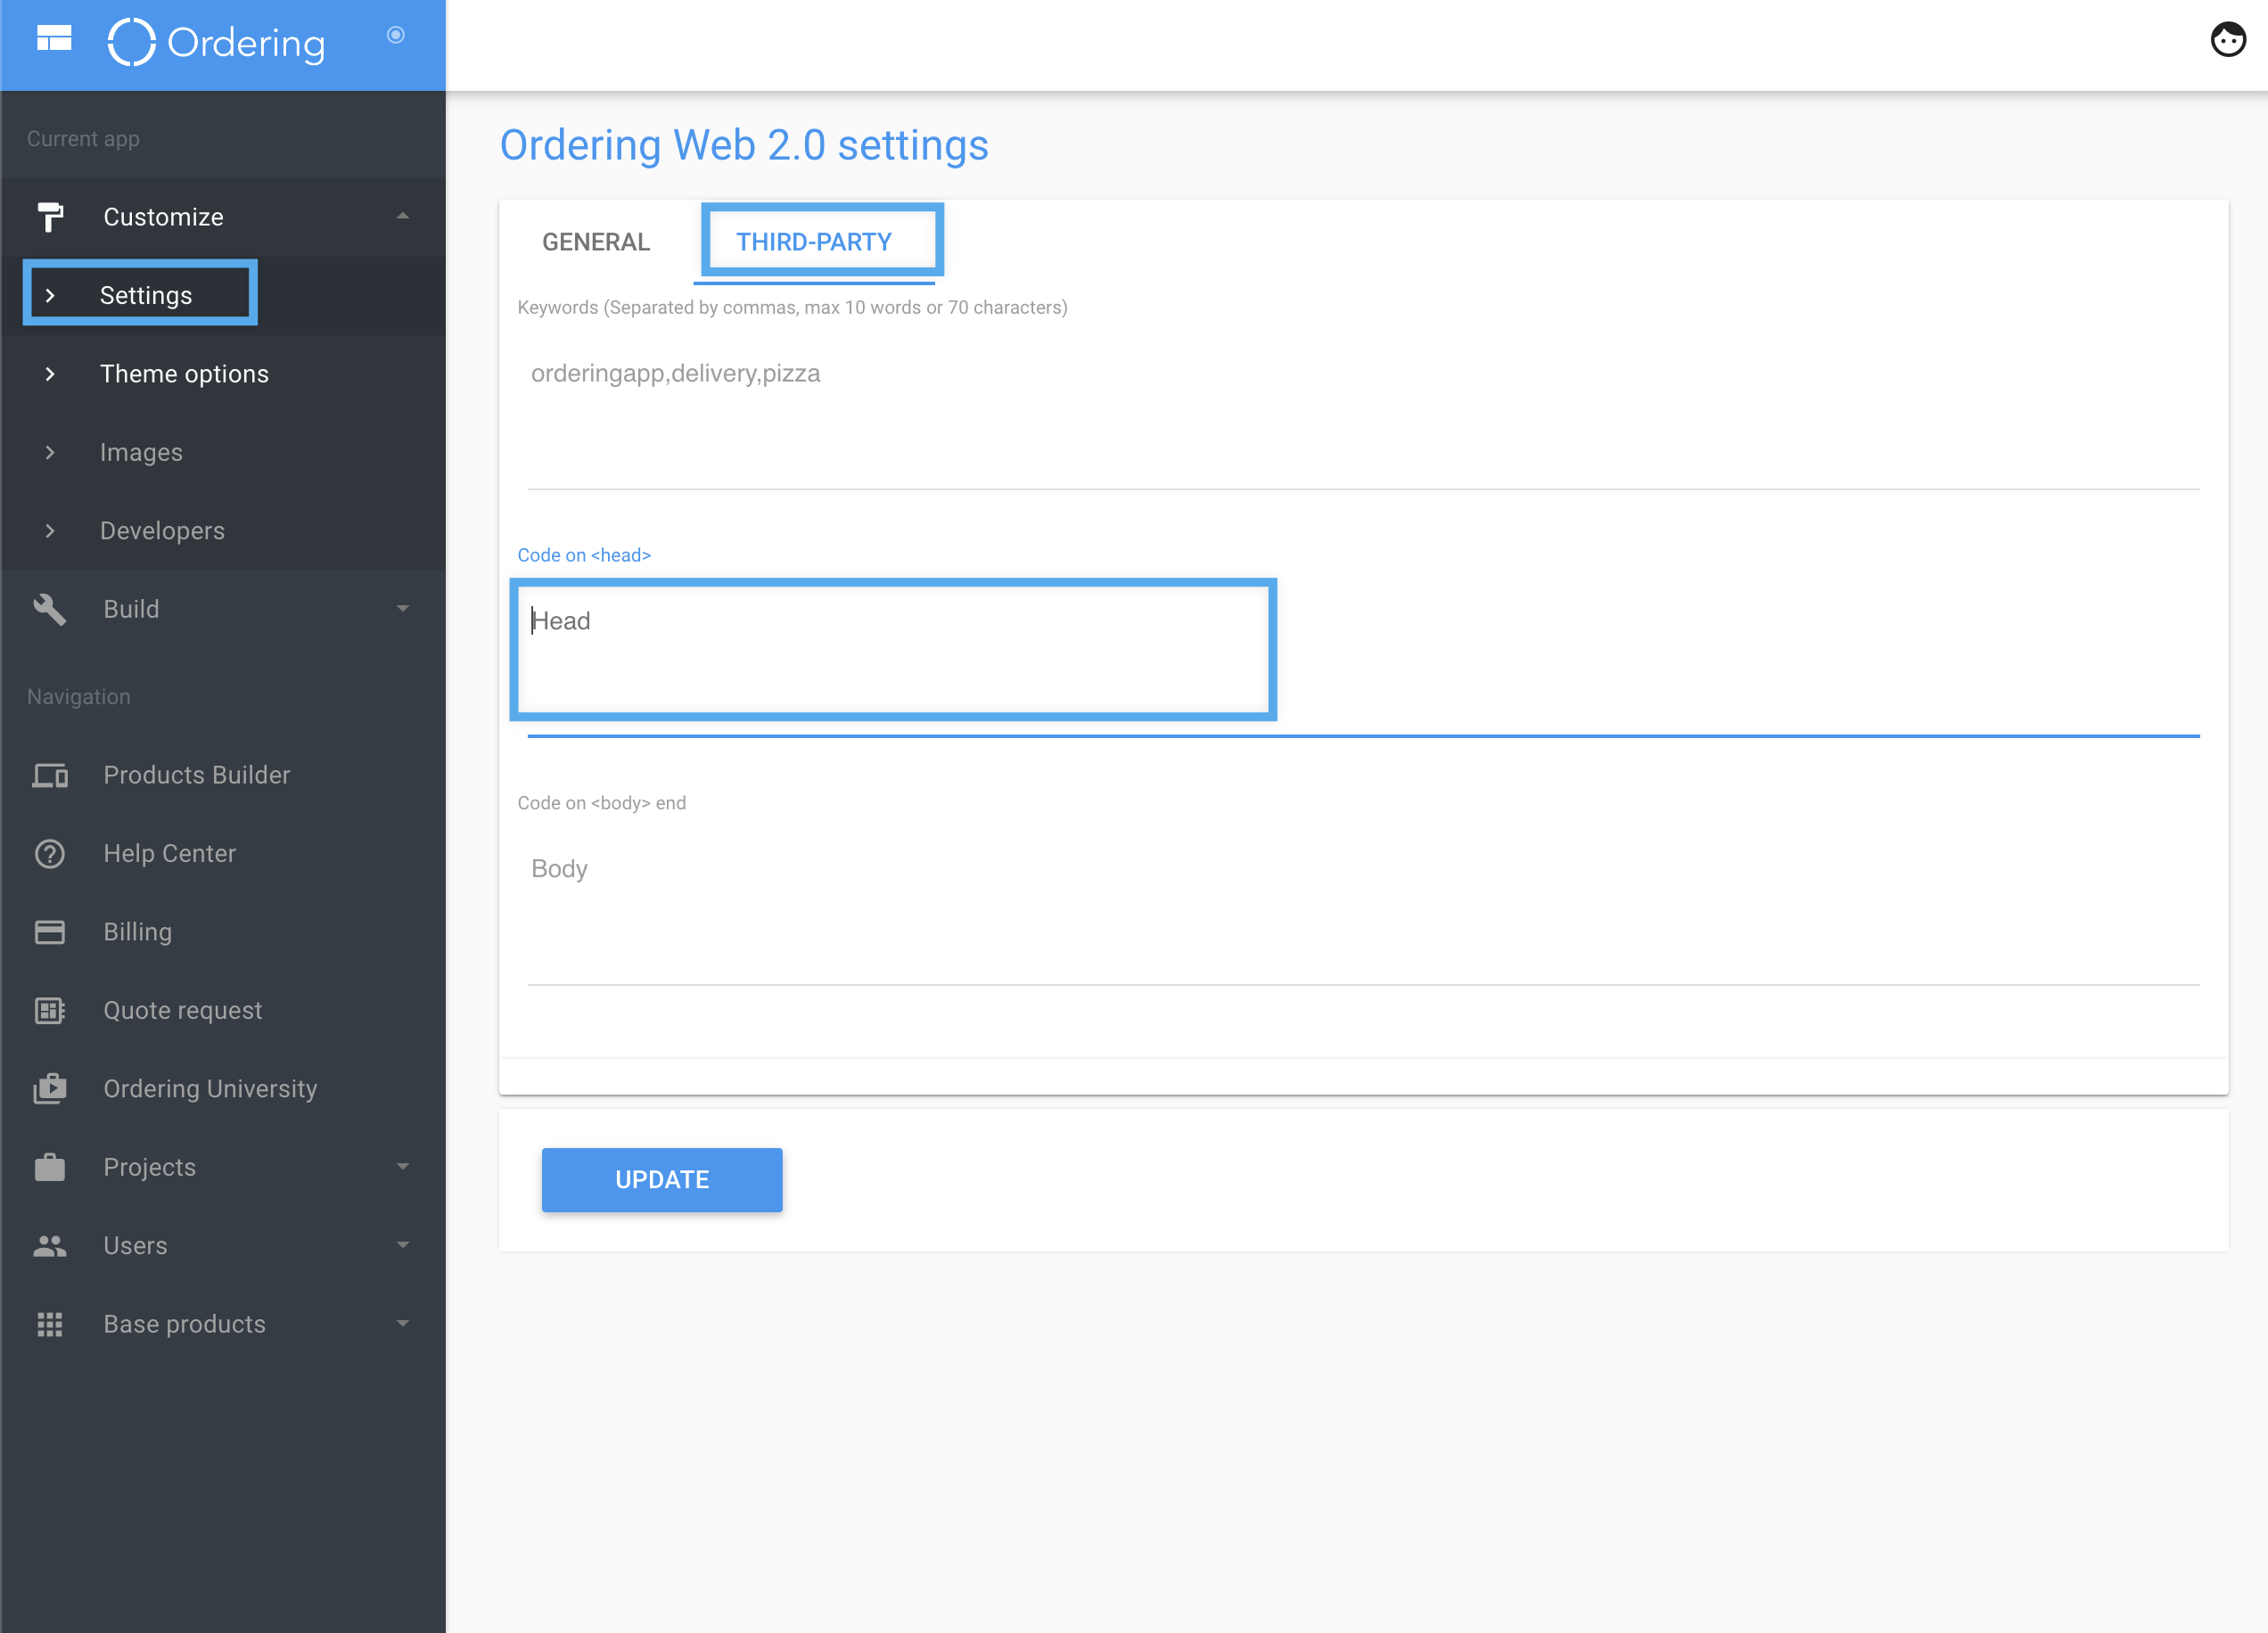
After every Builder change, open Build, then Build website, so the storefront receives the new header. Updating the settings form does not apply until that build finishes.
Enable Google Analytics e-commerce
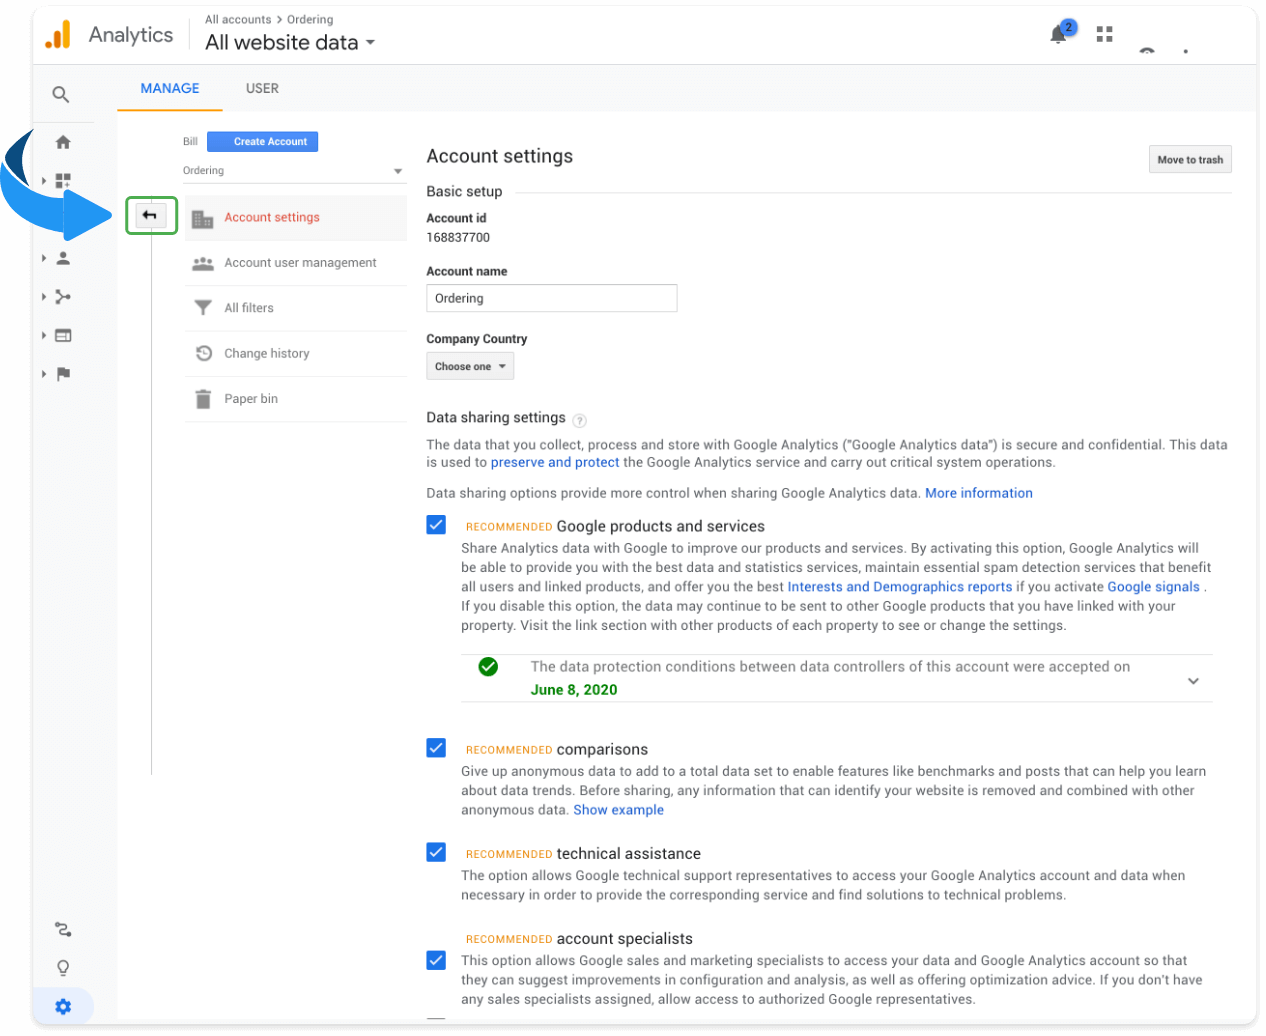
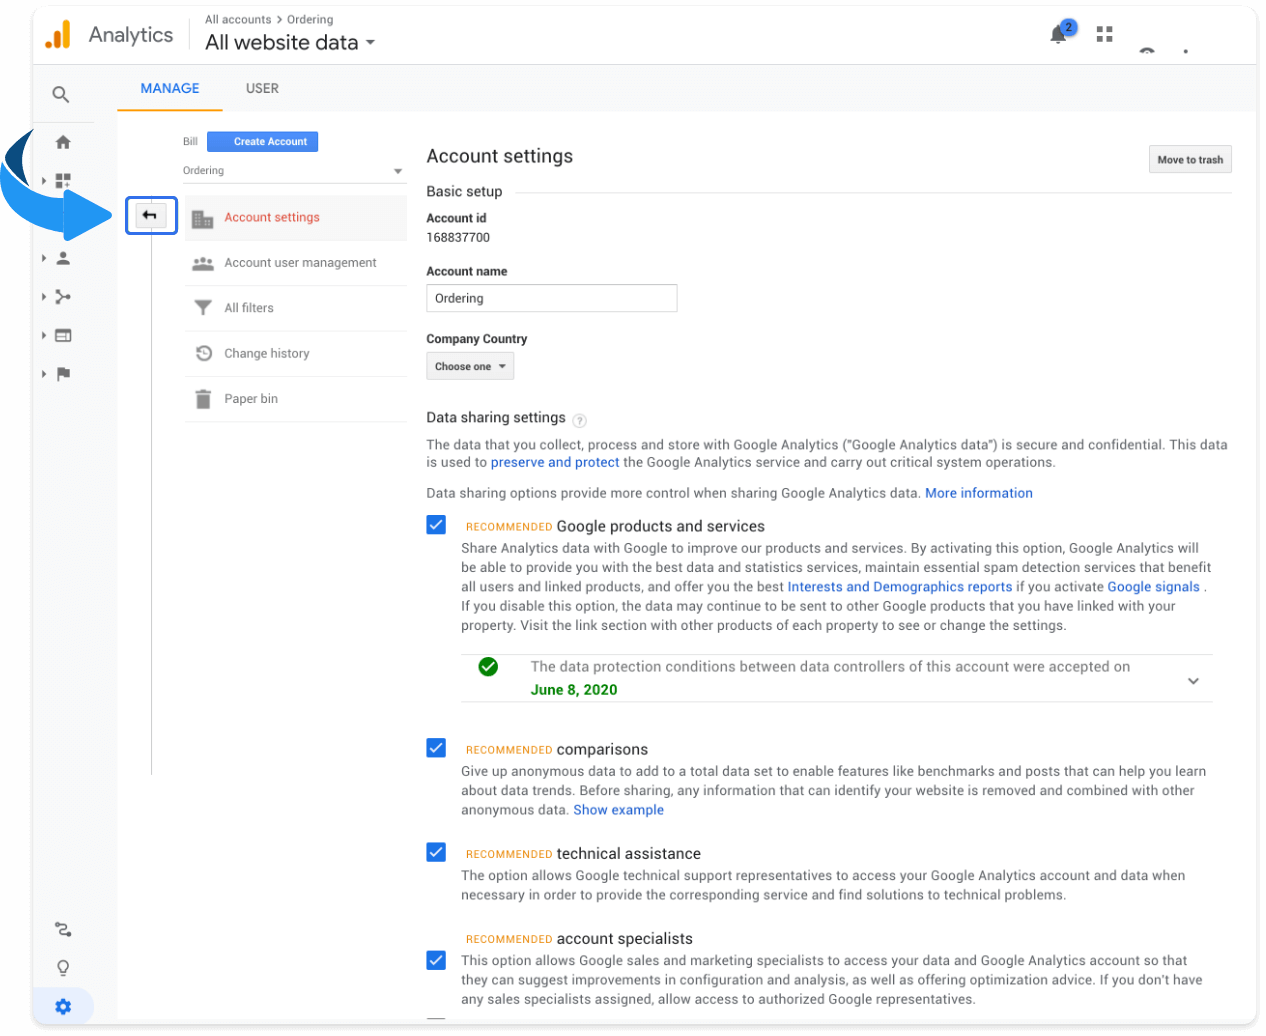
In Google Analytics, select the back control to the left of Account Settings.
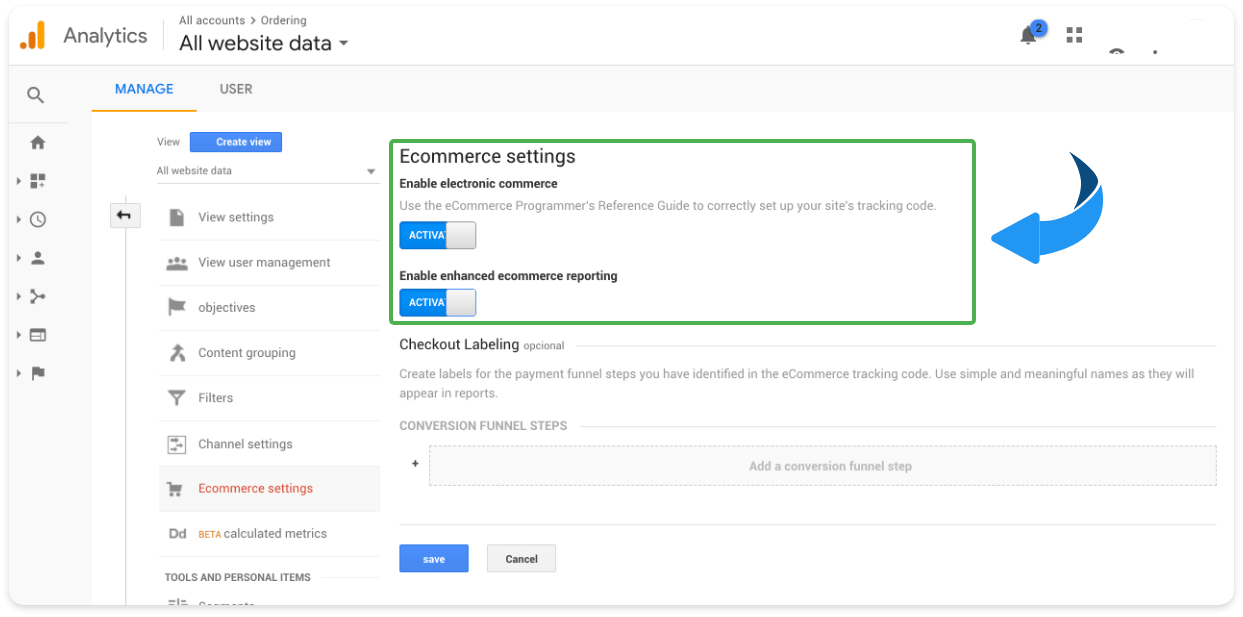
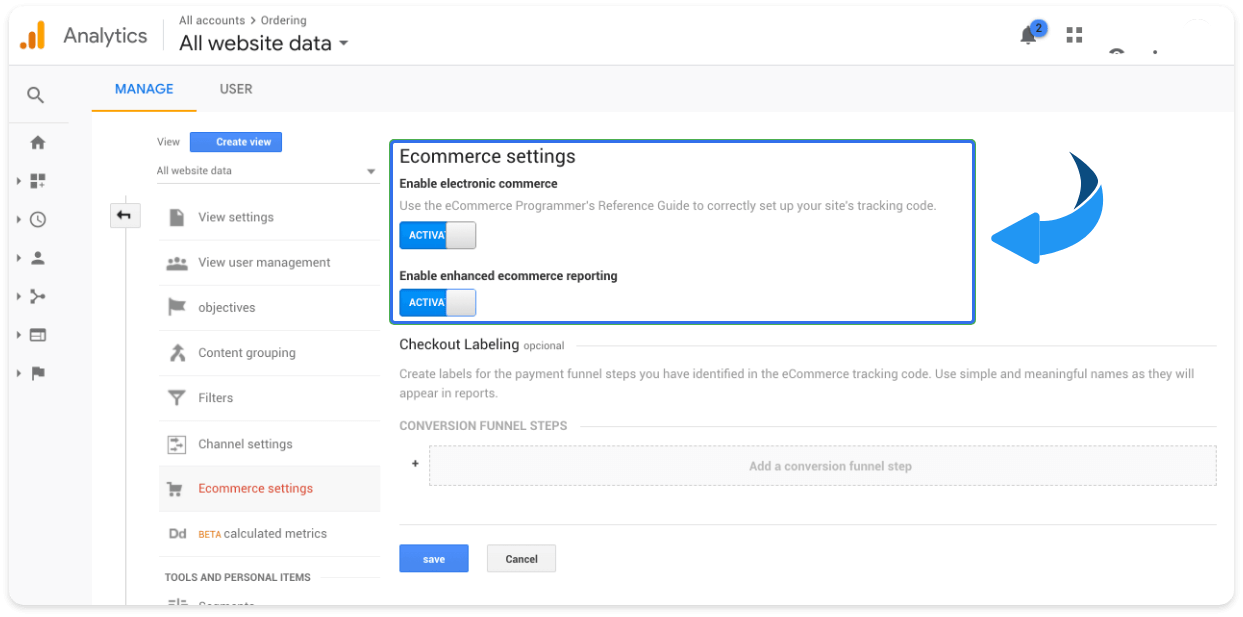
Select E-commerce on the right.
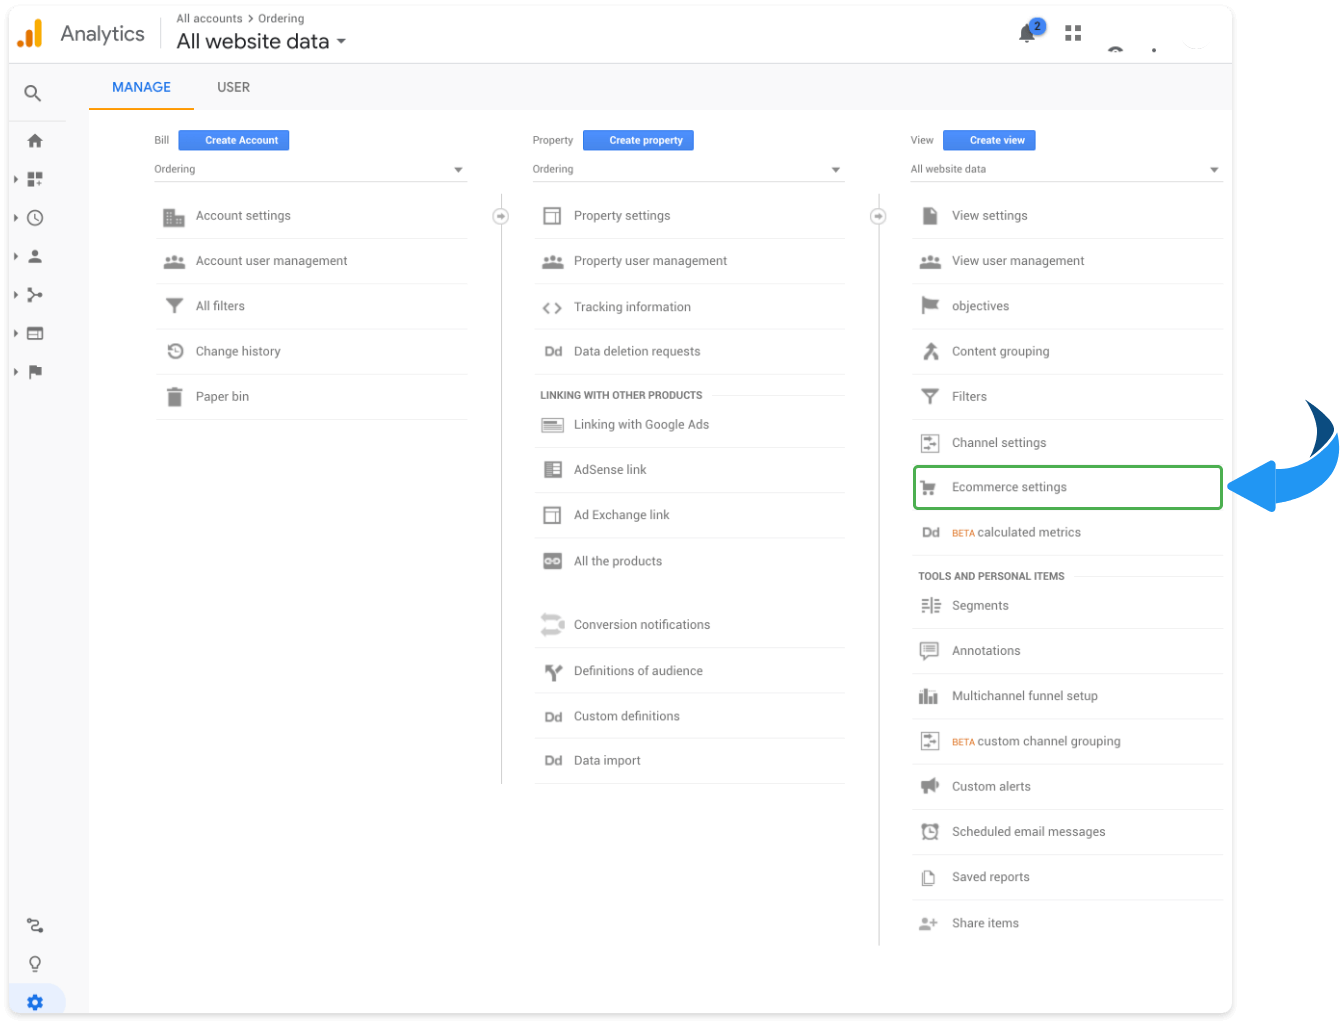
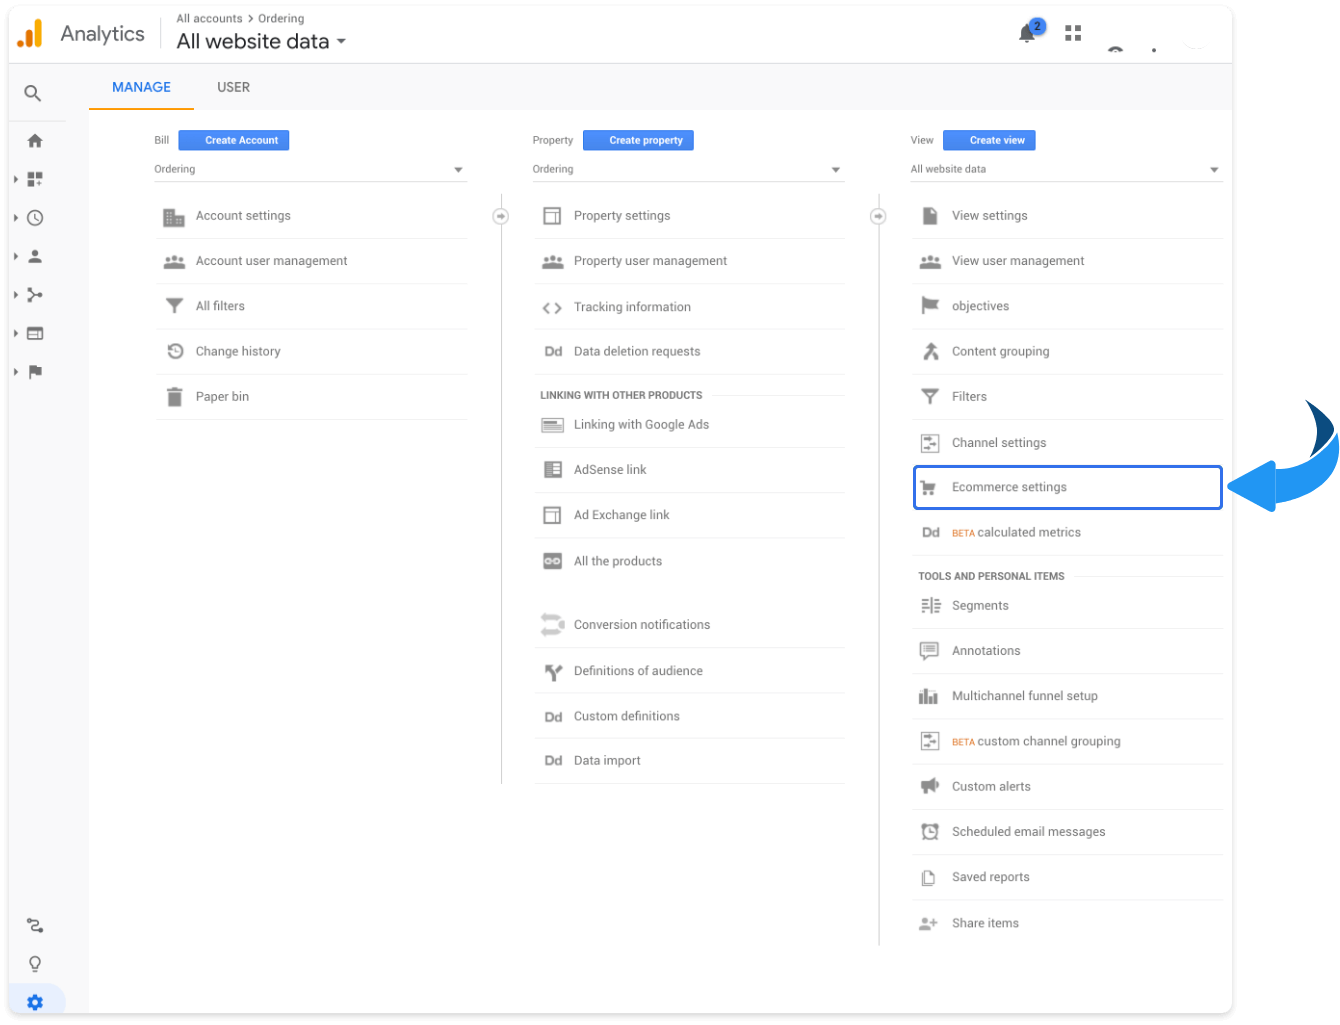
Turn on every switch in the Google Analytics e-commerce settings.
When Google Analytics is receiving data, you can review best-selling products, the pages people visit most, hours with more interaction, and the locations of visits.
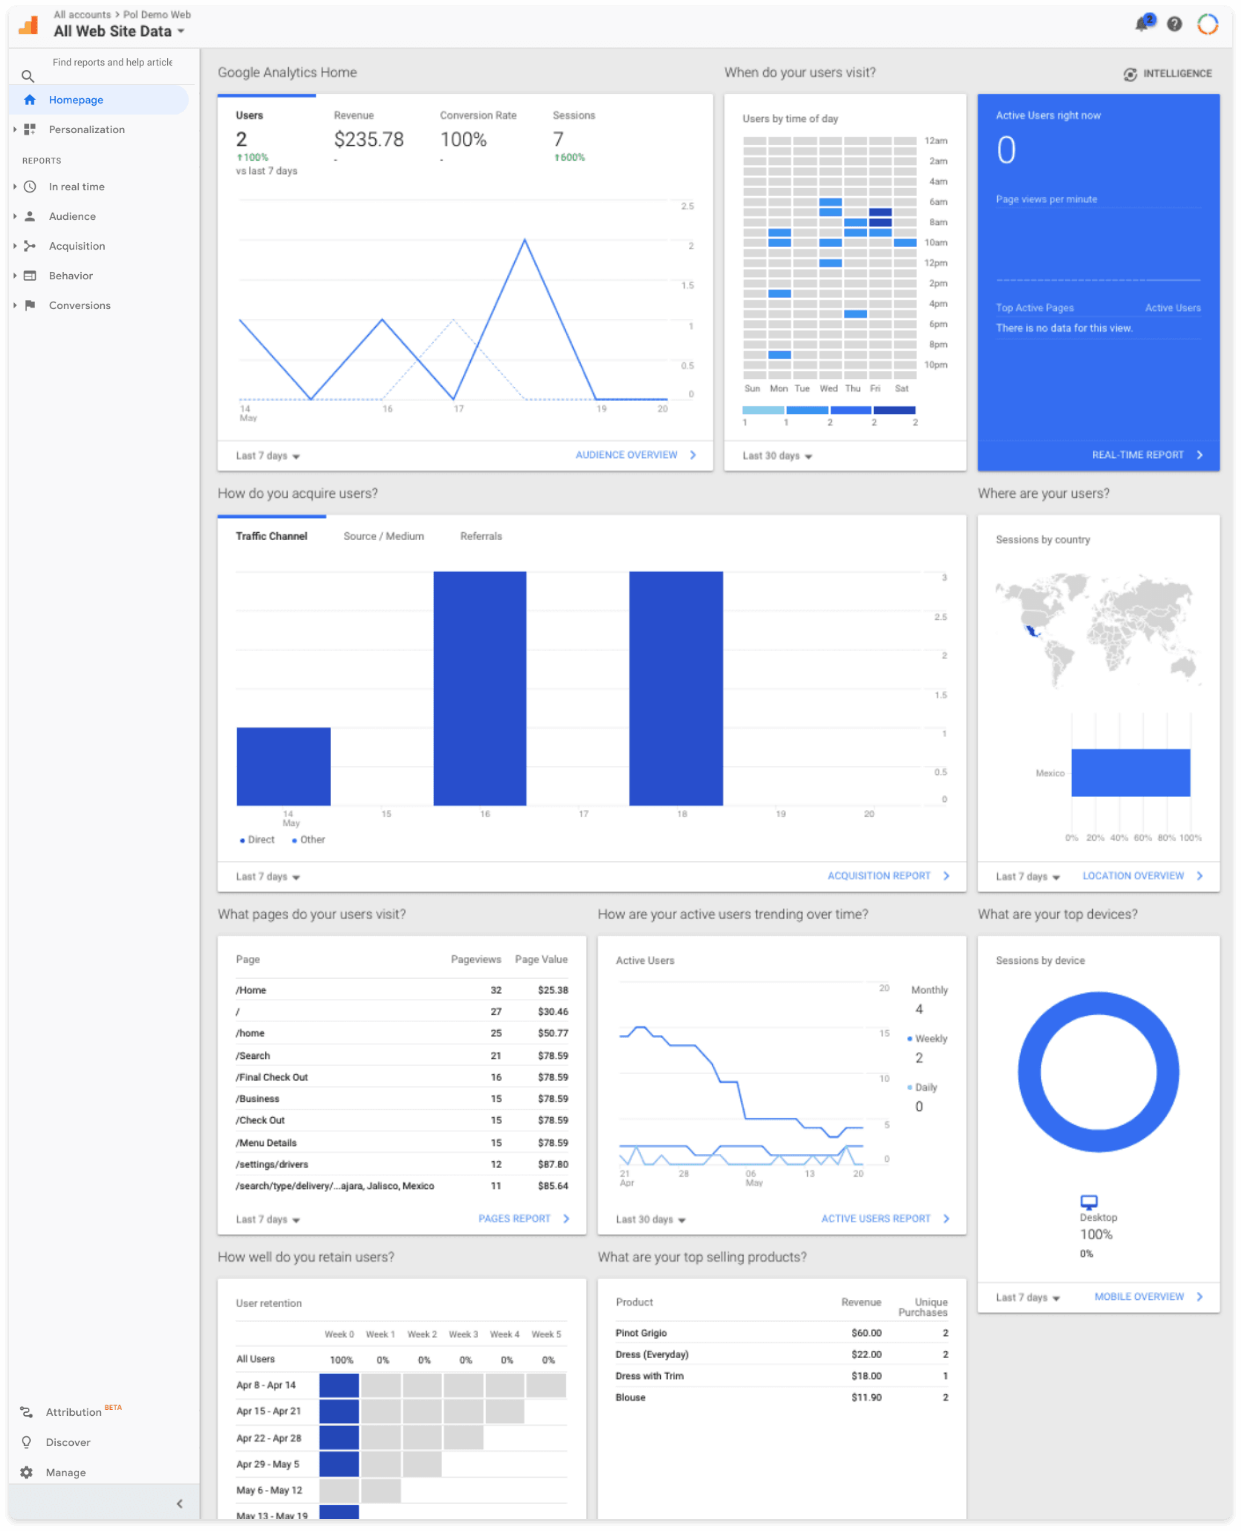
Open Conversions and Ecommerce (Google Analytics may label this E-commerce) for transaction detail.
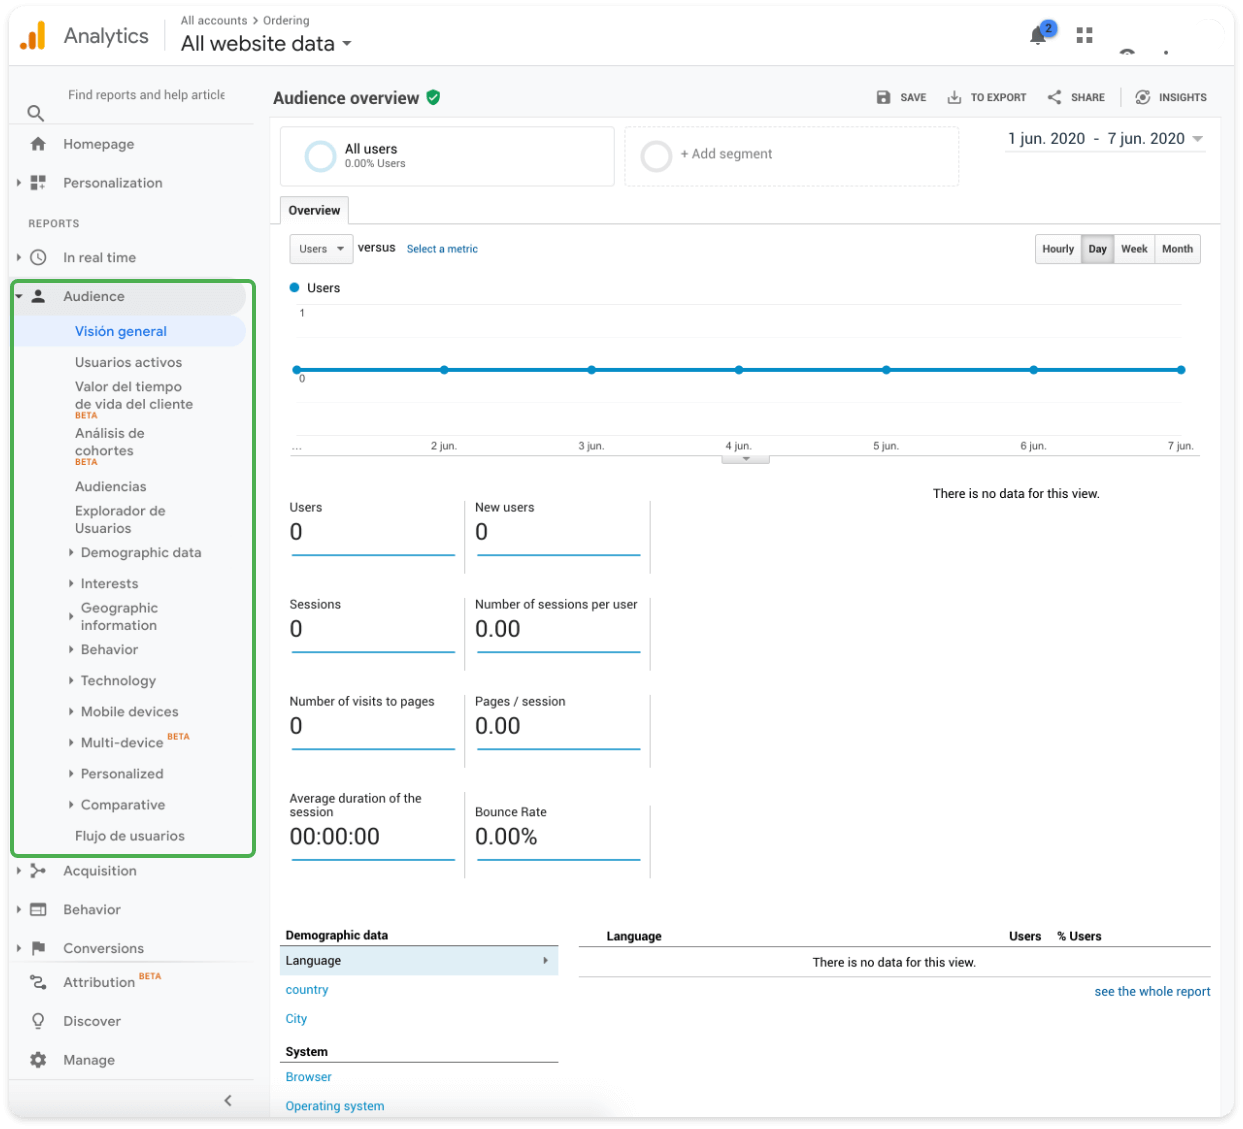
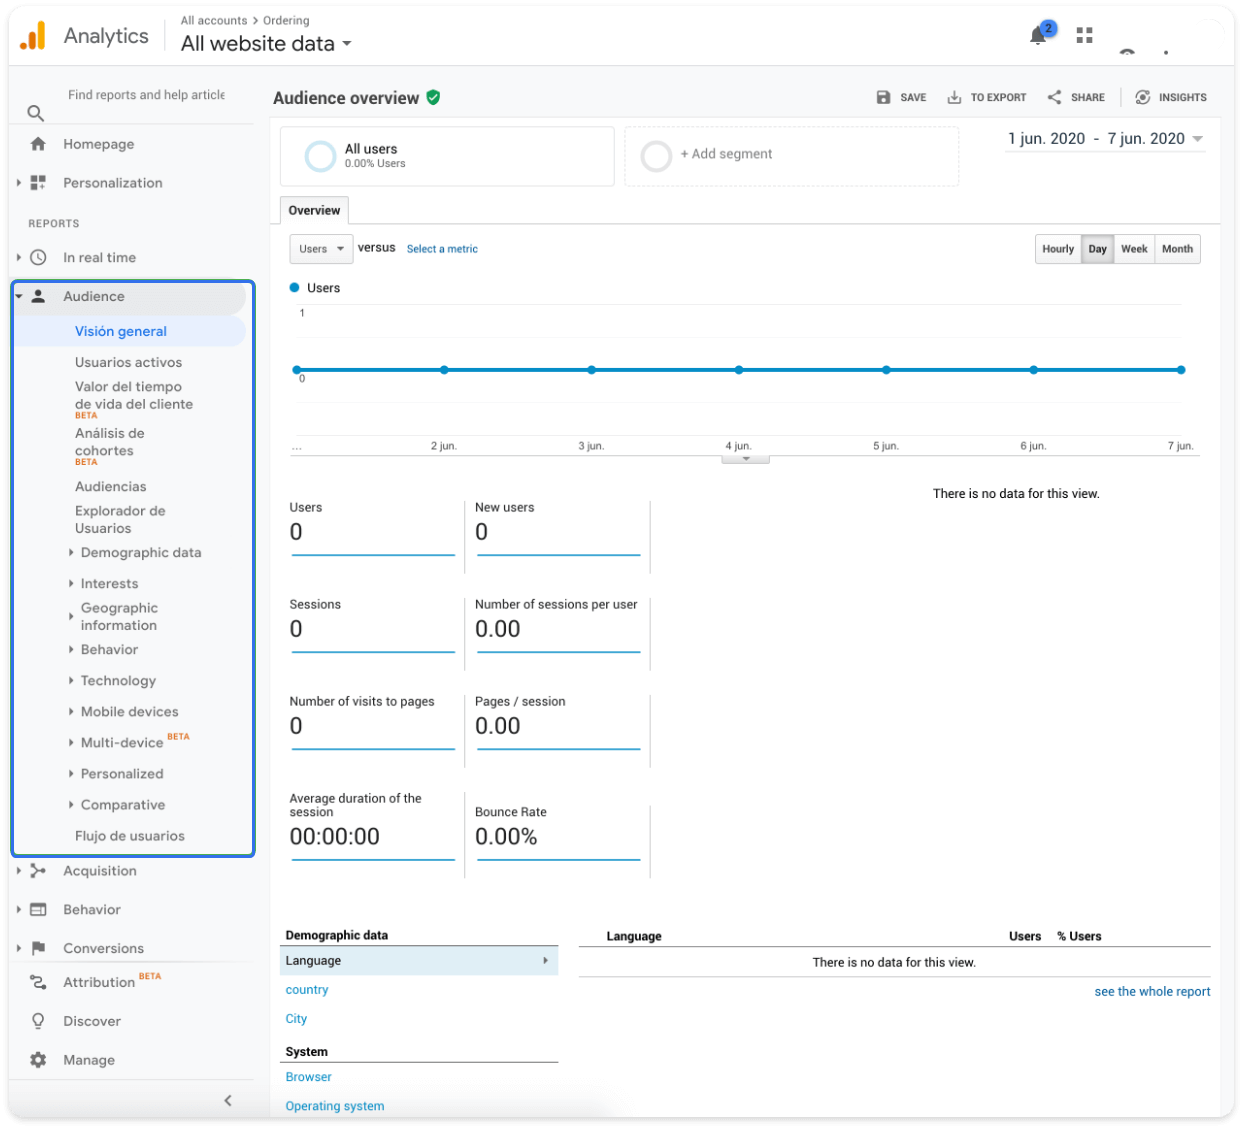
Those reports appear only after the property records hits and transactions. Pasting the ID and enabling e-commerce switches does not backfill traffic.