Create a custom order
Use Create custom order to place an order on behalf of a customer from the Dashboard. You can build the order from a store's configured products or enter a custom total.
The Create custom order action is available to administrator-level accounts. The fields and options shown depend on delivery type, store availability, payment methods, checkout rules, and project configuration.
Before you start
- Confirm that you are working in the correct Ordering project.
- Have the customer's phone number and delivery or pickup address available.
- Confirm that an eligible store is currently open for the selected address and order type.
Open the custom order panel
- In the Dashboard sidebar, select Orders.
- Select Orders list.
- Select Create custom order.
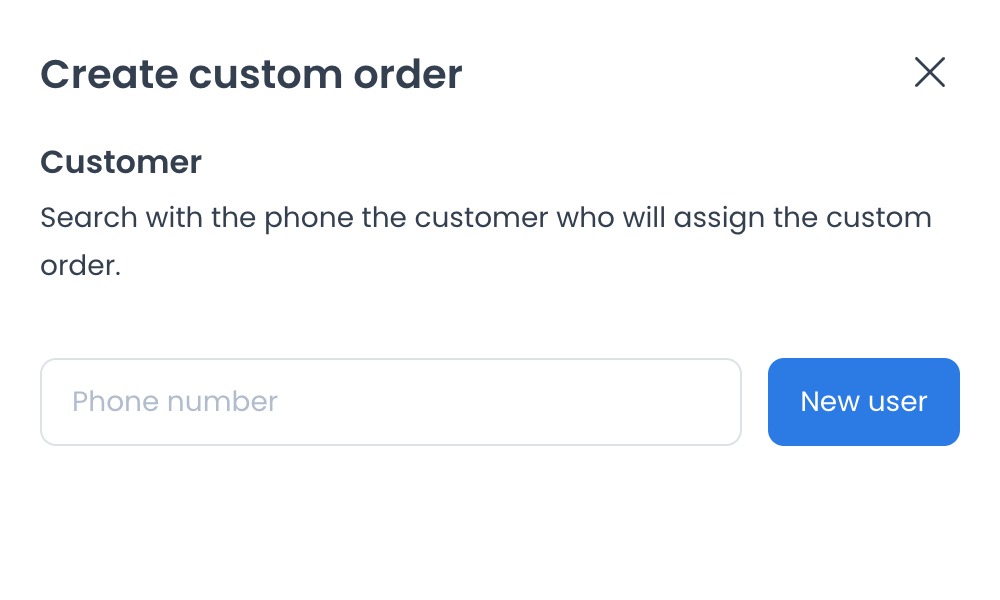
Select or create the customer
- Enter at least seven digits of the customer's phone number to search existing enabled customers.
- Select the matching customer, or select New user to create one.
- Select an existing customer address or add a new address.
The rest of the custom-order form appears after the selected address includes a map location.
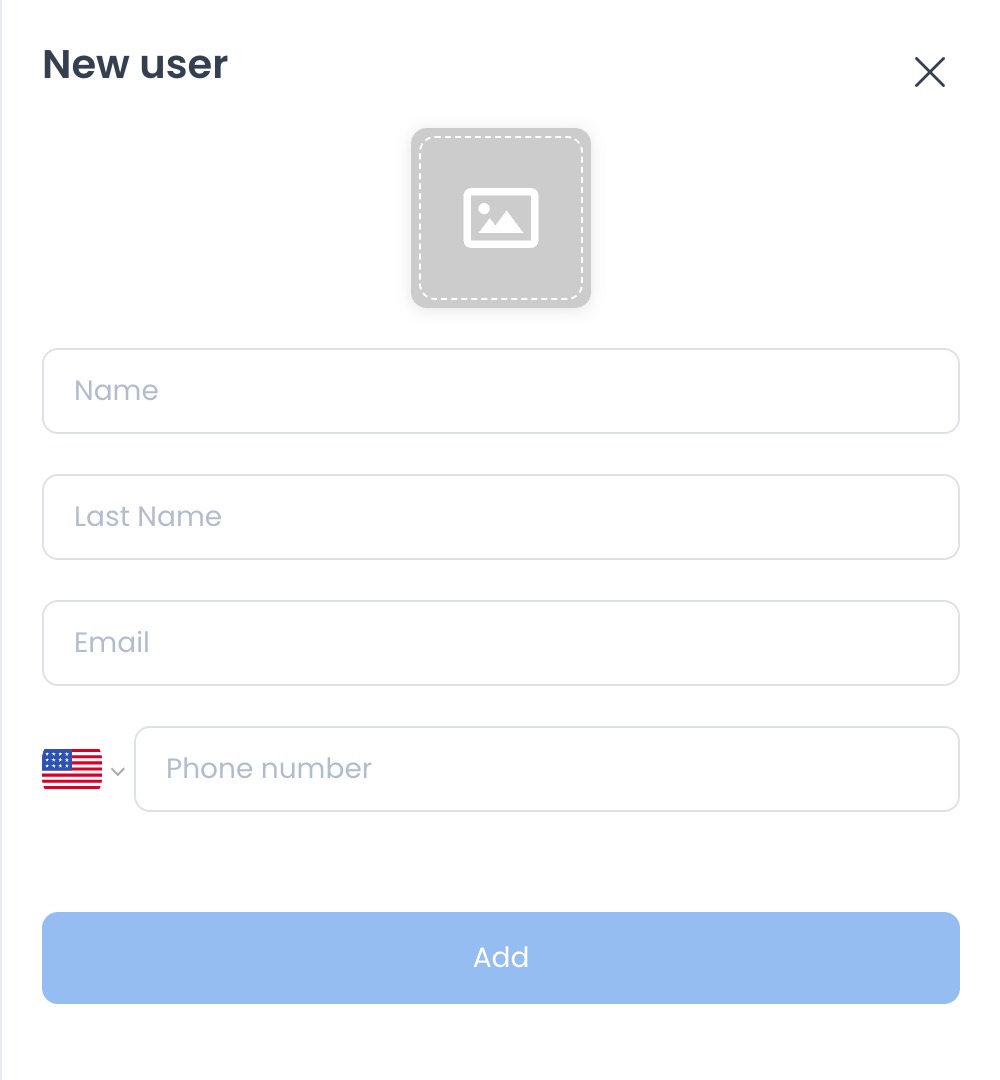
The New user panel provides fields for name, last name, email, phone number, and a profile image. Complete the fields required by your project's customer configuration, then select Add.
Choose the order type and store
- Select the available order type. Depending on project configuration, options can include Delivery, Pickup, Eat in, Curbside, and Drive thru.
- Select an eligible open store near the customer's location.
- Review the map to confirm the customer and store locations.
If no store appears, review the selected address, order type, store schedule, and service area.
Selecting a customer or address can expose personal and location data, and the form performs authenticated lookups for eligible customers, businesses, and products. Use only authorized customer information and do not copy it into support tickets or chat.
Choose how to create the order
Order by products
Order by products is selected by default.
- Select a product from the chosen store.
- Complete any required options or ingredients.
- Set the quantity and add the product.
- Repeat for additional products.
- Review the order summary and select an available payment method.
You can edit, remove, or change the quantity of products before placing the order. Product availability, required options, and minimum or maximum quantities are validated during checkout.
Order by total
Use Order by total when the order is represented by a custom amount instead of configured products.
- Enter the Total.
- Enter a Comment when it is required by the project's checkout configuration.
- Optionally enter an External id.
Product mode and total mode are alternatives; a custom order cannot be submitted with both products and a custom total. Total mode is submitted as a cash order.
Place the order
- Review the customer, address, order type, store, products or total, and payment information.
- Resolve every checkout warning shown by the Dashboard.
- Select Place Order.
Depending on project configuration, checkout can require a payment method, valid customer phone, table or spot number, driver tip, comment, card ZIP code, valid products and address, valid preorder time, or compliance with minimum and maximum subtotal rules.
The source defines a completion branch that closes the panel and opens the returned order, and an error branch that keeps the failure available for review. Do not use the UI transition alone as proof that downstream payment, notification, delivery, or integration effects completed.
Place Order submits a consequential live-order request and can involve payment, notifications, store workflows, delivery assignment, and integrations. Verify every field before submitting, then confirm the result in your approved operational records.
Troubleshooting
Why can't I find the customer?
Enter at least seven phone-number digits. Confirm the customer is enabled, or use New user to create the customer.
Why don't I see the rest of the form?
Select a customer and an address with a valid map location. The order type and store sections remain hidden until that location is available.
Why don't I see a store?
Only eligible stores that are open for the selected location and order type are listed. Review the address, service area, order type, and store schedule.
Why is Place Order disabled?
Review the warnings shown in checkout. Common causes include a missing payment method, invalid product or address, unmet subtotal rule, required checkout field, card validation issue, or an unavailable schedule.
How do I verify that the order was created?
Do not rely only on the confirmation or panel change. Reopen Orders list and use your organization's approved operational checks to confirm the order identifier, customer, store, total, payment state, and current status.
Related guides: View and manage an order · Order status reference