Edit website content and static pages
Use homepage content, footer content, and static pages to give customers the information they need: welcome messages, promotions, contact information, social links, legal pages, help, FAQs, and About Us content. These areas can support HTML, so make changes deliberately and review the customer-facing result before moving on.
Copy the full current content before changing HTML or code-view content. Keep the backup in a recoverable location, edit only the text, link, image, or element you intend to change, and check the resulting layout, links, desktop view, and mobile view after saving.
Before you change content
- Confirm that you are editing the intended website.
- Copy the complete current homepage or footer code to a backup, such as
homepage-backup-dateorfooter-backup-date. - Avoid deleting large sections of markup or changing elements you do not understand.
- Make a small change, save it through the approved workflow, and inspect the result.
Edit homepage content
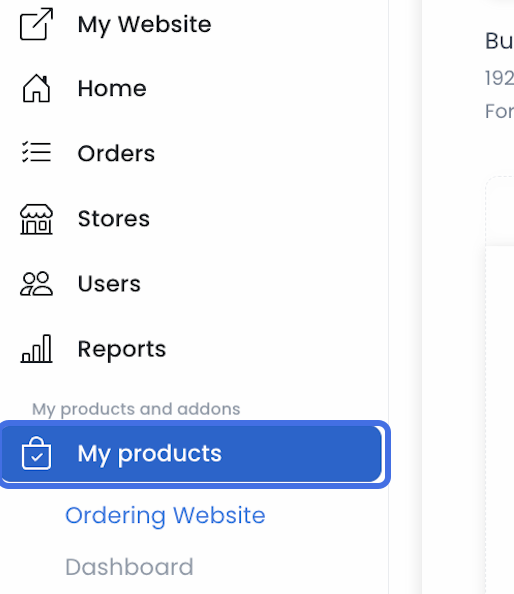
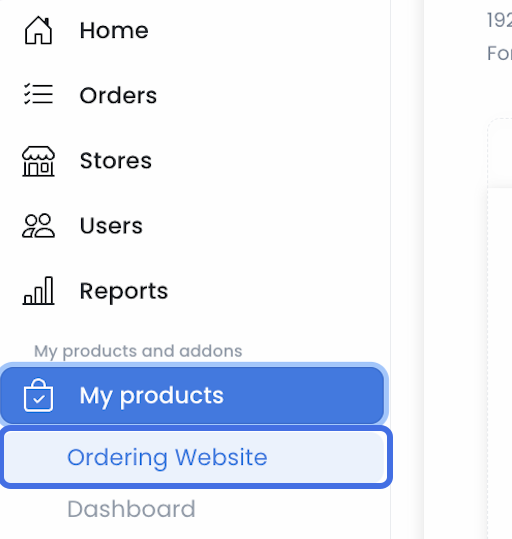
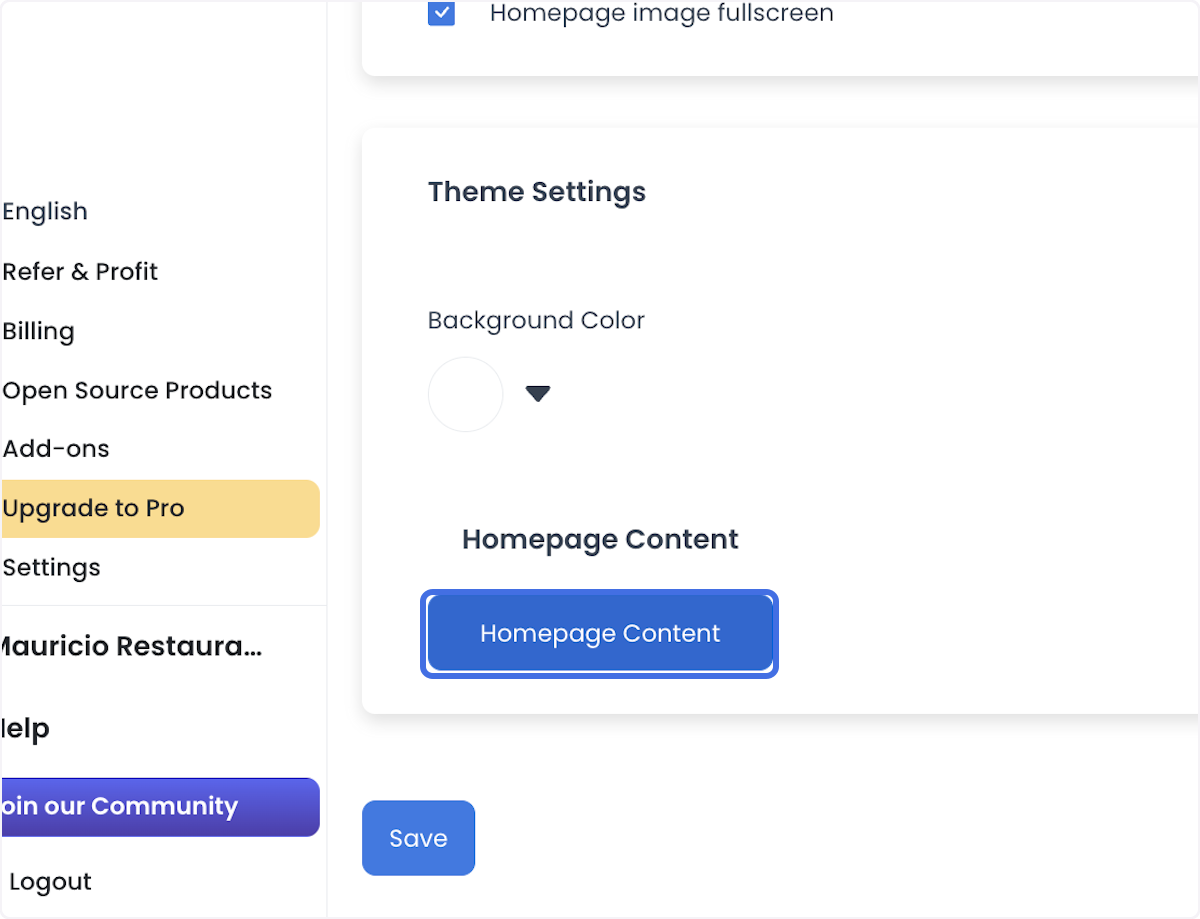
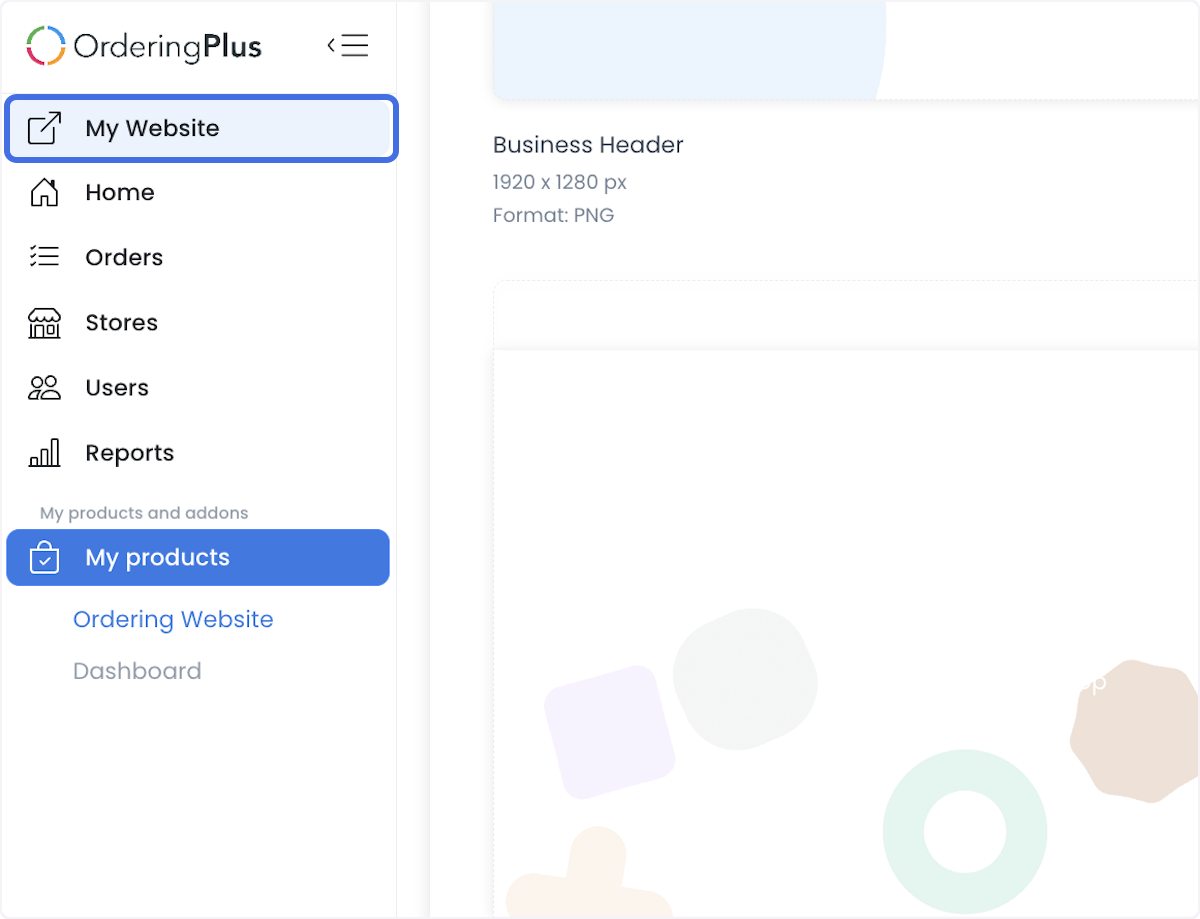
Open My Products, then select Ordering Website and Homepage Content.
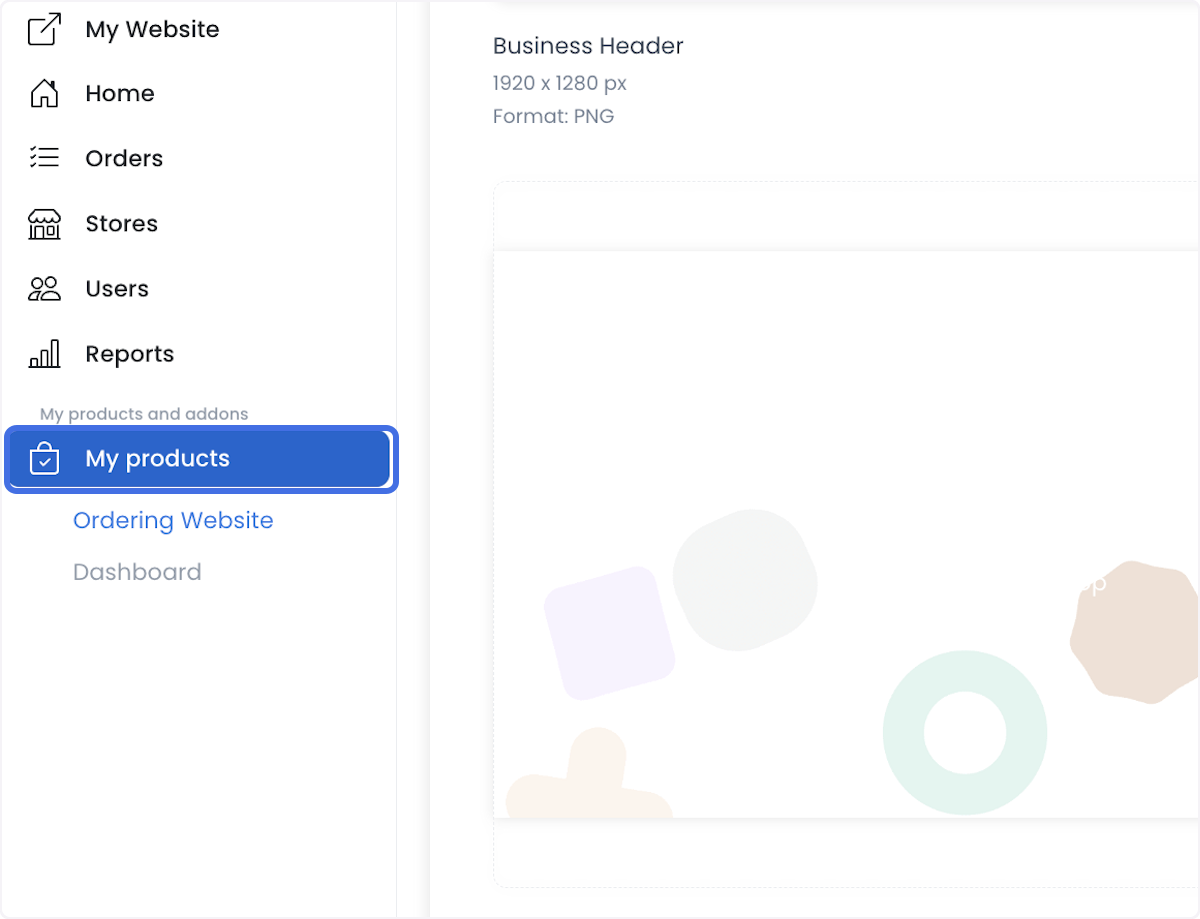
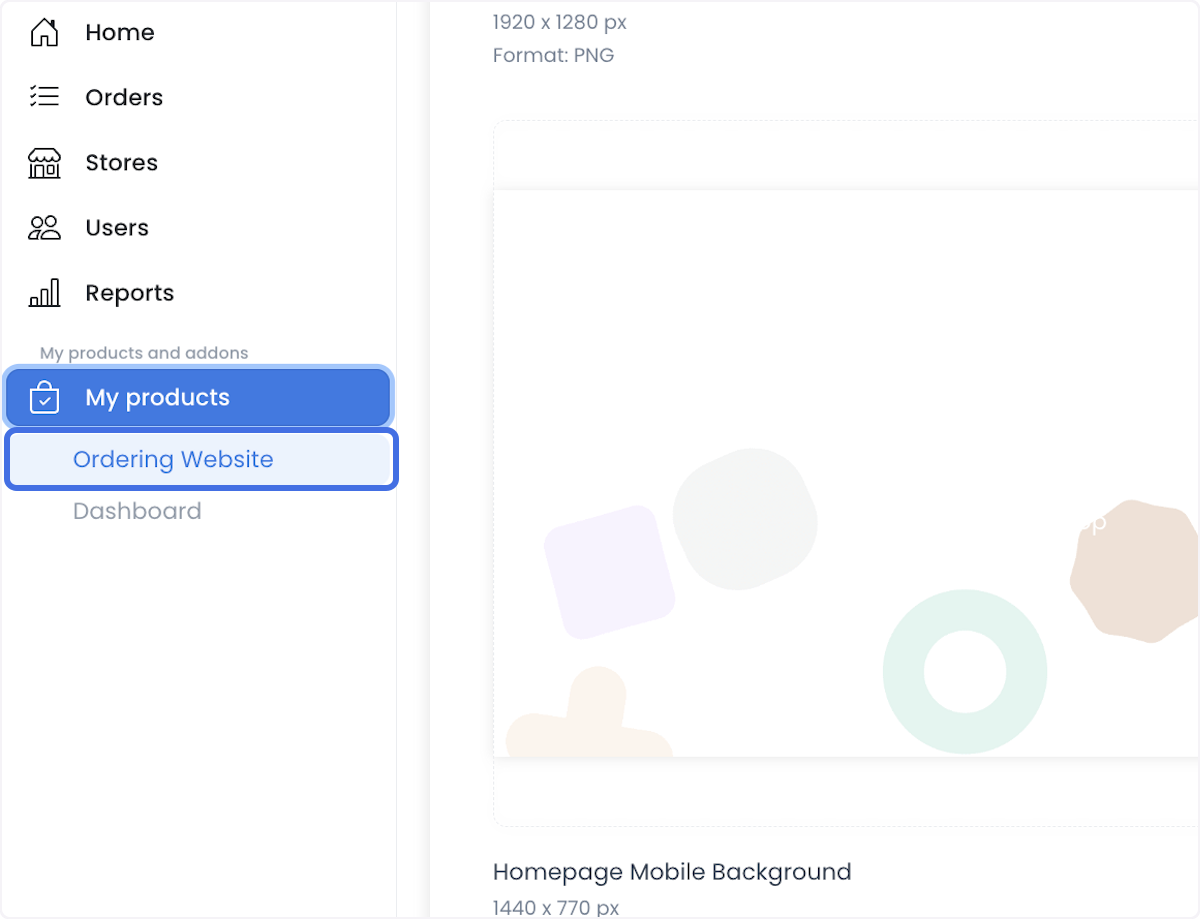
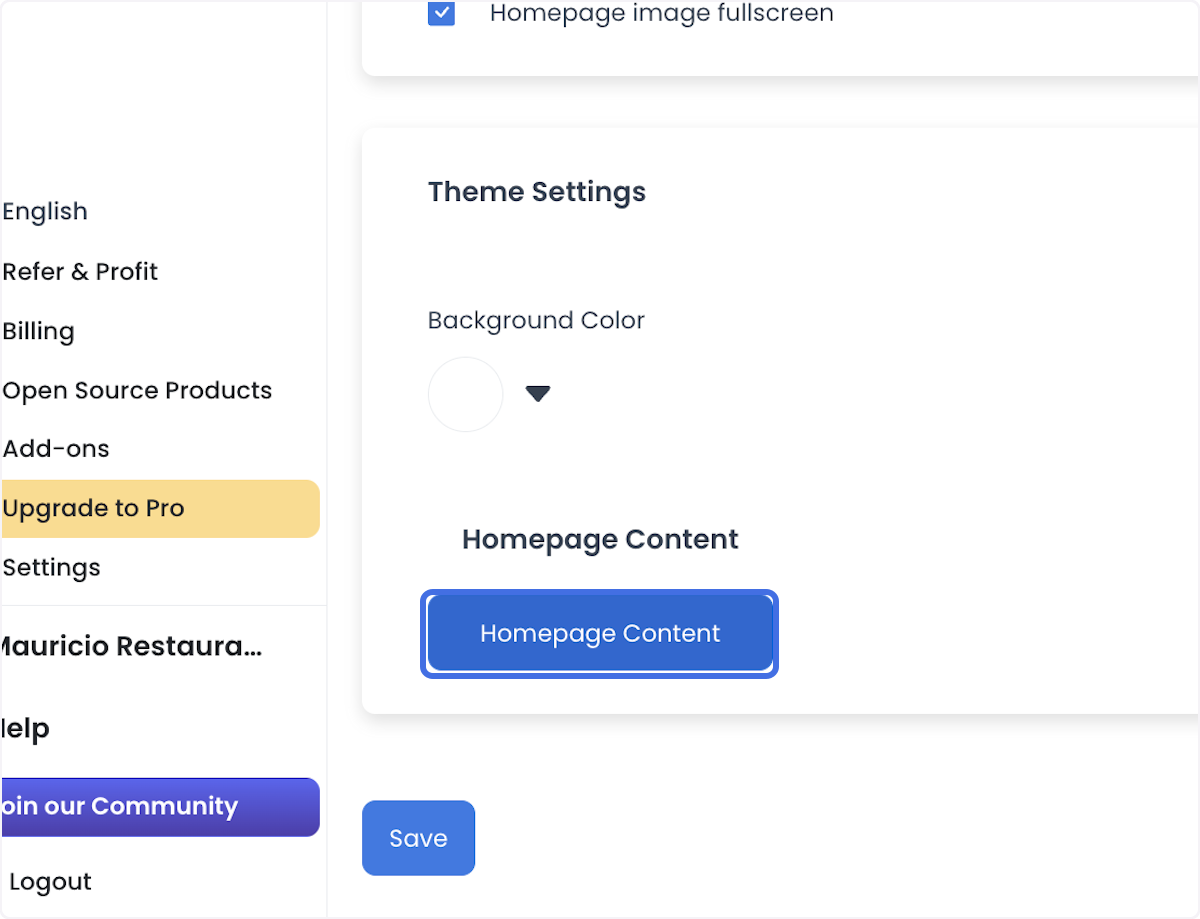
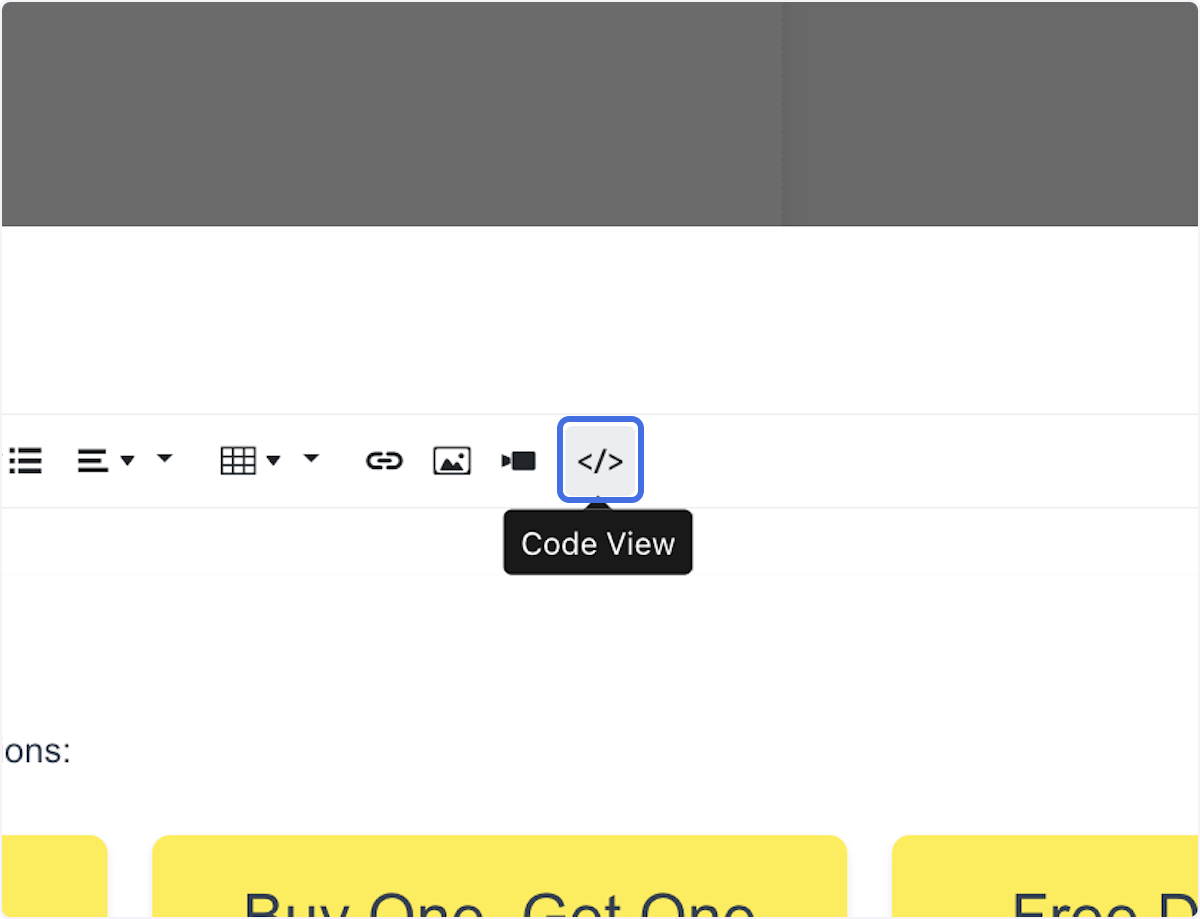
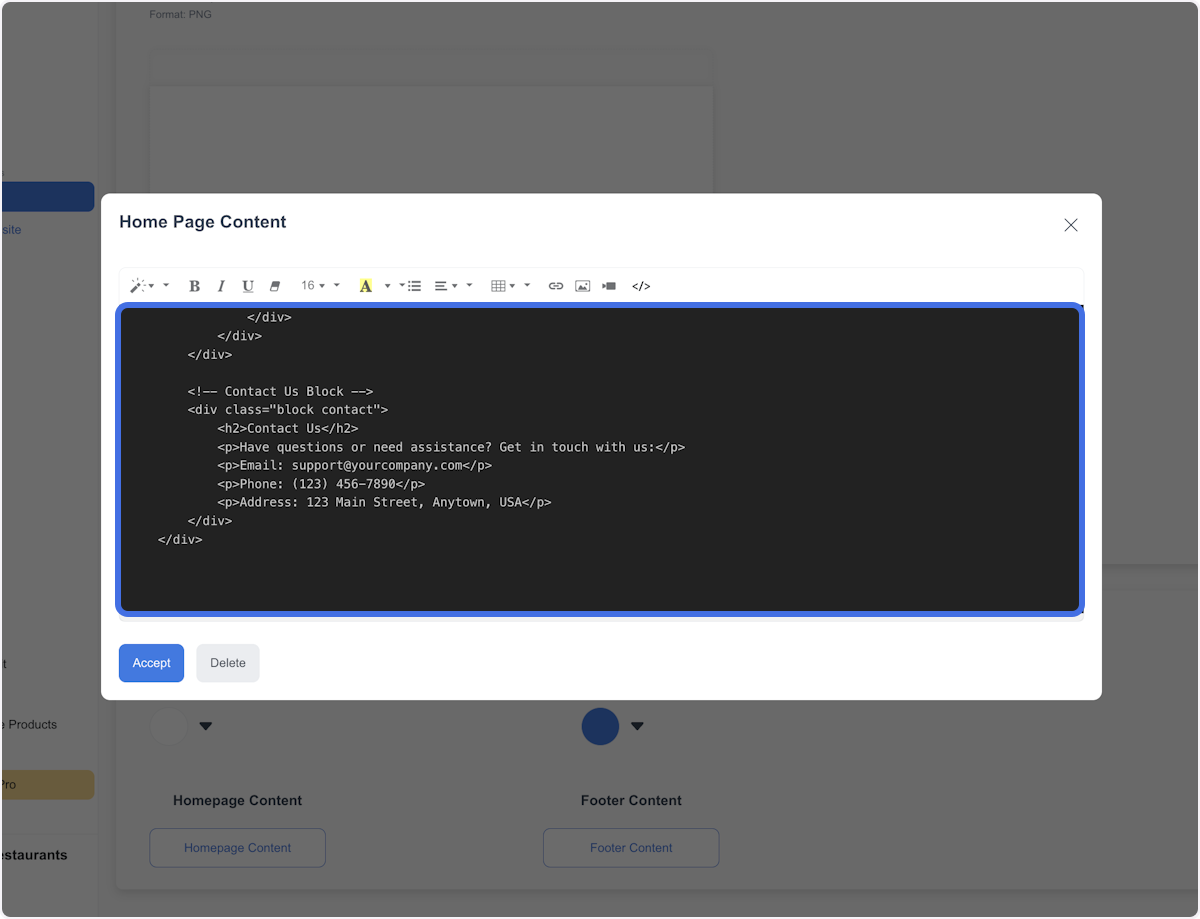
Open Code View when you need to edit the HTML or CSS used by the homepage.
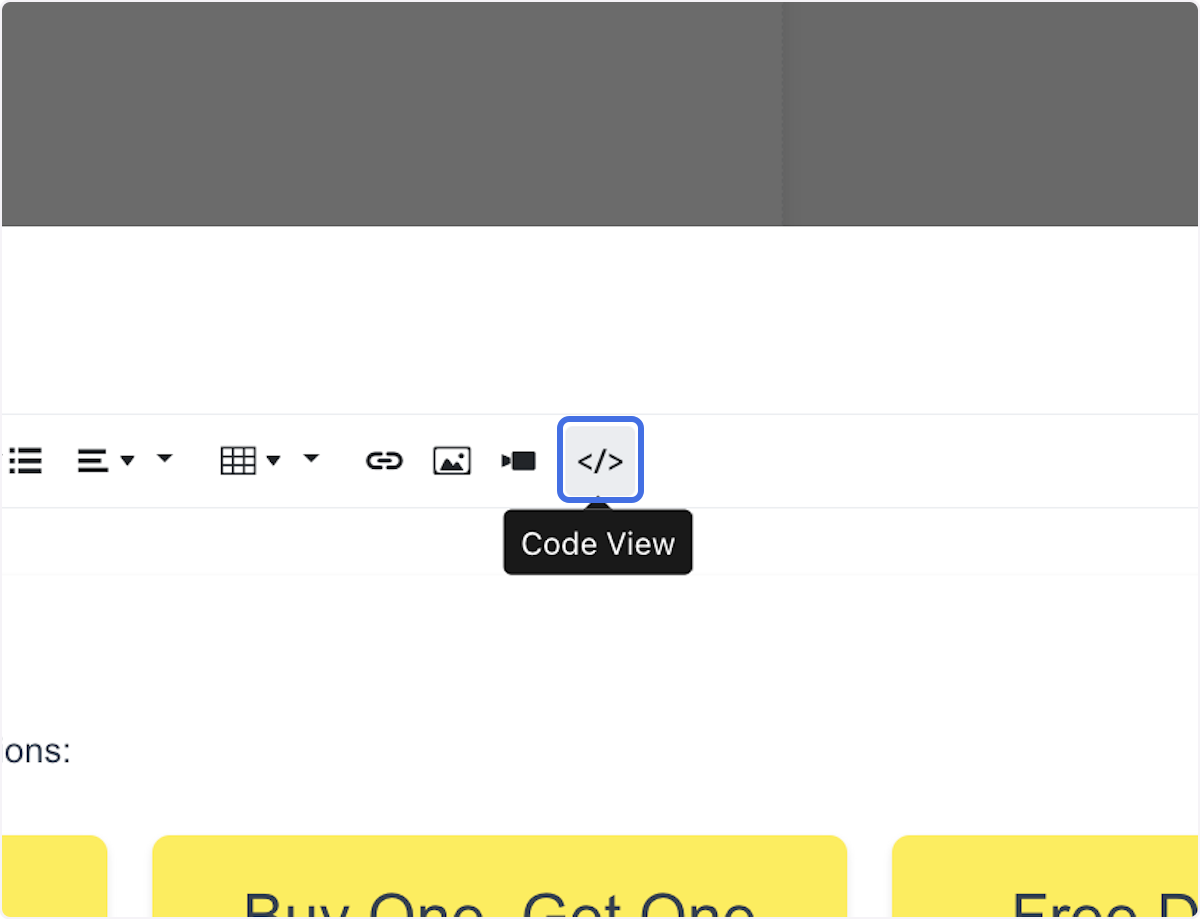
Select the specific part of the code that you intend to update. Common changes include welcome messages, promotions, images, buttons, and links.
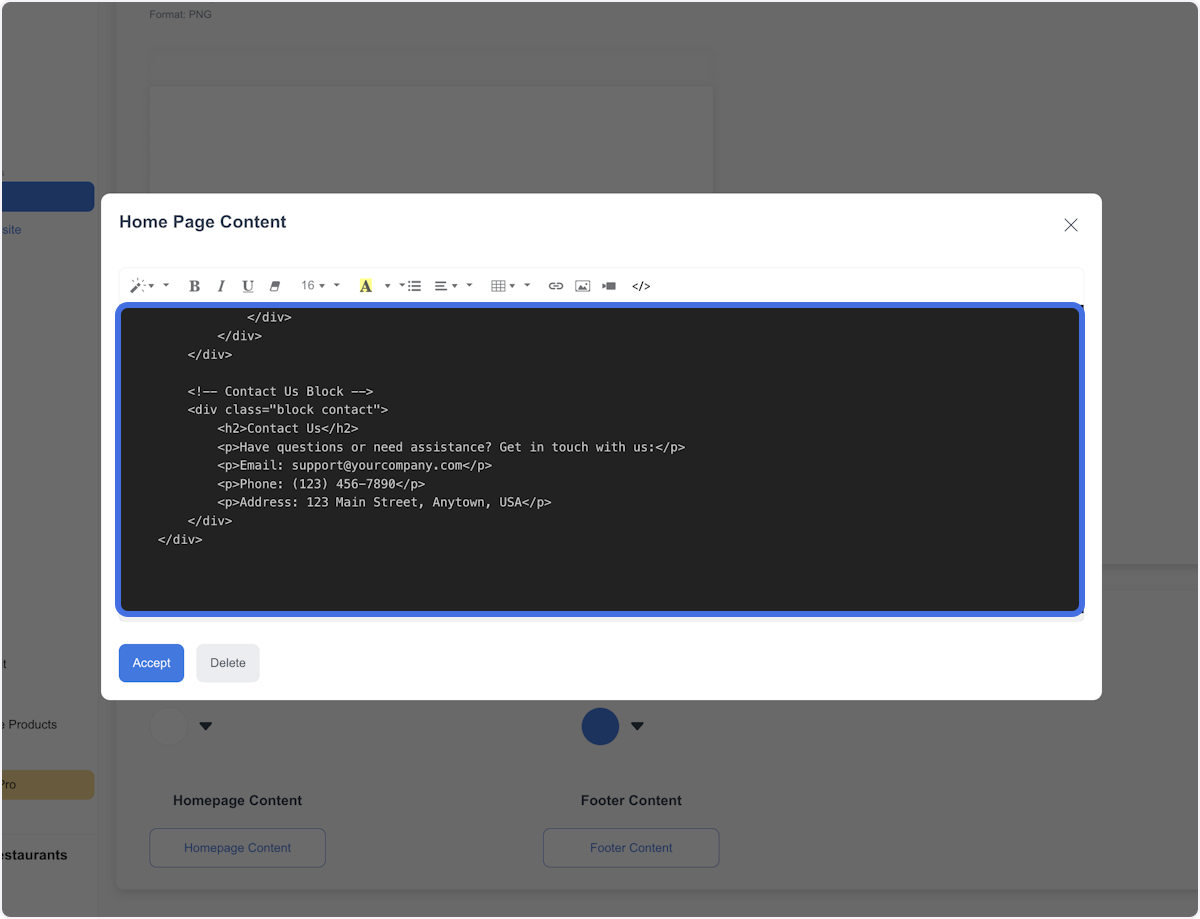
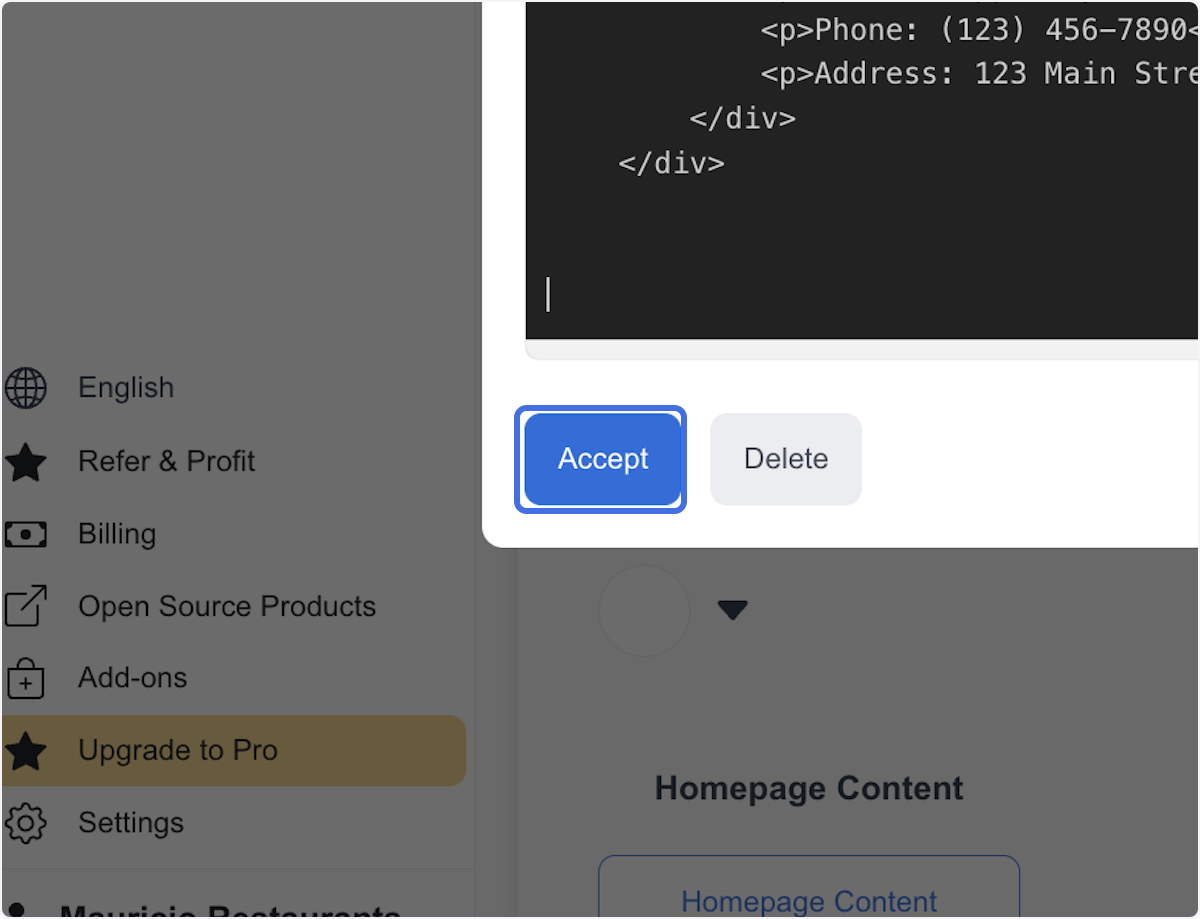
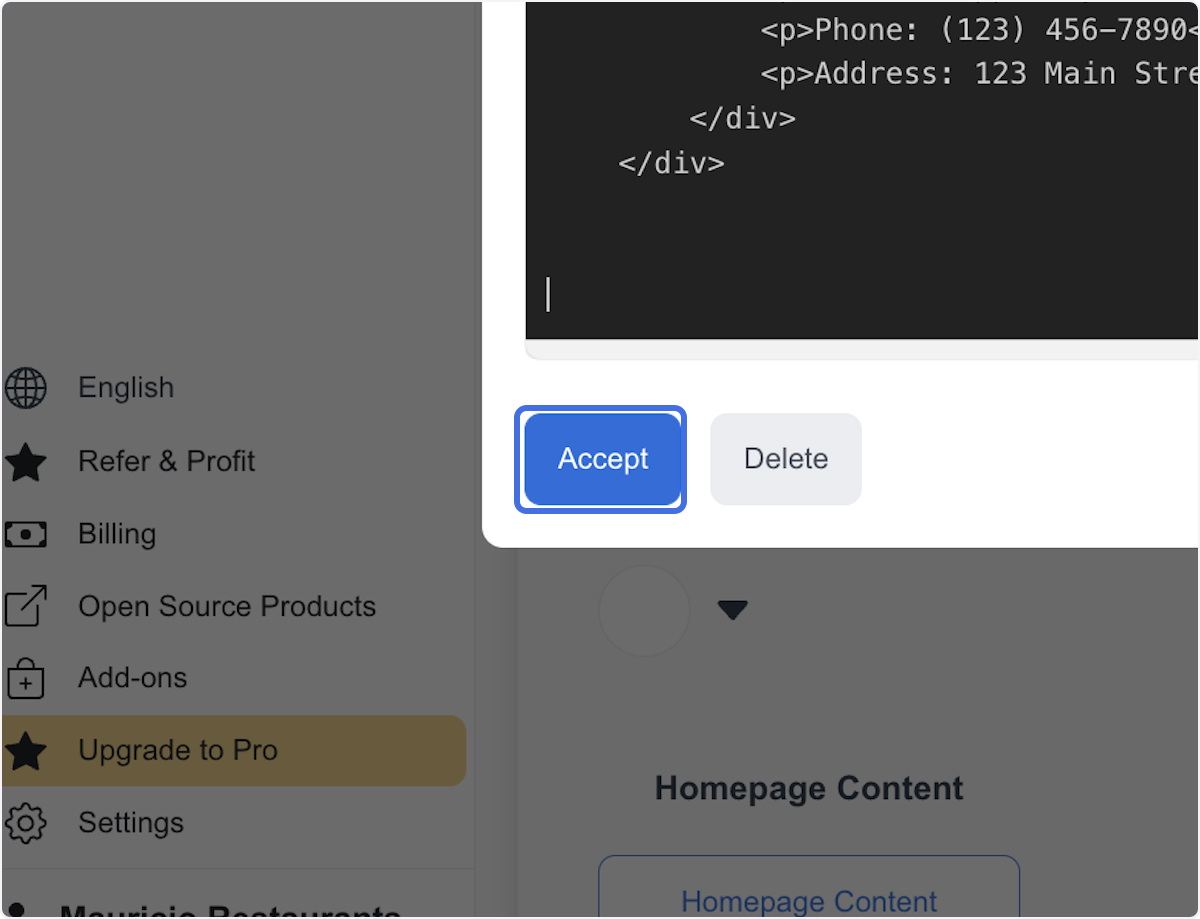
Choose Accept to confirm the content change, then Save to apply it.
Open My Website and check the change on the customer-facing website.
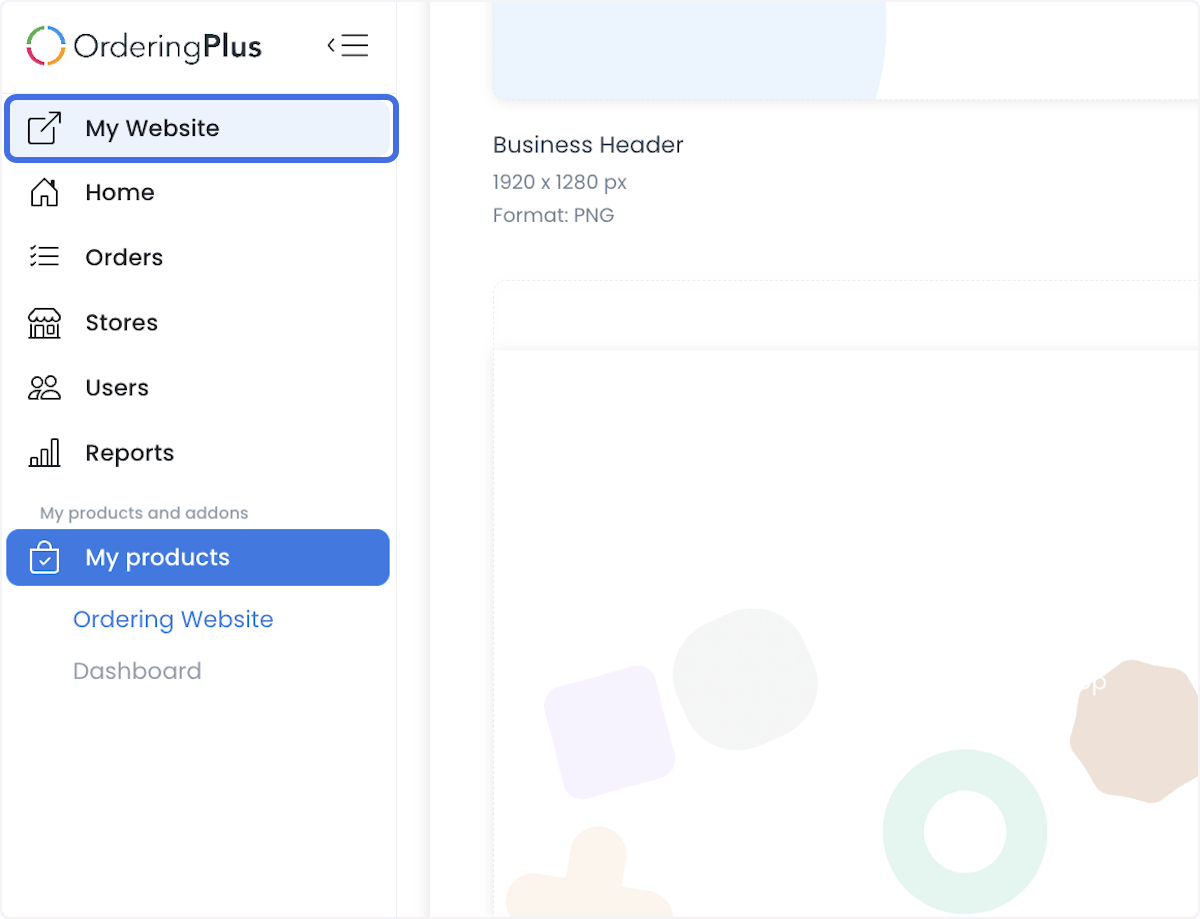
The following views show the same homepage workflow in a later editor layout. Keep them with the corresponding step when comparing the controls available in your selected website.
Edit footer content
The footer normally contains supporting information such as contact details, social links, legal pages, navigation links, and copyright text. Open Footer Content from the main dashboard, then use Code View when you need to edit the footer markup.
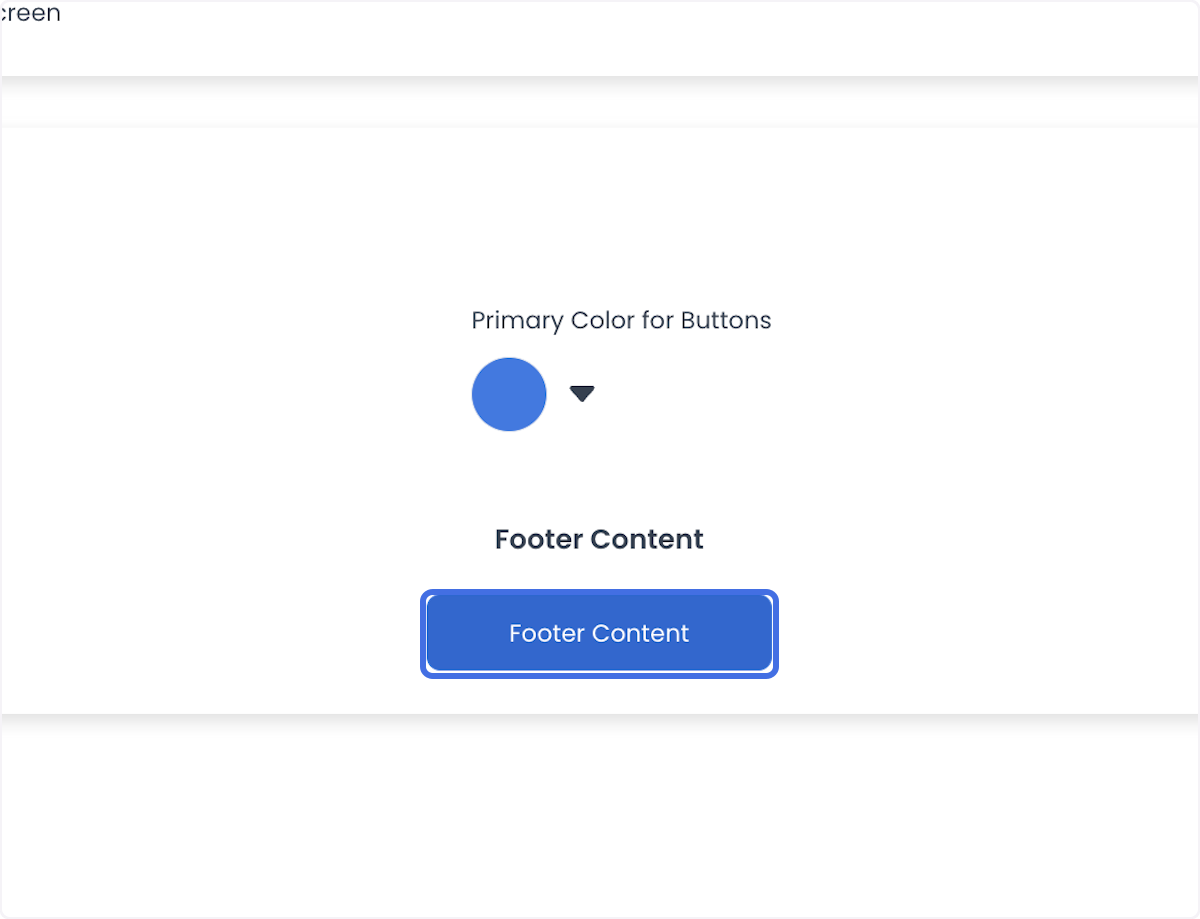
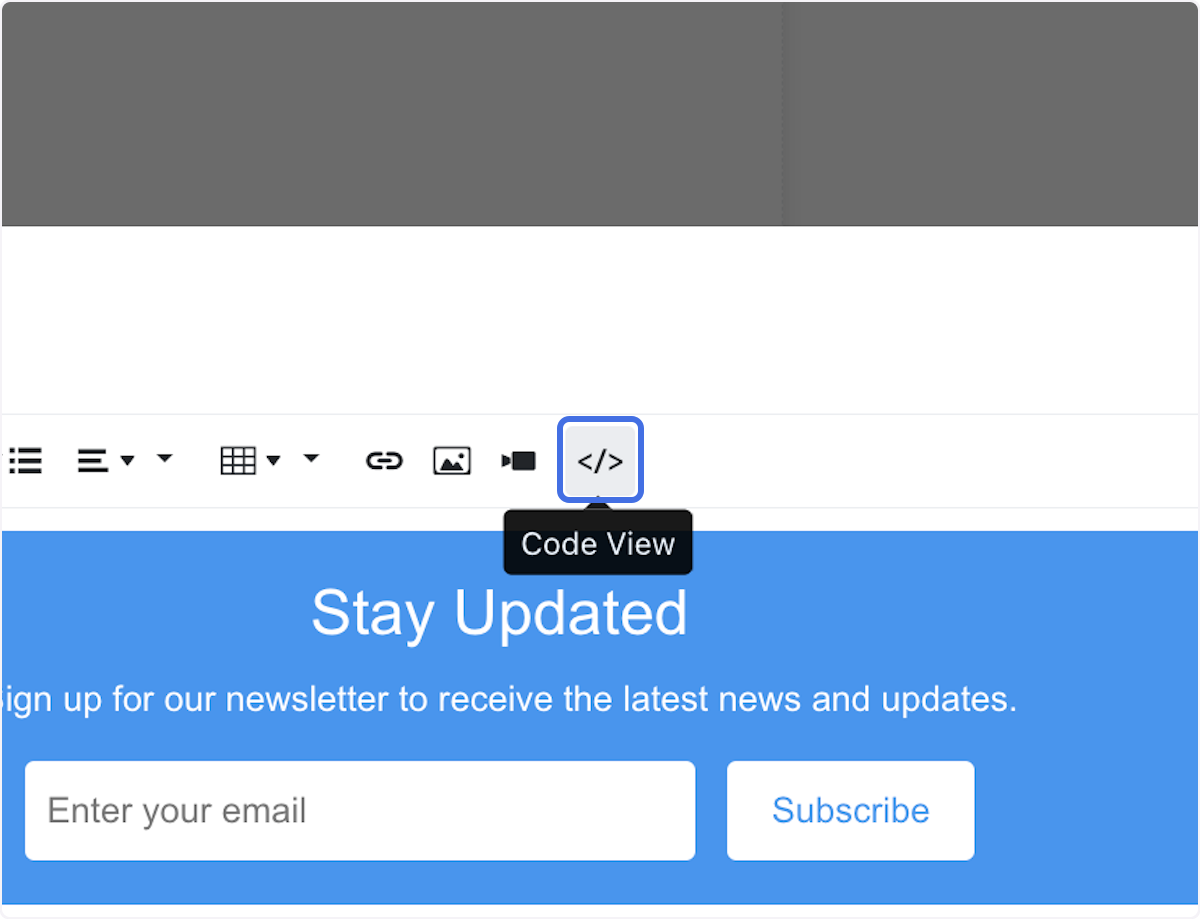
Select the code section you want to update, choose Accept, save the change, and open My Website to confirm that the footer displays correctly.
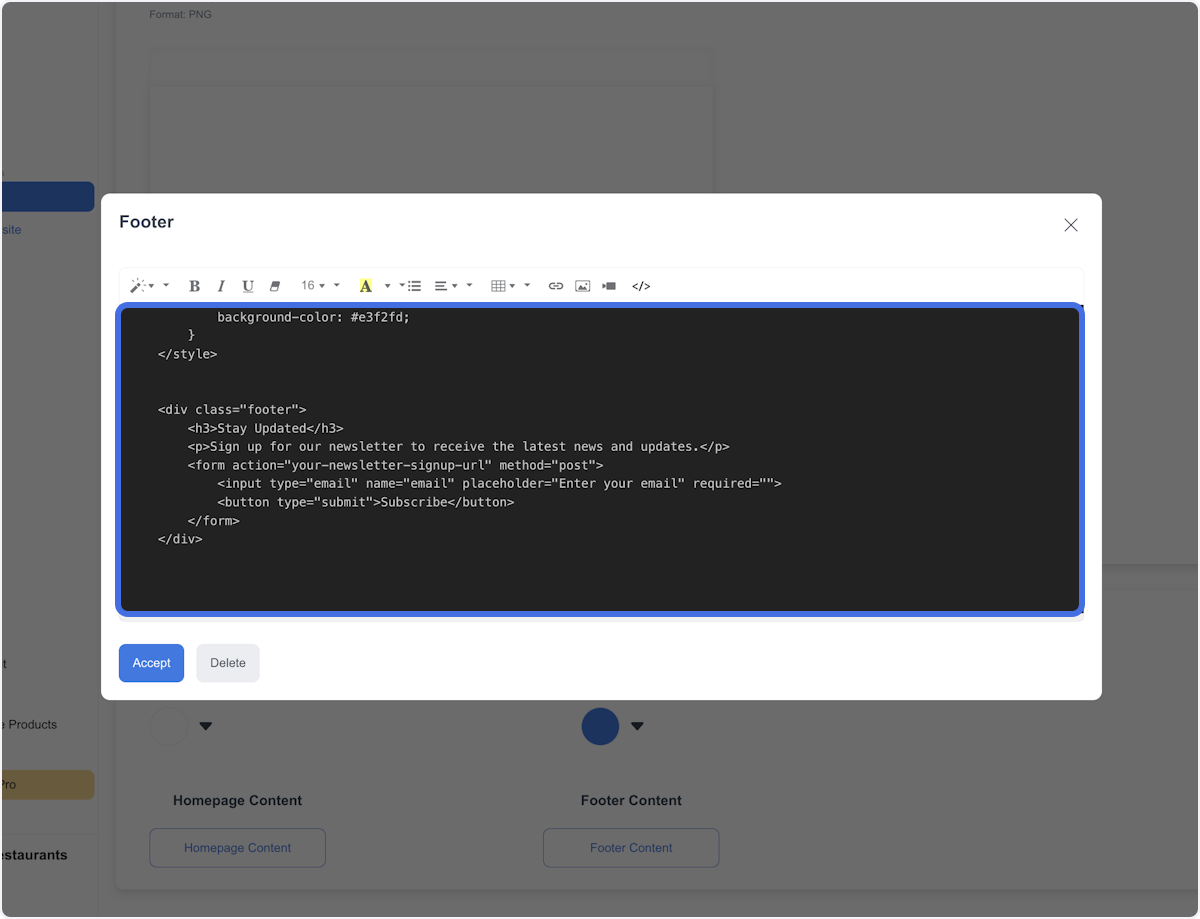
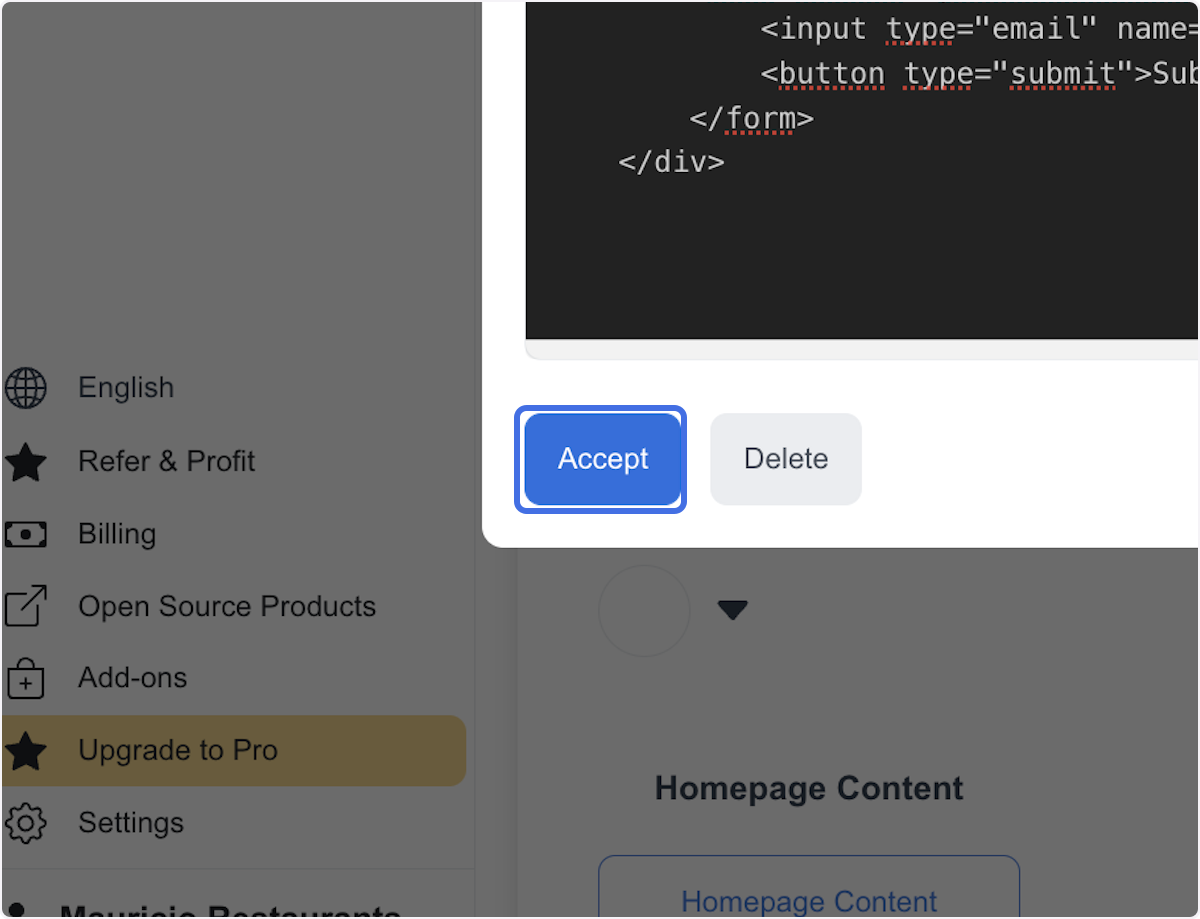
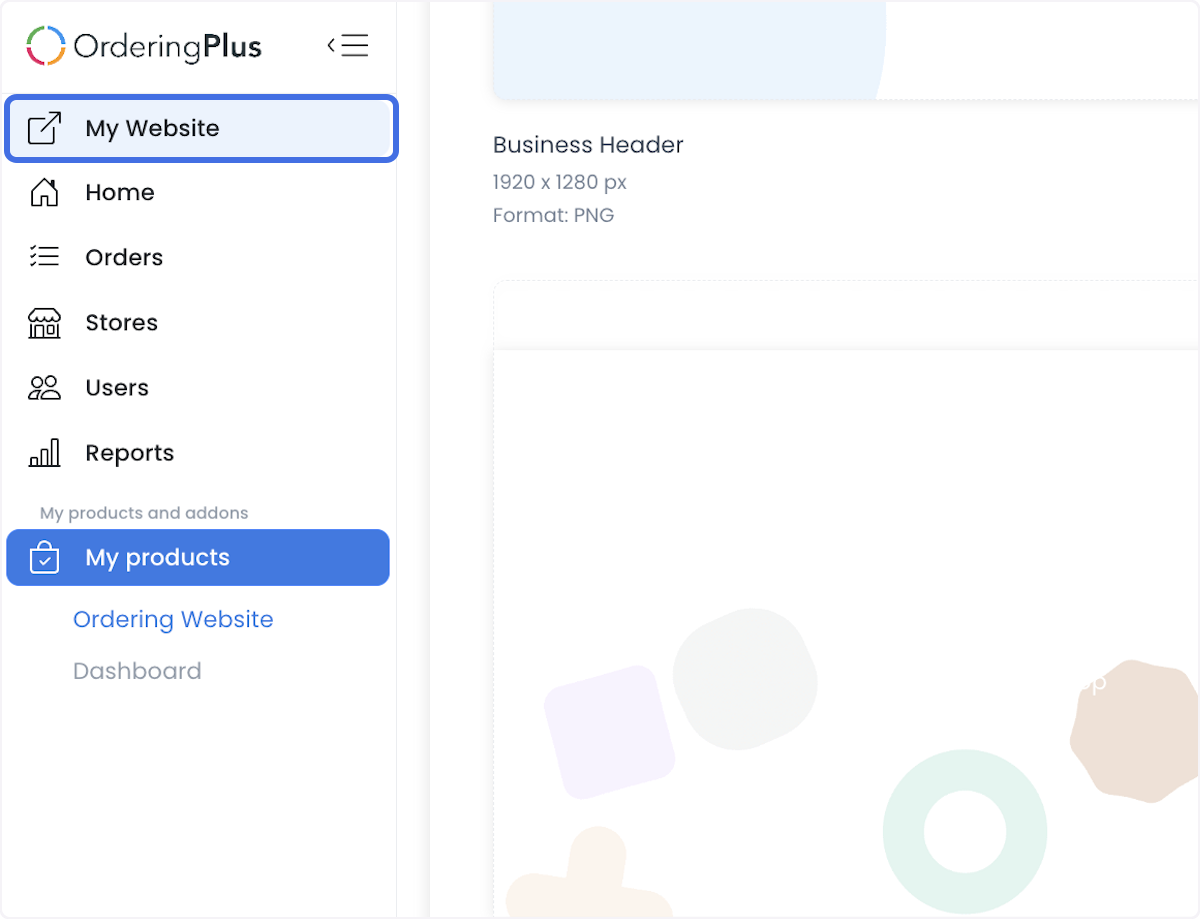
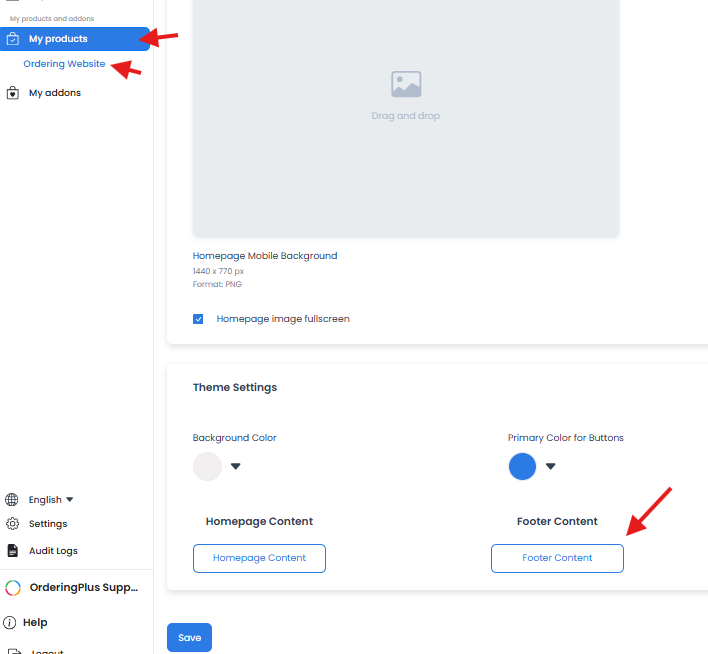
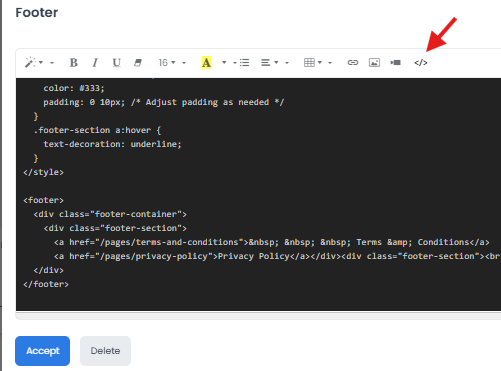
Footer template example
Adapt this example to the business rather than copying it without reviewing its links and contact details:
<div class="footer" style="text-align:center;padding:30px;">
<p>© 2026 Your Business Name</p>
<p>
<a href="/about-us">About Us</a> |
<a href="/privacy-policy">Privacy Policy</a> |
<a href="/terms-and-conditions">Terms & Conditions</a>
</p>
<p>
<a href="https://facebook.com">Facebook</a> |
<a href="https://instagram.com">Instagram</a>
</p>
<p>Contact us: email@example.com</p>
</div>
Add an image to homepage content
- Open Design, then Home Content.
- Select the image icon in the editor toolbar.
- Choose an image from local files and upload it.
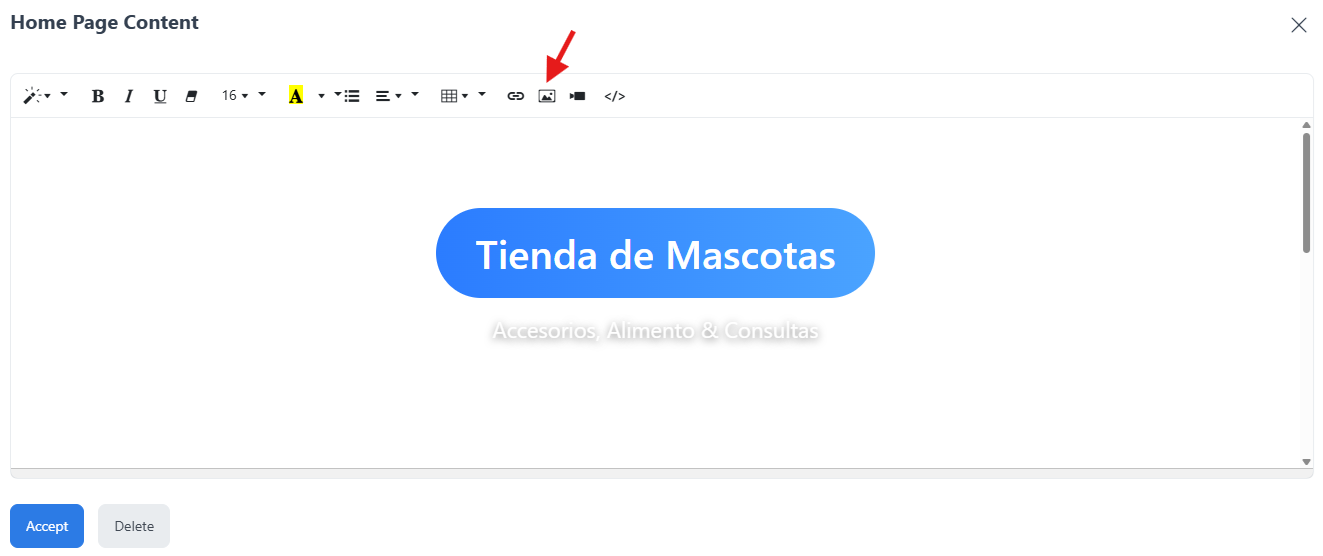
Copy the generated image URL after upload.
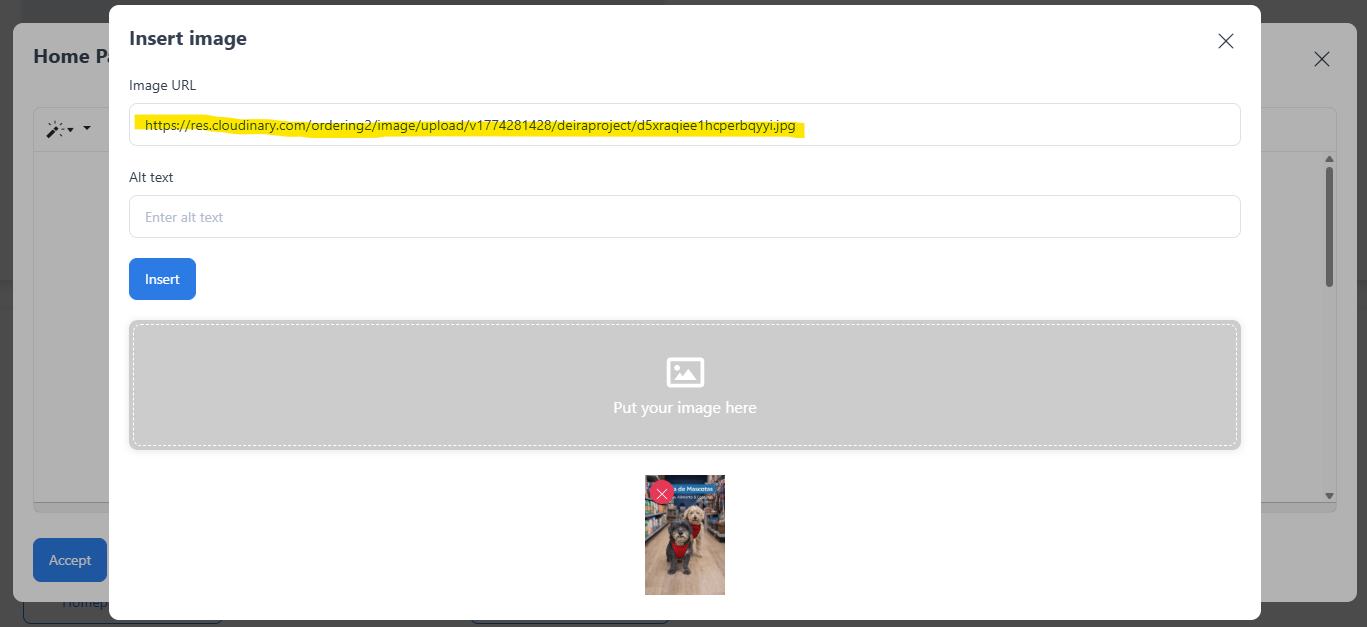
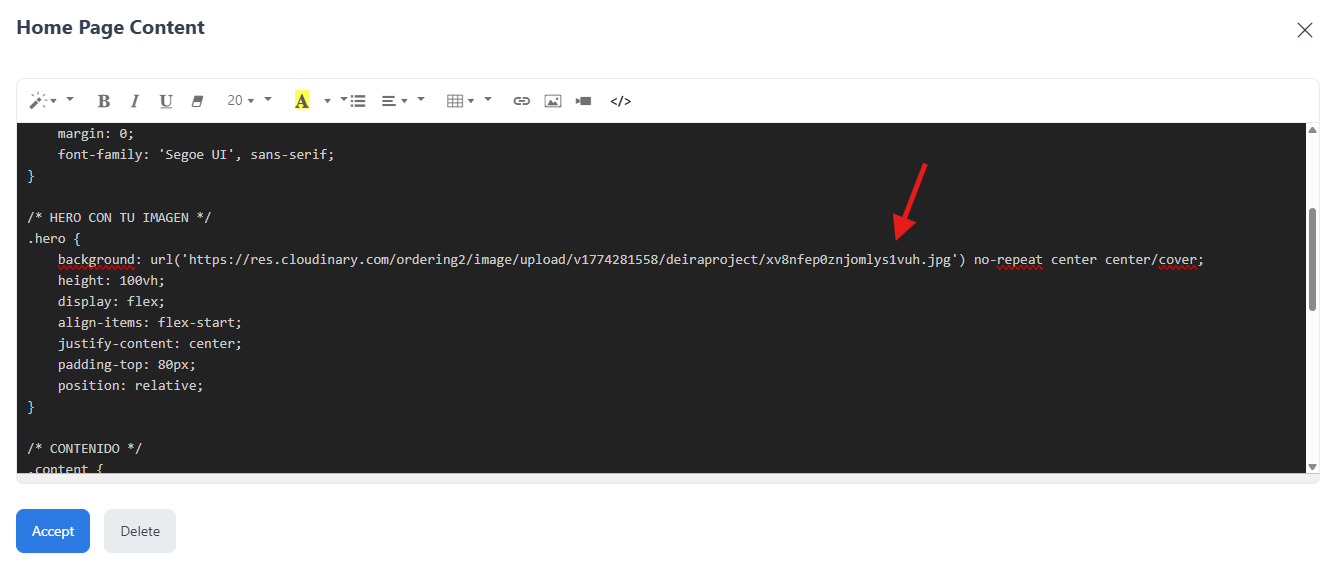
Use that URL in the intended part of the content or CSS. For example:
.hero {
  background: url('IMAGE_URL_HERE') no-repeat center center/cover;
}
Replace IMAGE_URL_HERE with the uploaded image URL and review the result at the relevant screen sizes.
Create and manage static pages
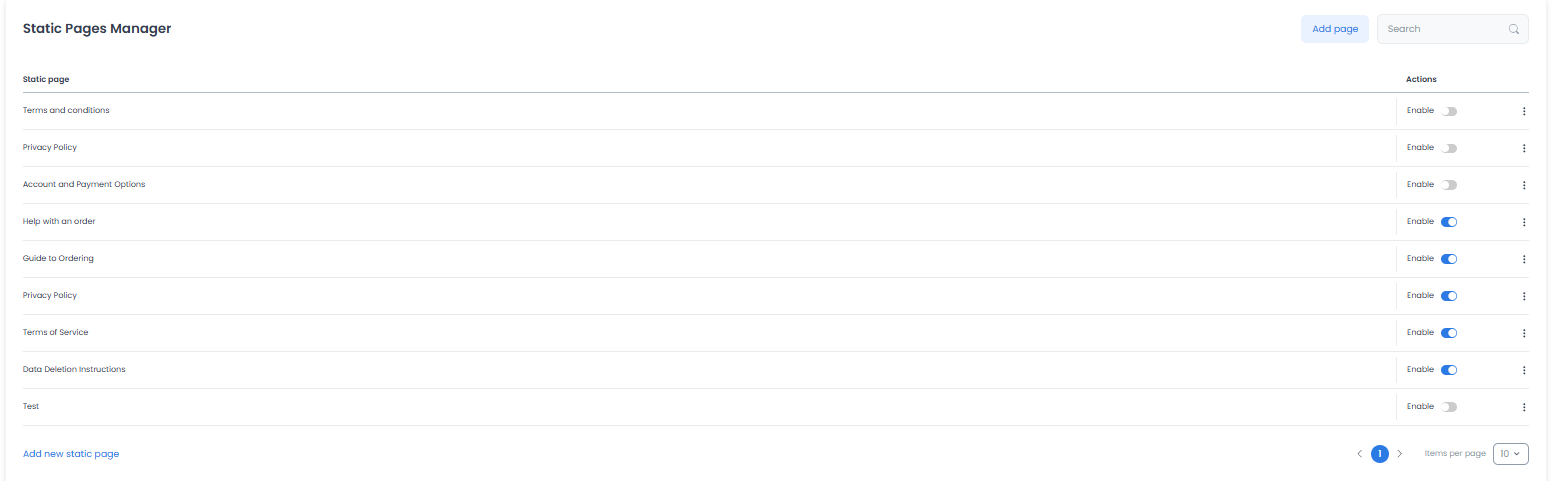
Static pages are useful for information that does not change often, such as a Privacy Policy, Terms and Conditions, Help with an Order, an ordering guide, or FAQs. You can edit an existing static page or create a new one from the CMS area when that control is available for the selected website.
Open the static-pages manager
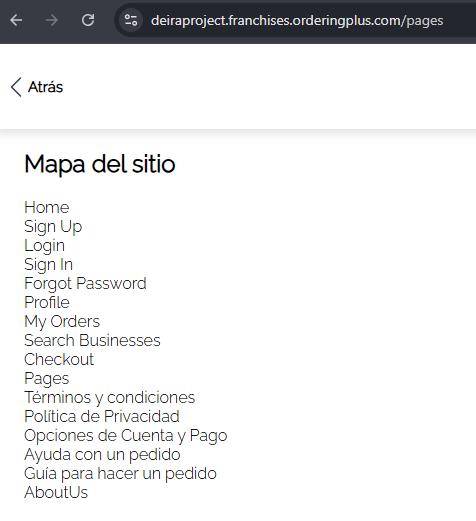
If the website editor exposes the path, append /pages to the editor URL and press Enter. For example:
https://your-dashboard-url/pages
This opens the Static Pages manager shown in these captures.

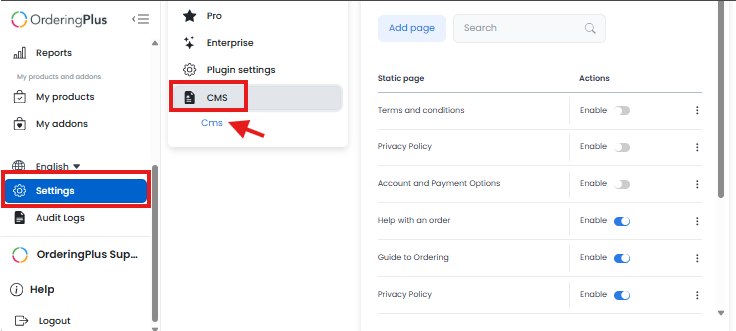
Another available path is Settings → CMS → CMS. Select it to view the list of static pages already created in the project.
Edit an existing static page
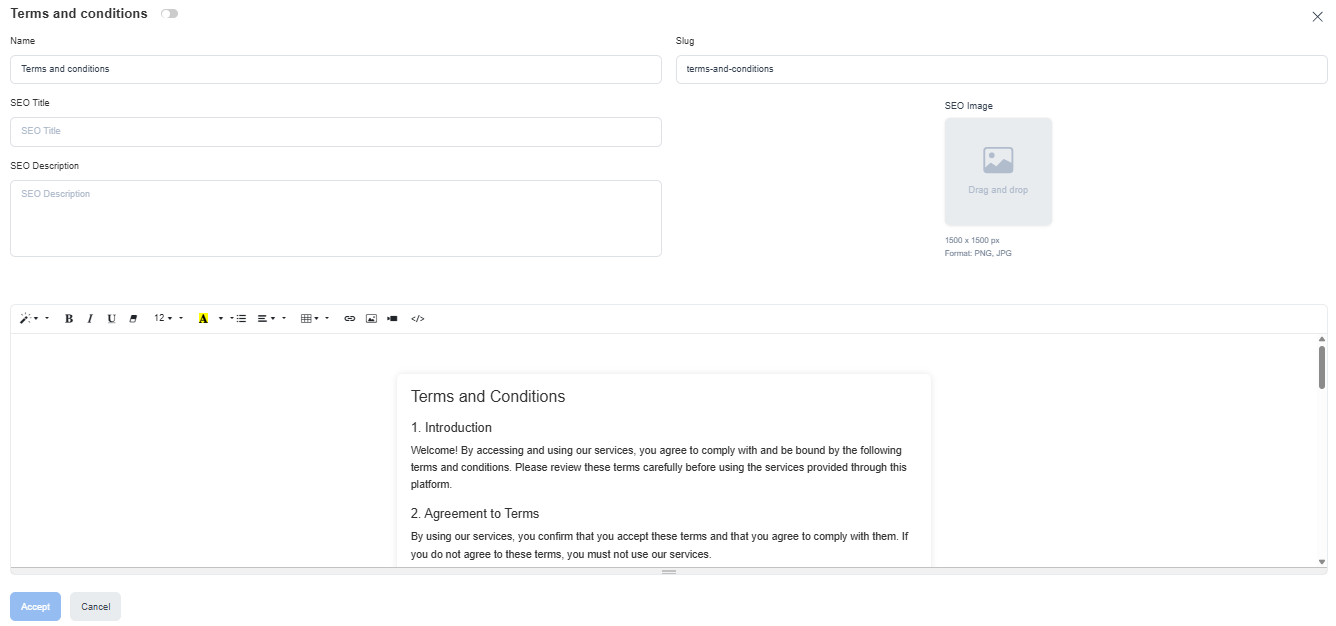
Select the page you want to edit. The editor can expose the following fields:
- Page name
- Slug (page URL)
- SEO title
- SEO description
- SEO image
- Page content
Use the content editor to add or edit text, images, headings, links, and HTML where needed. Choose Accept to save through the editor, then verify the resulting page.
Create a new static page
In the Static Pages manager, choose Add new static page or Add Page.
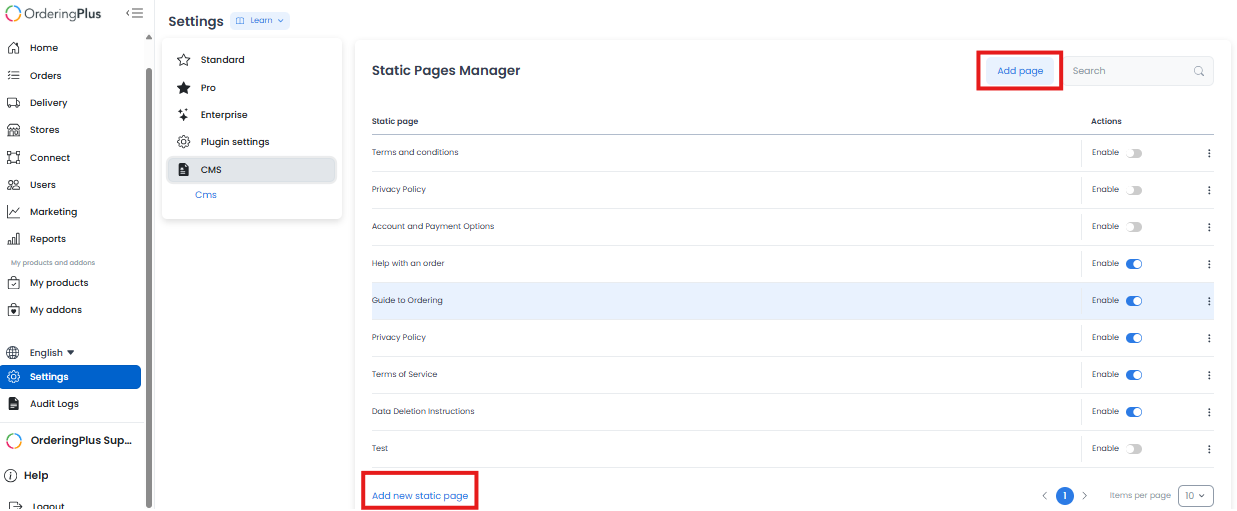
Enter the page name, slug, SEO title, SEO description, and page content that the editor requires. After saving, add an intentional link to the page from homepage or footer content when customers need to find it.
For example:
<a href="/about-us">About Us</a>
<a href="/privacy-policy">Privacy Policy</a>
<a href="/terms-and-conditions">Terms & Conditions</a>
Use AI assistance carefully
If you use an AI tool to revise HTML, give it the smallest necessary request and review every change before saving. Examples:
- Change text: “Edit this HTML code and change the title to: Welcome to Our Restaurant.”
- Add a button: “Add a button that links to our contact page. The button text should say: Contact Us.”
- Improve layout: “Improve this HTML section to make it centered and more modern.”
AI-generated code can remove required markup, change links, or create inaccessible output. Keep the backup, compare the generated result to the original, and test it before publishing.
Troubleshoot common issues
The layout appears broken
An HTML tag may have been removed or changed. Restore the backup, then repeat the smallest safe change.
<div>
  content
</div>
Links do not work
Confirm that the path is correct and begins with the intended slash when it is a site-relative link:
<a href="/about-us">About Us</a>
Changes are not visible
Refresh the page, clear the browser cache if appropriate, reopen the website, and confirm that the correct page and selected website were saved.
Final checklist
- Keep a backup before editing.
- Make small, reviewable changes.
- Review HTML and AI-generated code before saving.
- Check layout, links, and the result on desktop and mobile.
- Keep homepage, footer, and static-page information current and easy for customers to find.
Related guides: Manage Ordering Website · Configure website settings