Set up Driver App operations
For an operator-facing product overview and project scope, see Ordering Driver App on Ordering.co.
Prepare Driver App operations
Step 1: Install your Driver App
Install the Driver App by scanning the project QR code in the Dashboard or by using the official app-store listing below. Use an approved test account when validating a setup.
Google Play: Open the Driver App listing in Google Play
Apple App Store: Open the Driver App listing in the App Store
Note: The app can request location and physical-activity permissions at first launch. Grant them only according to the driver’s operating policy and the device prompt; a granted permission does not prove delivery tracking or assignment availability.
Step 2: Set up your driver user
First, create a driver user in the Dashboard through an approved account-management workflow.
You can do this from the “Delivery>Driver” section by selecting “Add New Driver” and entering the driver’s information to create the account.
-
Create your new driver user
-
Enable your driver user
-
Add your driver to a delivery group so orders can be assigned to them
For the supporting setup, see Create or edit a Driver, Delivery groups, and Create or edit a Delivery group.
You can reference the following image to see the process:
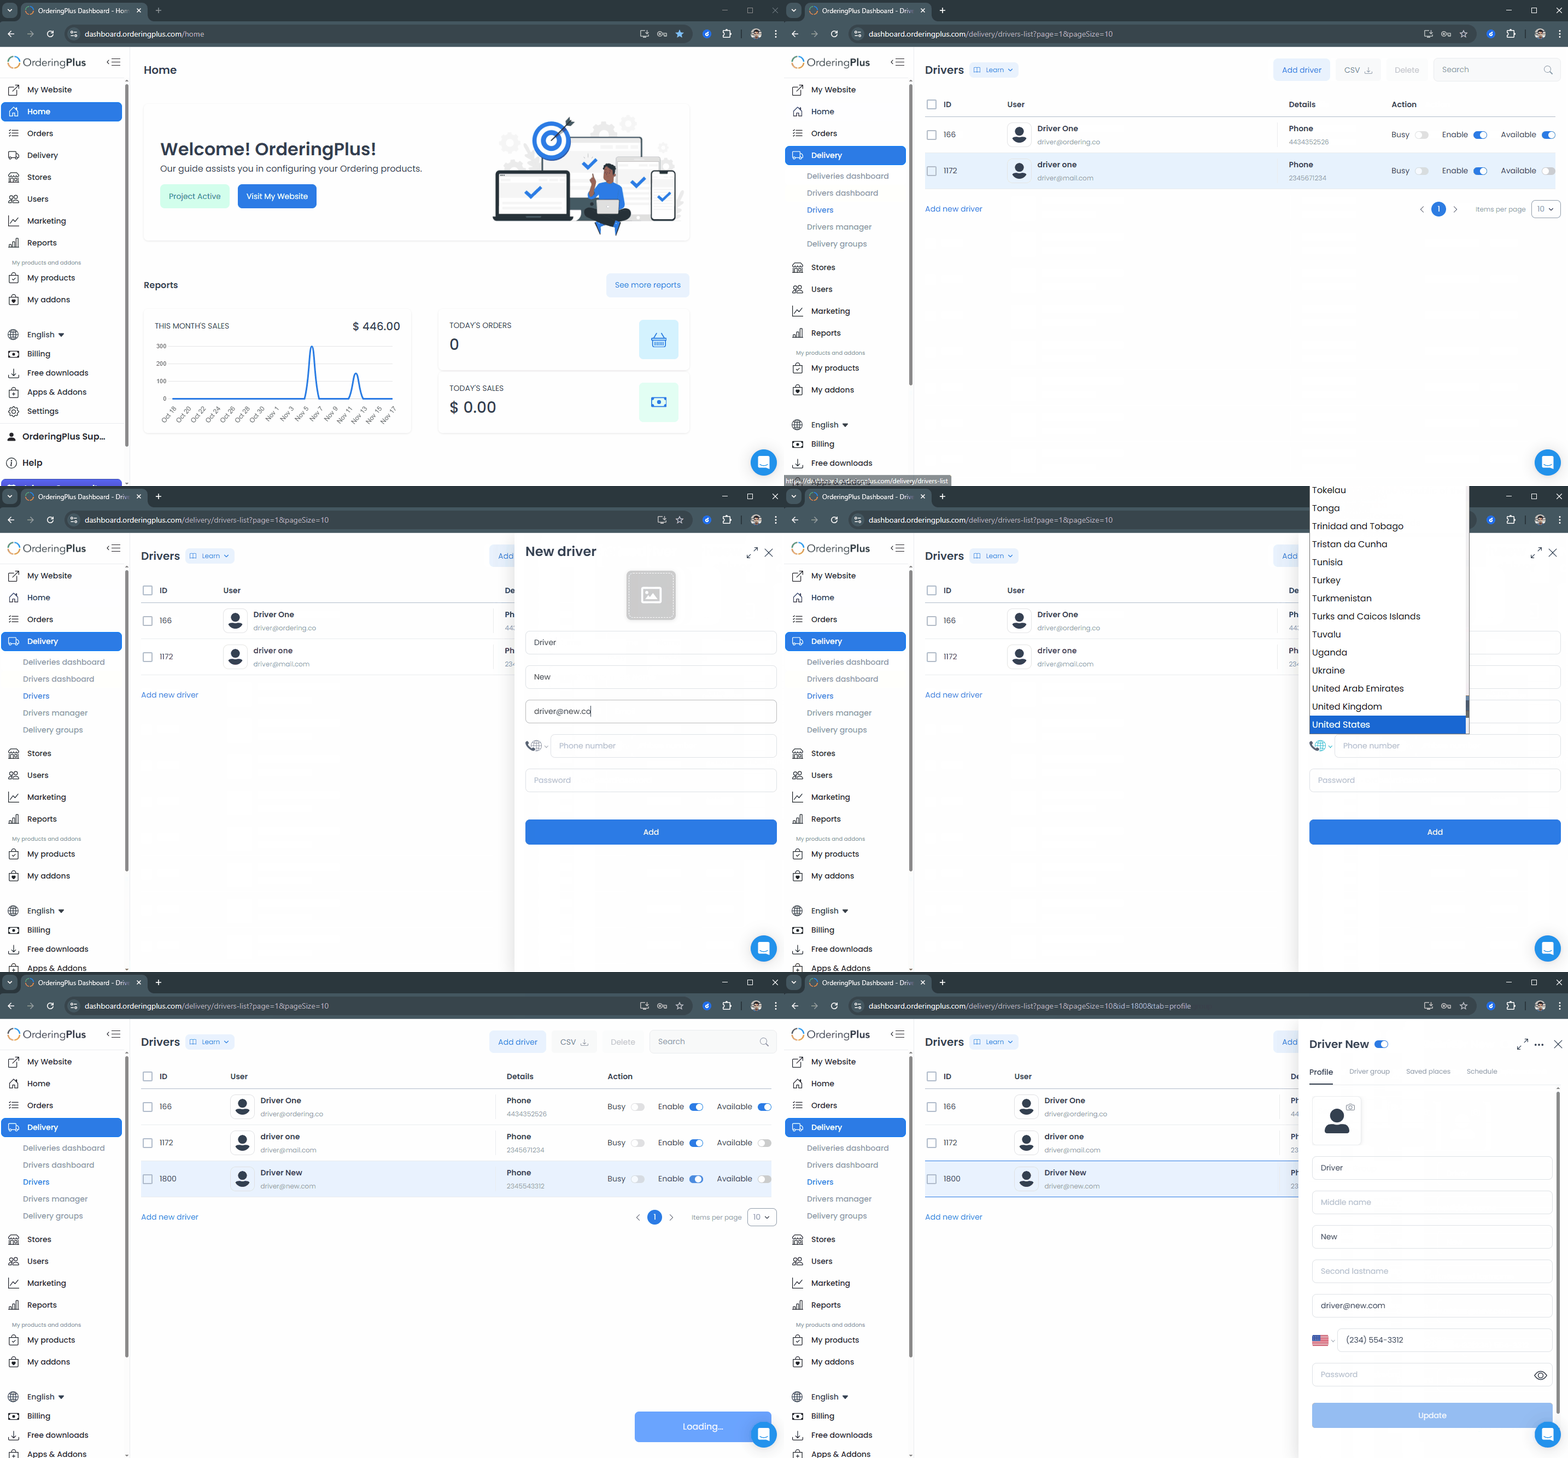
**Link video: **https://d.pr/v/vWjhRE
Note: Driver users cannot use email addresses that are already registered as Customer or Administrator accounts.
Step 3: Log in to your Driver App
Use the driver credentials you created earlier:
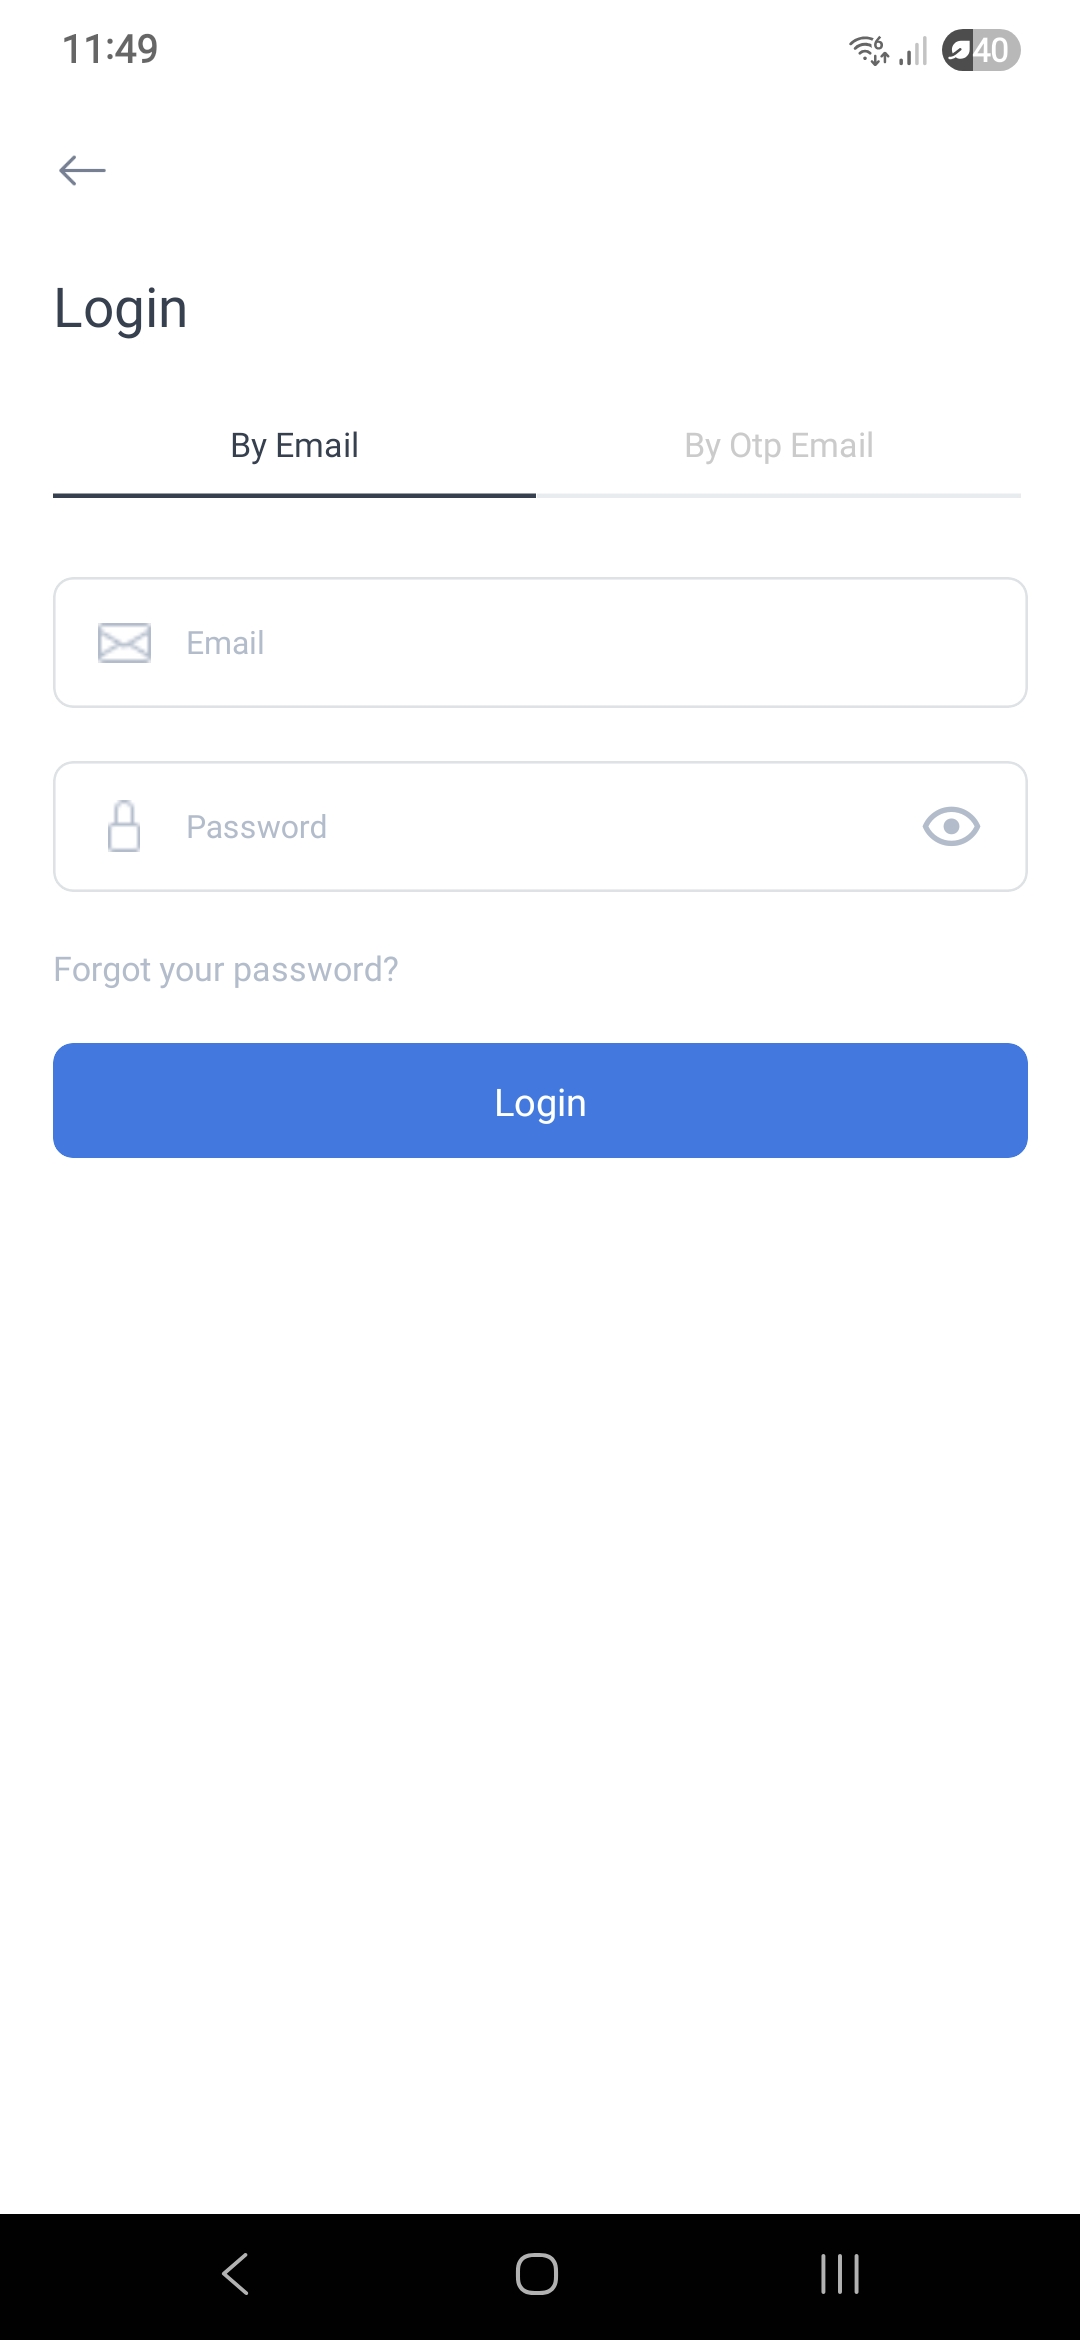
Image link: https://d.pr/i/JBHdnl
Note: The Driver App can ask for a project name before sign-in. Enter the project identifier provided by your operator; do not guess or share it outside the authorized driver setup.
After sign-in, review whether the Profile section shows the account as enabled to receive orders. That visibility does not itself prove that an assignment will arrive.
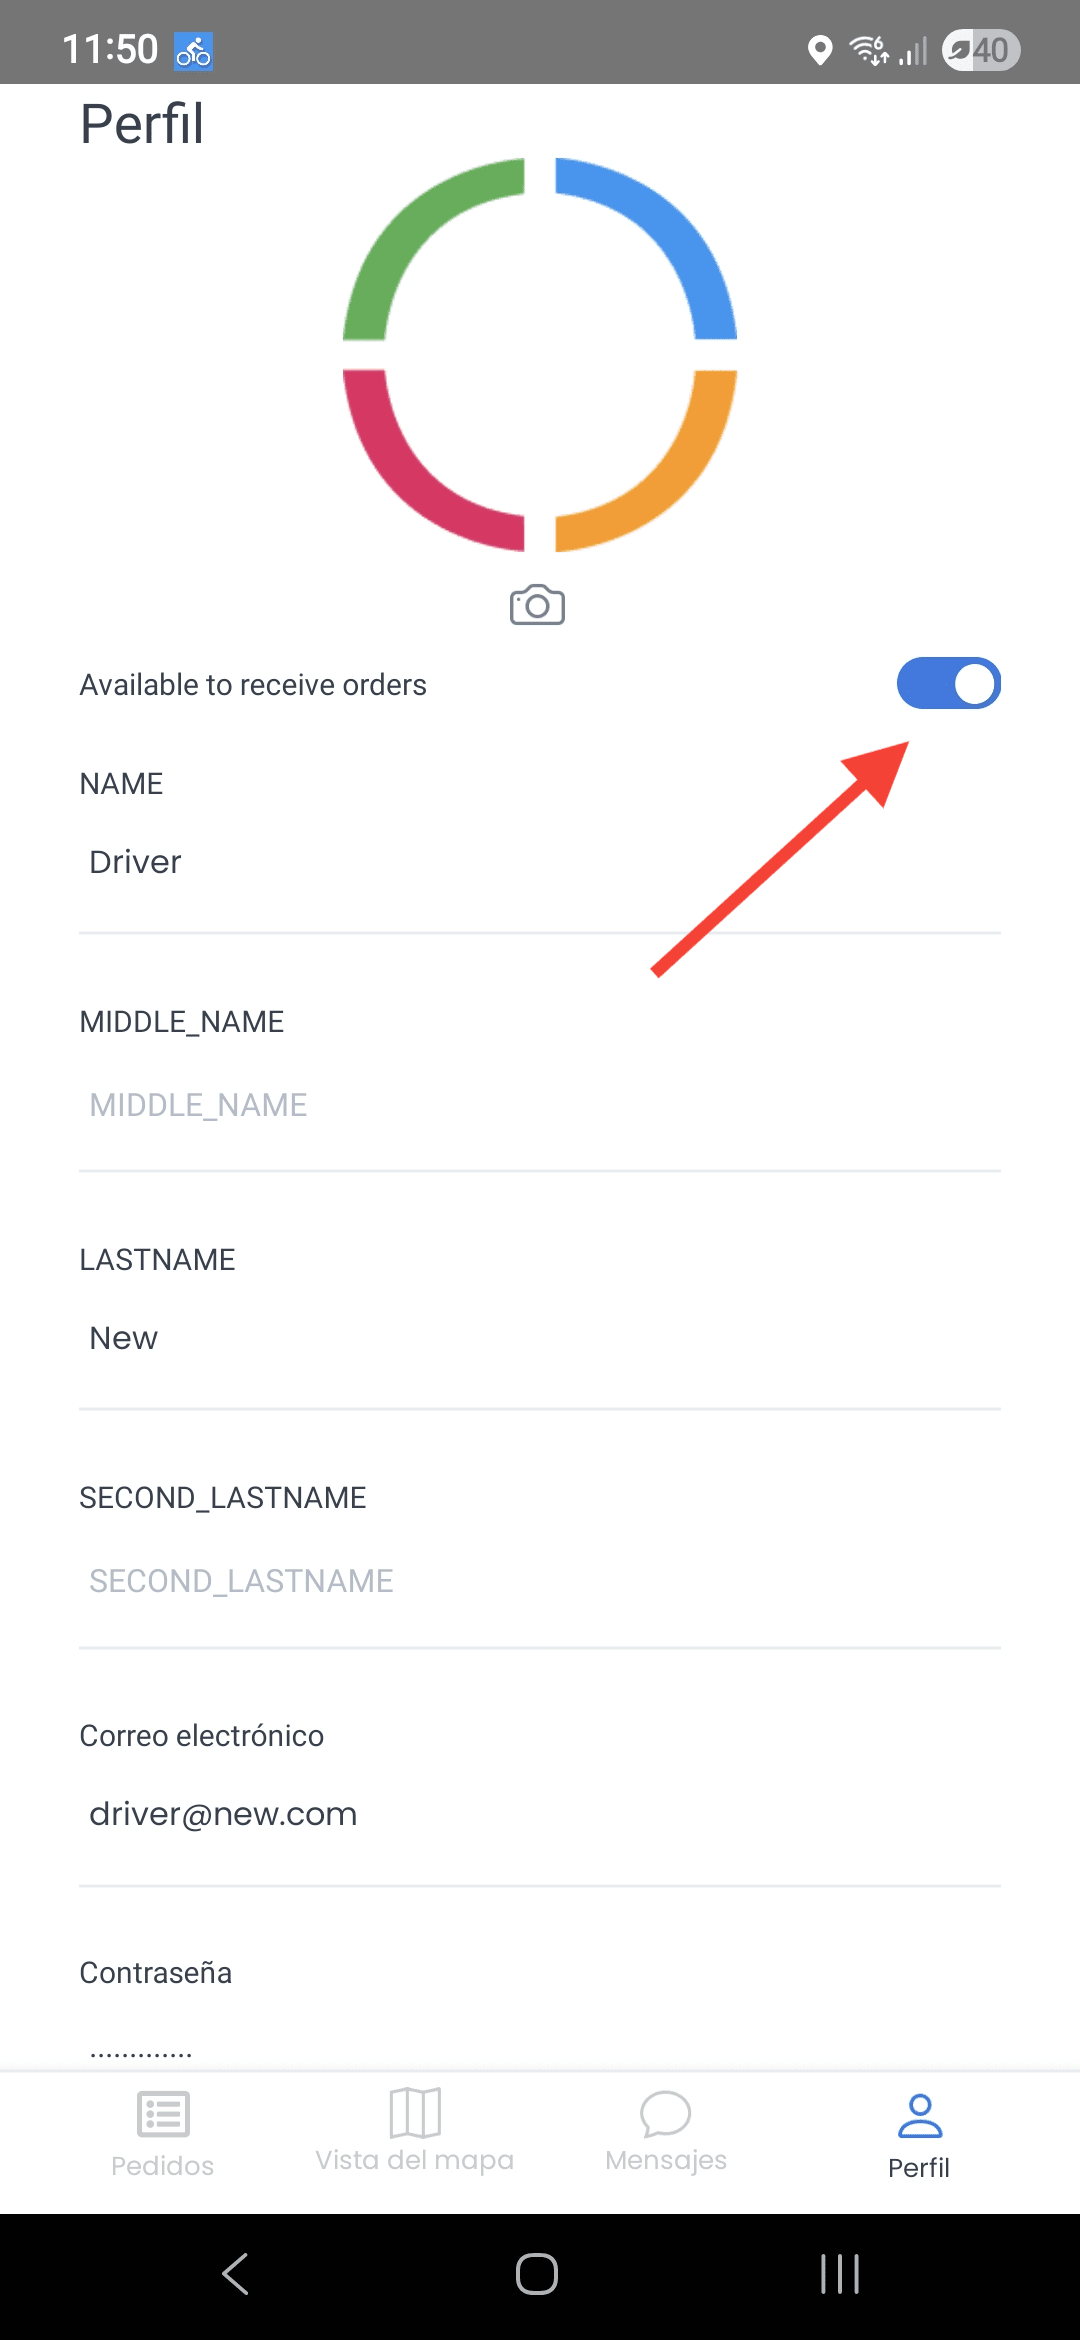
Link Image: https://d.pr/i/EjLIAv
Order Sections in the Driver App
Orders in the Driver App are organized into different sections depending on their status:
-
Pending: Displays only pending orders assigned to the driver.
-
In Progress: Shows orders currently in progress (Accepted by the business, Accepted by the driver, etc.).
-
Completed: Shows all completed orders (any completed status).
-
Cancelled: Shows all cancelled orders (any cancelled status).
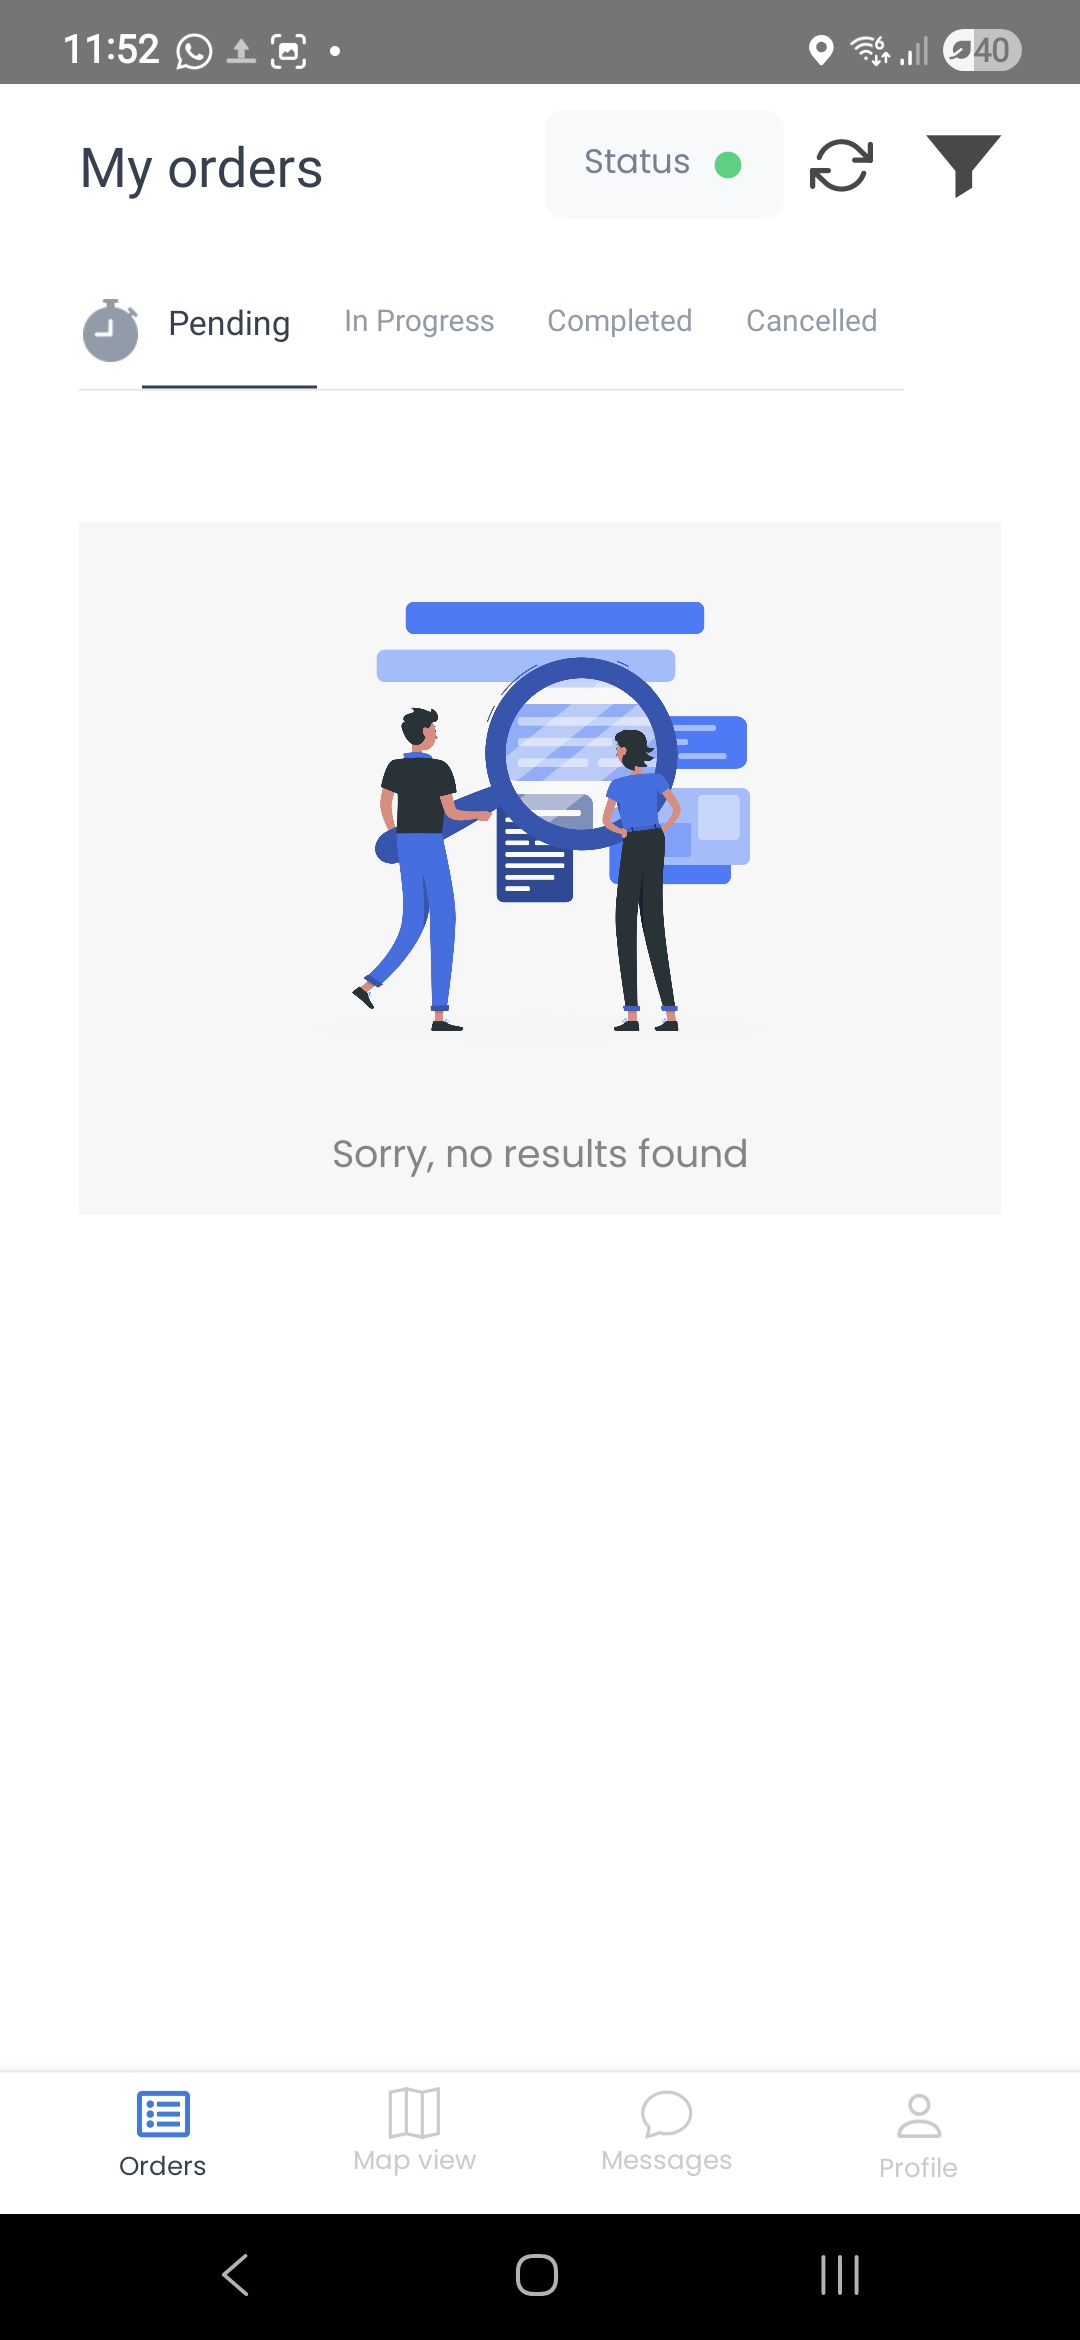
Image link: https://d.pr/i/fZgNDO
How to Assign Orders to Your Driver in the App
To assign orders, the Administrator or Business Owner can manually assign them from the Dashboard in the Orders List section:
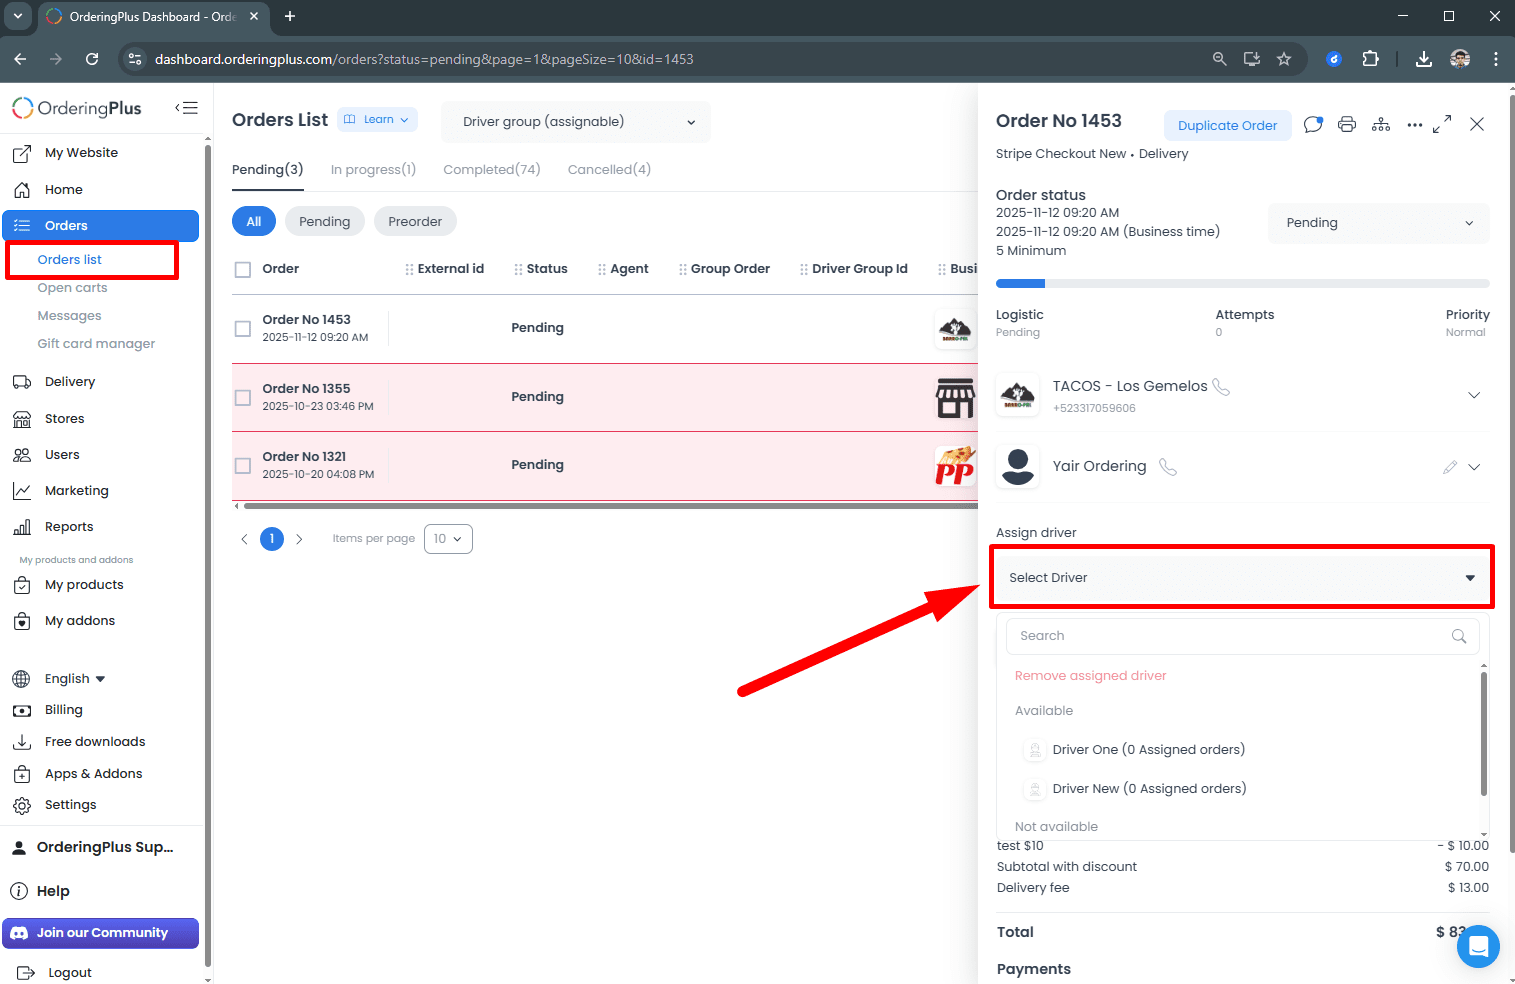
**Image link: **https://d.pr/i/RoWCe5
You can configure automatic assignment rules in the Delivery Groups section, subject to the project’s delivery configuration:
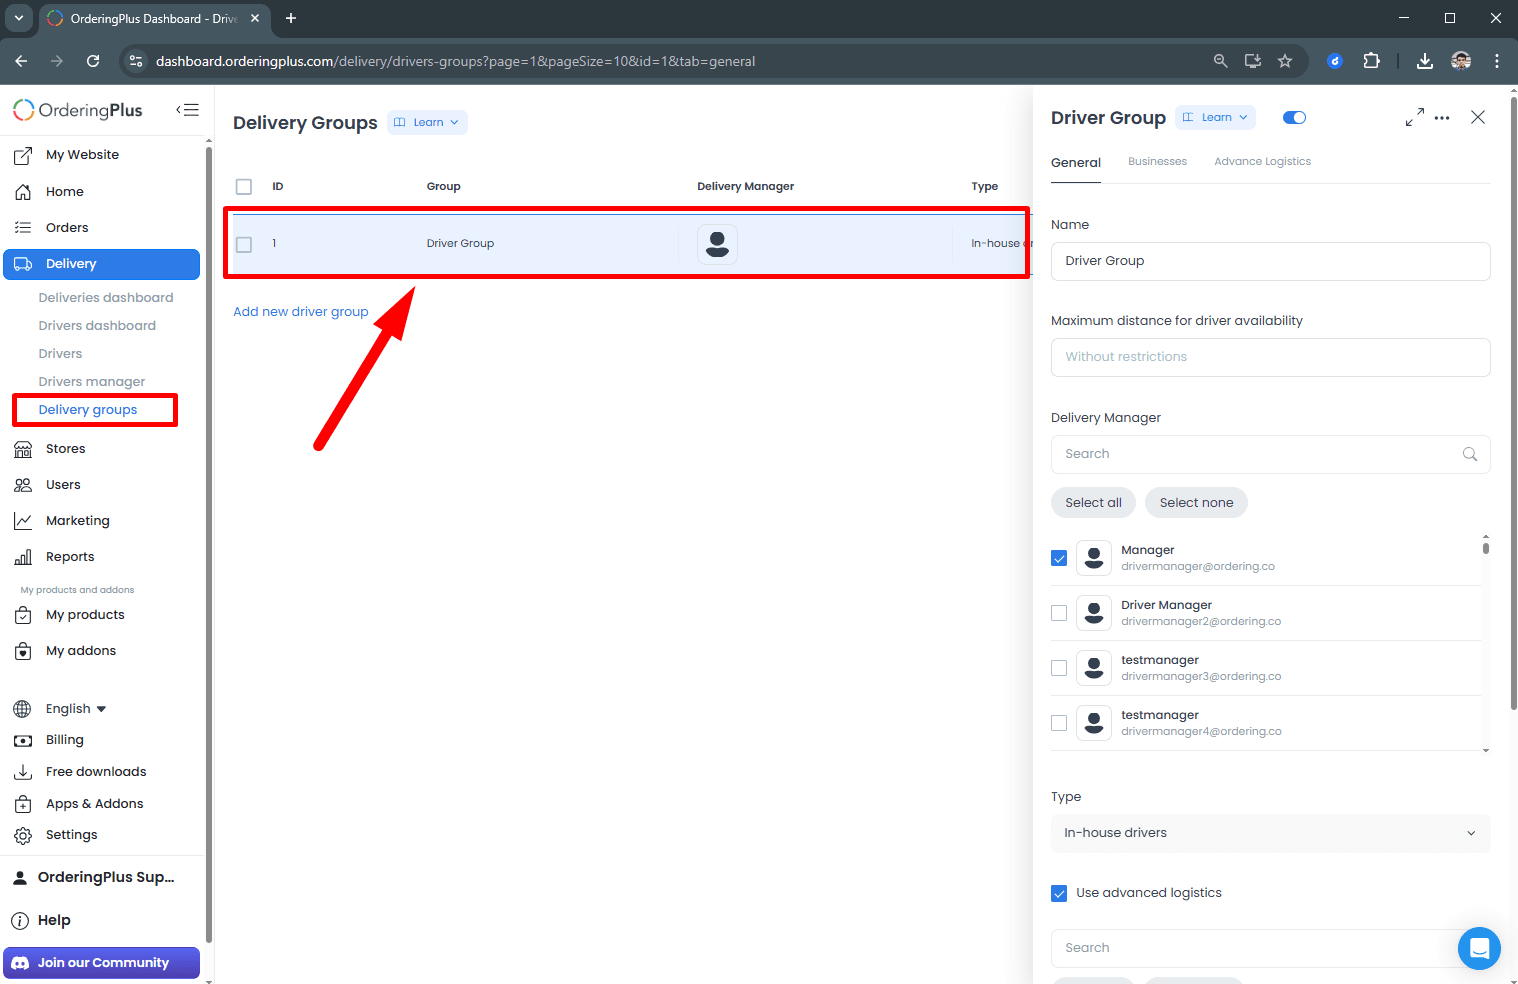
Link image: https://d.pr/i/KlNrr3
How to Add a New Driver Manager
-
Go to Delivery.
-
Select Drivers Manager.
-
Click on the “Add New Driver Manager” button.
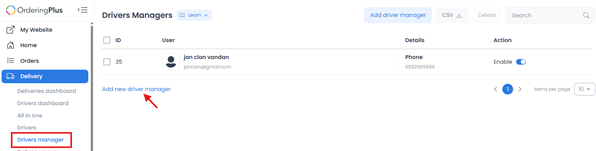
- Fill in the required information:
-
First Name
-
Last Name
-
Email
-
Phone Number
-
Password
- Once all fields are completed, click on the “Add” button to save the new Driver Manager.
Delivery Groups Setup Guide
-
Go to Delivery
-
Select Delivery Groups
-
Click on Add New Driver Group
Steps to configure:
- Complete the required information:
-
Group Name
-
Delivery Manager: Select the corresponding manager
-
Group Type: Choose between:
-
In-house drivers (drivers created in the Dashboard)
- Delivery companies (external drivers)
Note: Depending on the selected option, you will be able to choose the corresponding drivers.
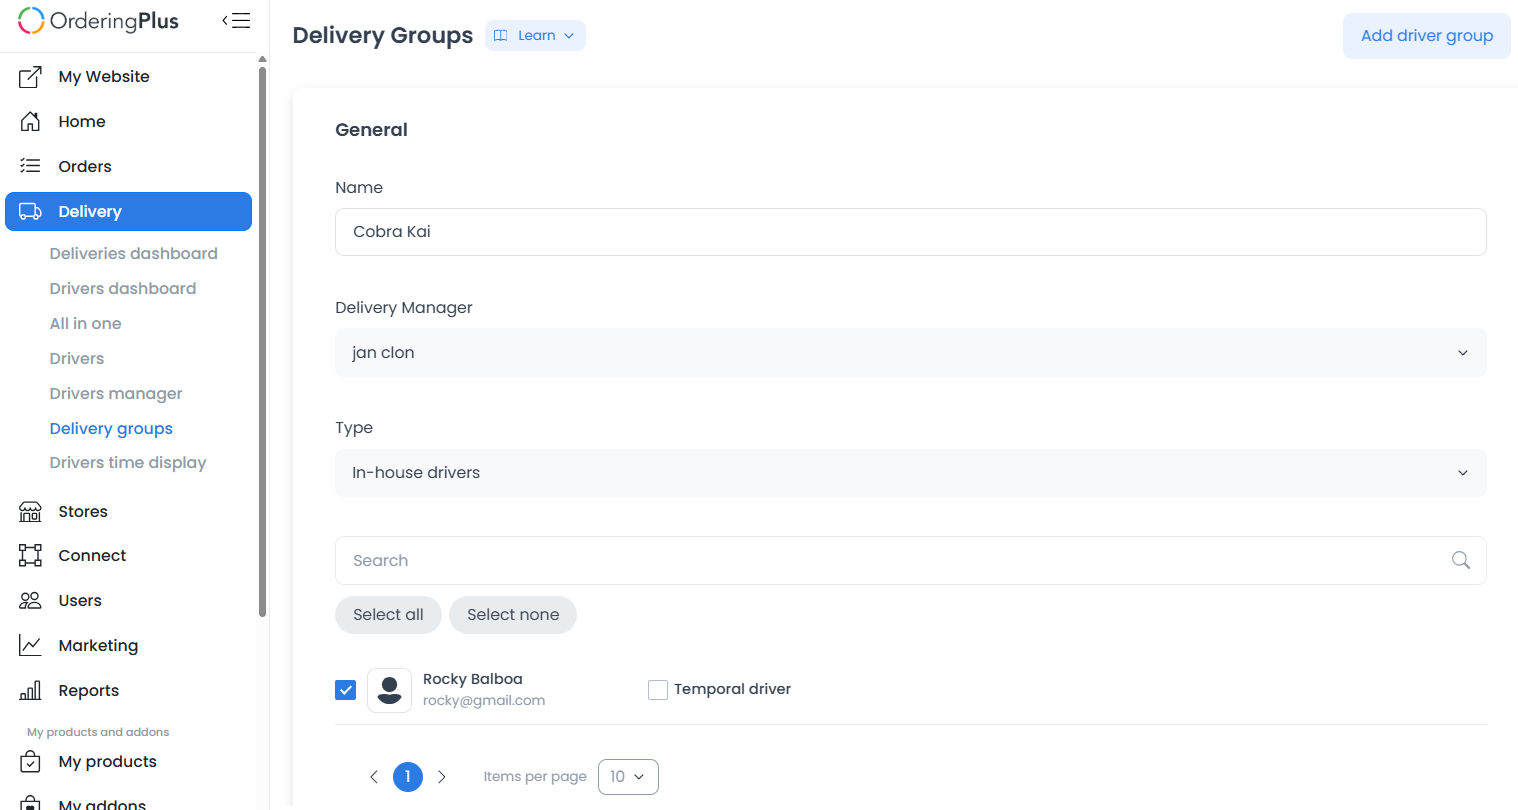
-
Priority: Set the priority for the group. This determines the selection order between groups when a new order is received.
-
Businesses: Select the stores where this delivery group will be available.
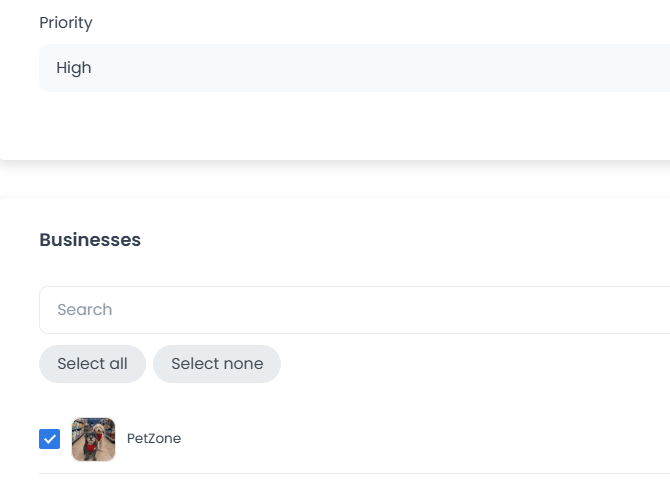
- Payment Methods: Choose the payment methods you want to enable.
The source describes all payment methods as enabled when none is selected. Confirm the current project behavior before relying on that default.
-
Advanced Logistics: Enable or disable this option as needed.
-
Once all fields are completed, click Save.
Additional Information:
-
In-house drivers: Drivers registered directly in the Ordering.co platform.
-
Delivery companies: Drivers managed through an external delivery platform.
For more information about configuring Delivery Groups, see Delivery groups.
For more details about Automatic Assignment, see Create or edit a Delivery group.
Complete the setup only after the driver account, group membership, device permissions, and assignment policy have been verified in the appropriate environment. These steps do not by themselves prove that the account will receive an order.