Configure loyalty points
Use Points wallet to configure the point settings shown in the Dashboard and the businesses that participate in the points program. Each save can change customer-value configuration, so establish the intended scope before you submit it.
Back to Points wallet and levels
Before you change point settings
You need administrator access, the points-and-levels add-on enabled, and an existing credit_point plan. Review the current plan and business settings first. If you need to validate behavior, use a non-production project with synthetic businesses and customers.
Do not open an unprepared production points workspace just to inspect it. When the current Dashboard cannot find a credit_point plan, selecting the workspace can create a default plan for the first available business.
Configure general point values
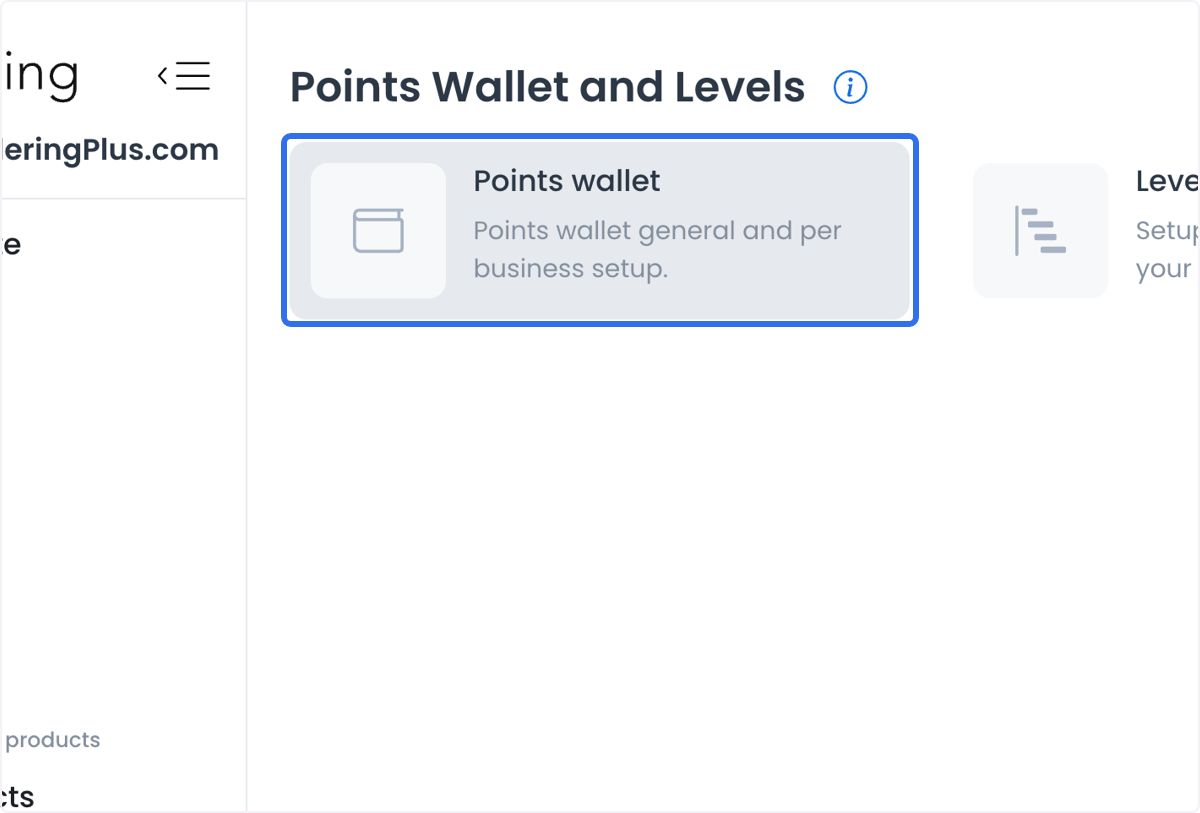
- Go to Addons > Points wallet and levels and select Points wallet.
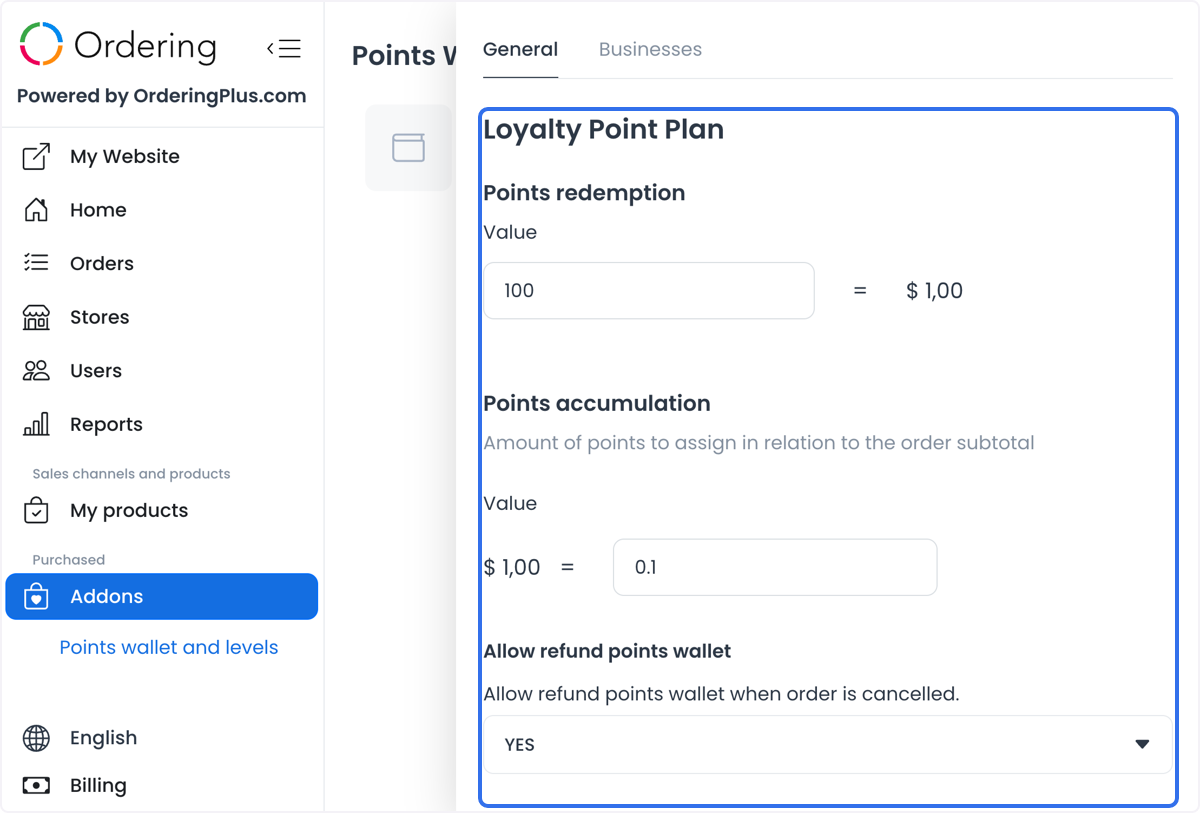
- Open the General tab.
- In Points redemption, enter the points value that the interface shows as equal to its price amount.
- In Points accumulation, enter the points value that the interface shows in relation to the order subtotal.
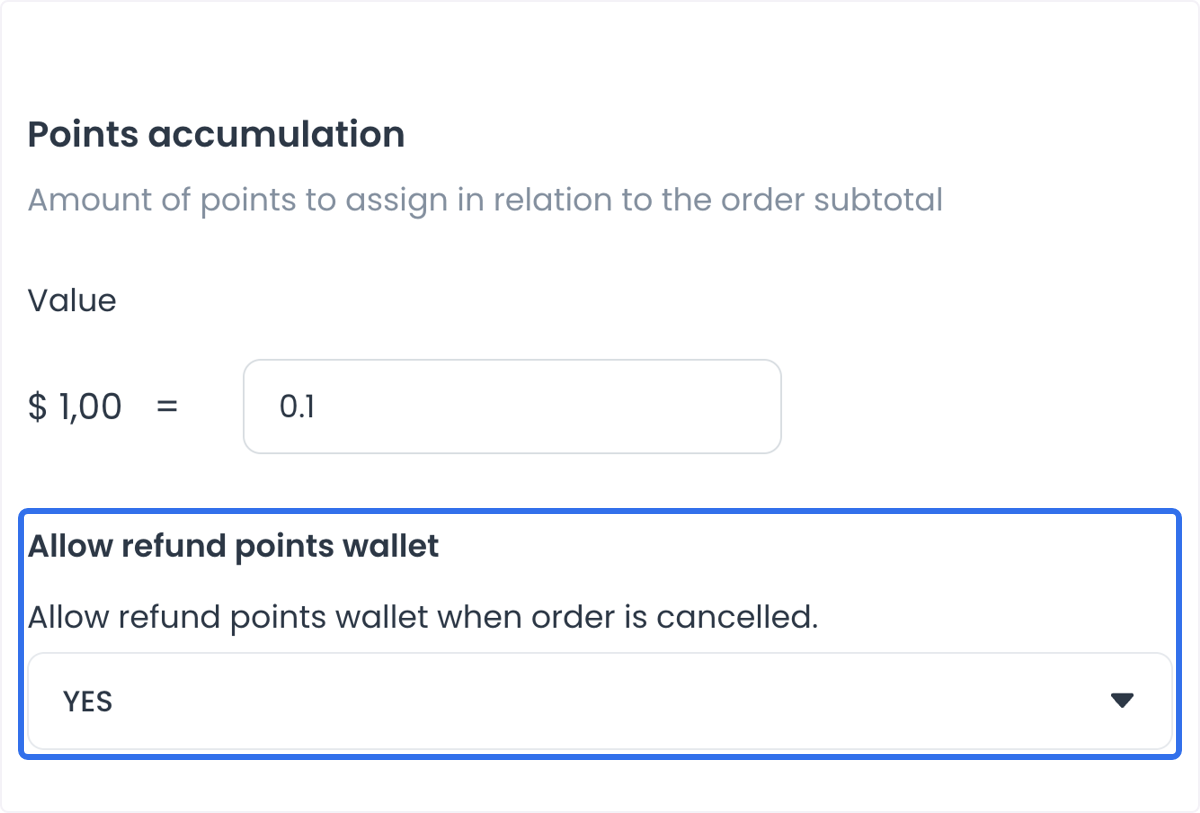
- If your approved refund policy uses it, choose the canceled-order refund-to-points setting shown in this panel.
- Review the complete change set, then select Save.
Read configured values carefully
The interface presents Points redemption as a points amount equal to a displayed price and Points accumulation as a displayed price equal to points. For example, an illustrated configuration uses 100 points for a $1.00 displayed value. That example explains the displayed relationship; it is not a promise that the same calculation applies to every business, item, tax, discount, order, refund, payment path, or customer.
Saving the panel submits the configured values. A save confirmation does not prove that points were awarded, that a wallet amount changed, that a customer can redeem points, or that an order or refund completed.
Configure participating businesses
Use the Businesses tab to decide which businesses participate and which behaviors are configured for each one.
- Open Businesses.
- Review the business list before changing a switch or checkbox.
- Set Status for the businesses that should participate.
- Set Redeem only where you intend to configure points redemption for that business.
- Set Accumulation only where you intend to configure point accumulation for that business.
- Select an enabled business to review its business-specific values, then save the reviewed change set.
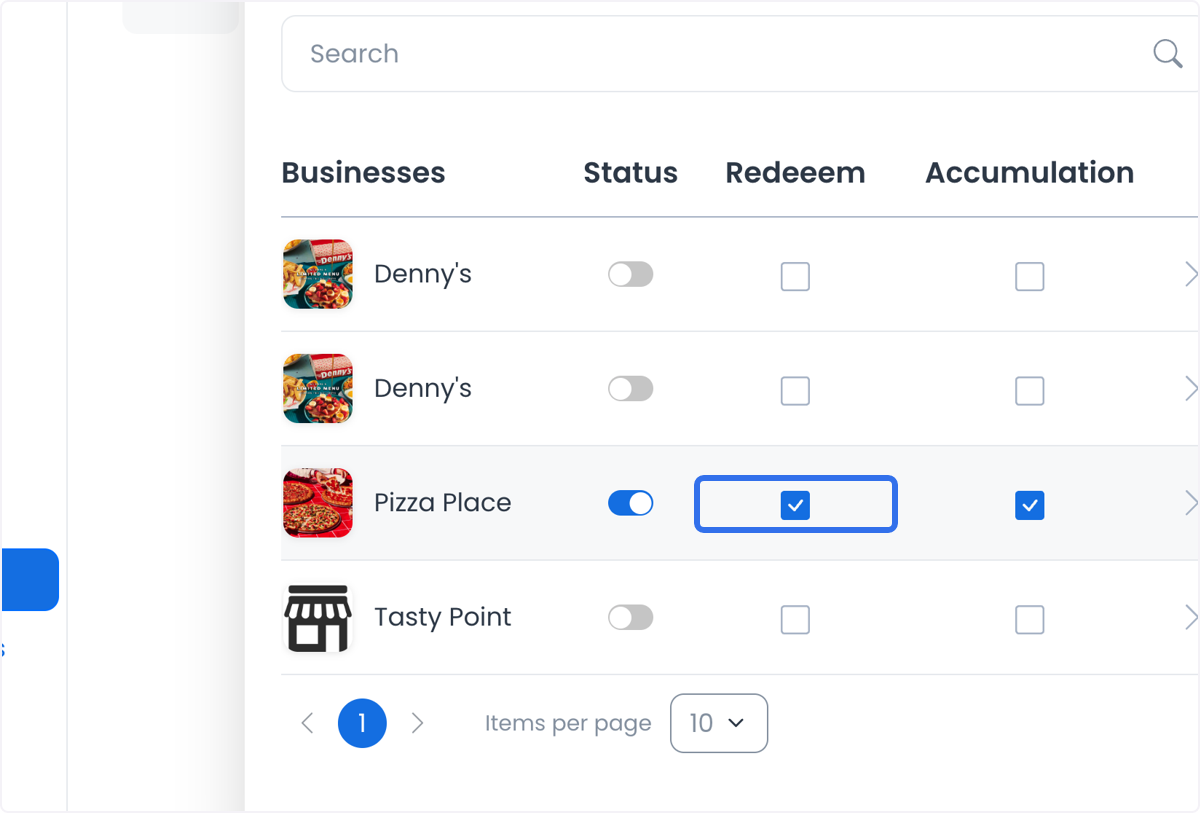
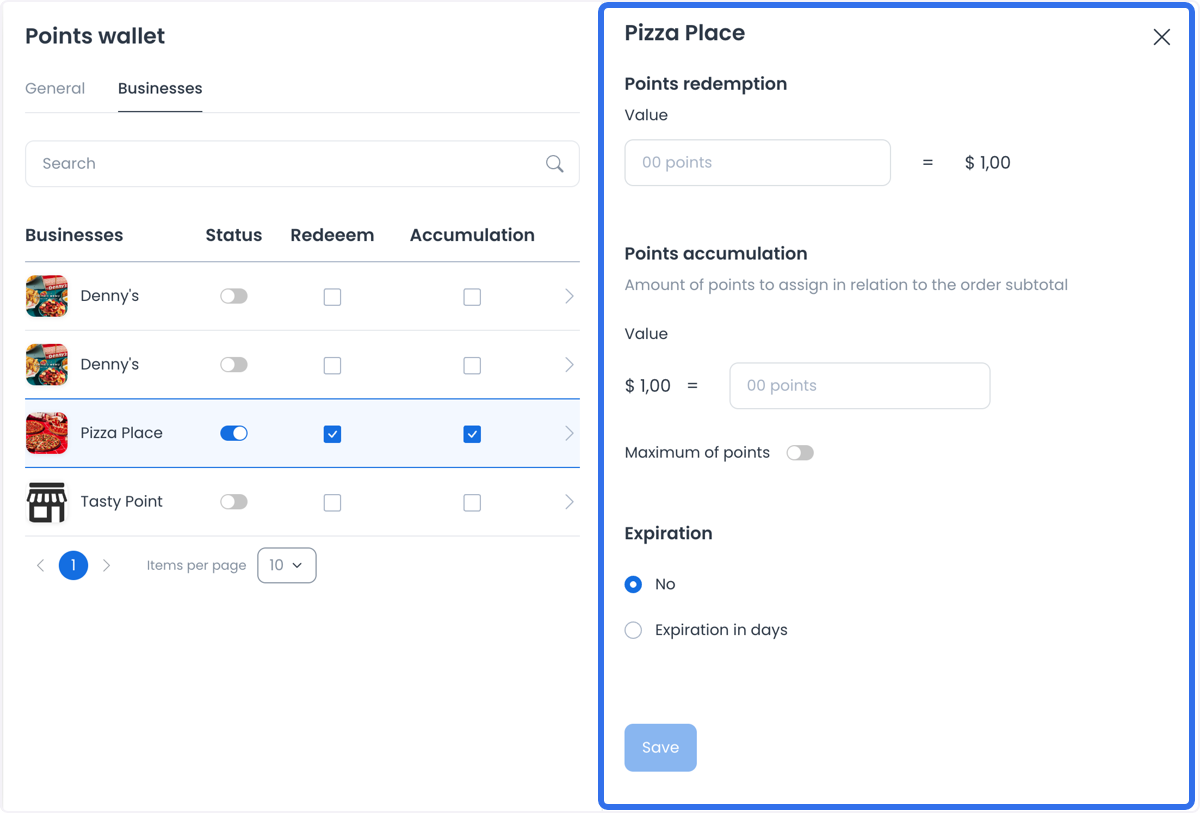
Turning Status off removes the current loyalty-plan business relationship in the Dashboard. Treat it as a configuration change that can also clear the business-specific points settings shown by the interface. A status, redemption, or accumulation control does not independently establish customer eligibility, wallet validity, or checkout availability.
Set a business-specific cap and expiration
For an enabled business, the side panel can include:
- Points redemption and Points accumulation values for that business;
- Maximum of points, when you turn on the maximum control; and
- Expiration, with either no expiration or a duration in days.
The Dashboard converts a duration entered in days to its saved duration value. It does not prove that an existing customer balance has expired, that future point activity will expire on a particular date, or that an external payment path will honor the setting. Validate the end-to-end effect with your approved non-production process before relying on it.
Handle customer-wallet changes separately
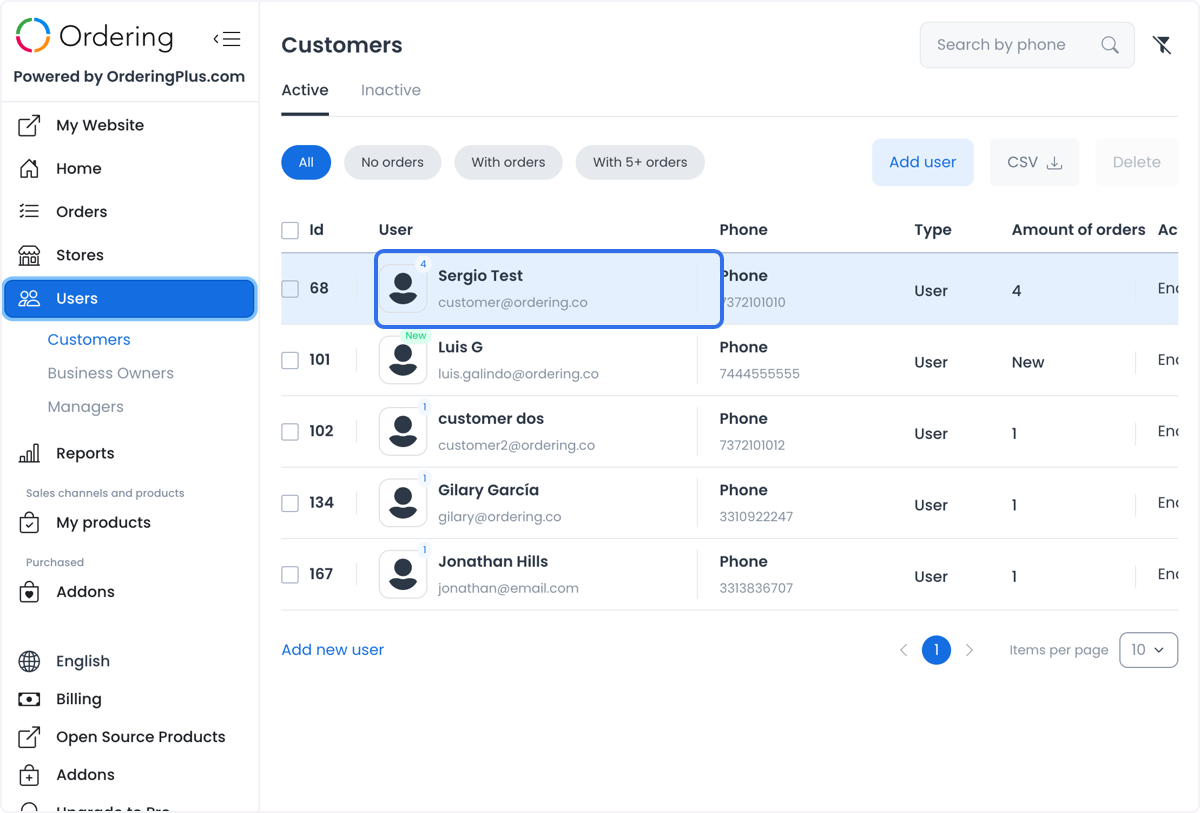
Point configuration and a customer’s wallet are different operations. To review a customer wallet, go to Users > Customers, open the intended customer record, then open Points wallet.
The customer wallet can expose a balance, an Add action, a Reduce action, an amount, a comment, and Transaction history. Where activity is available, the history can distinguish points added, reduced, or used. Adding or reducing points is a direct customer-value action, not a way to test point configuration.
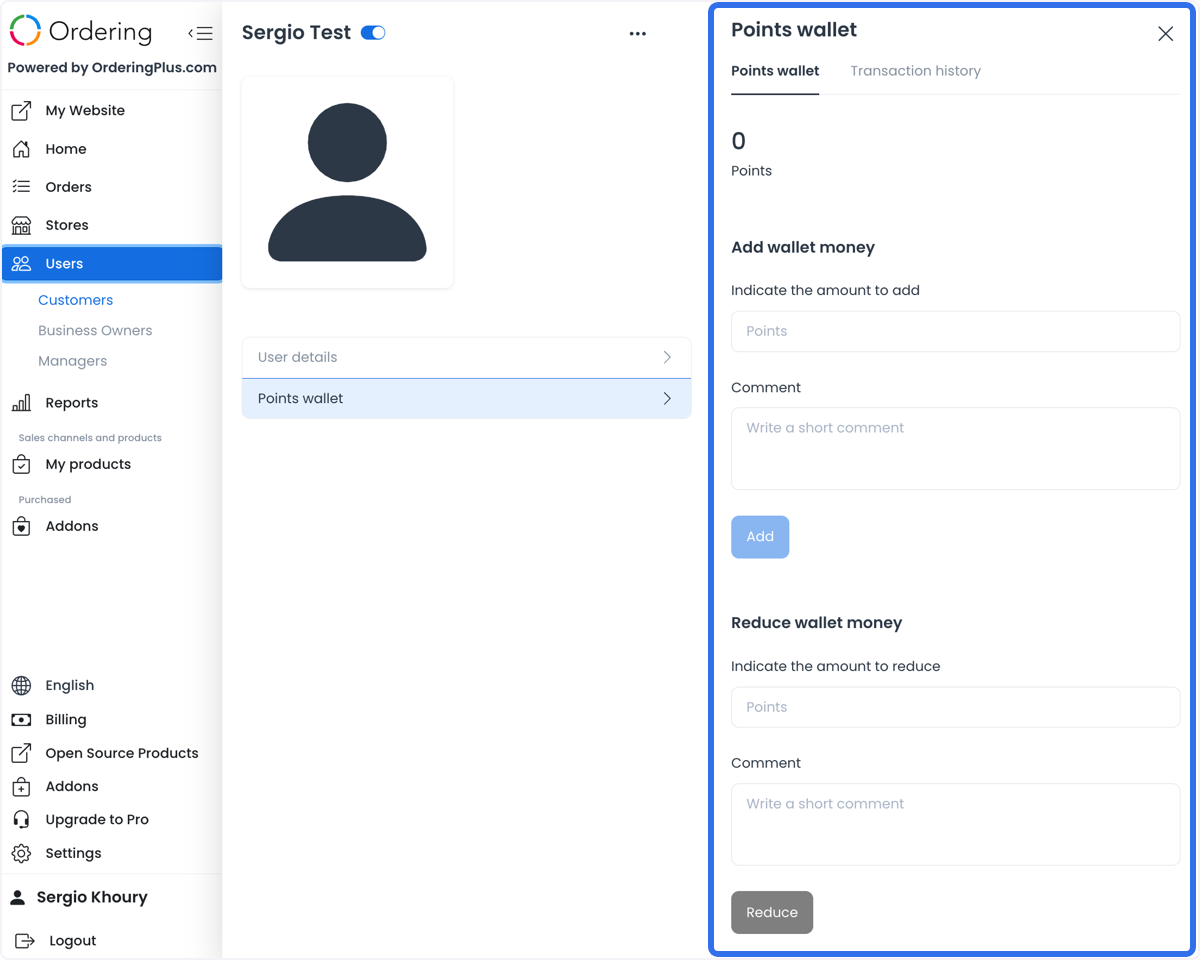
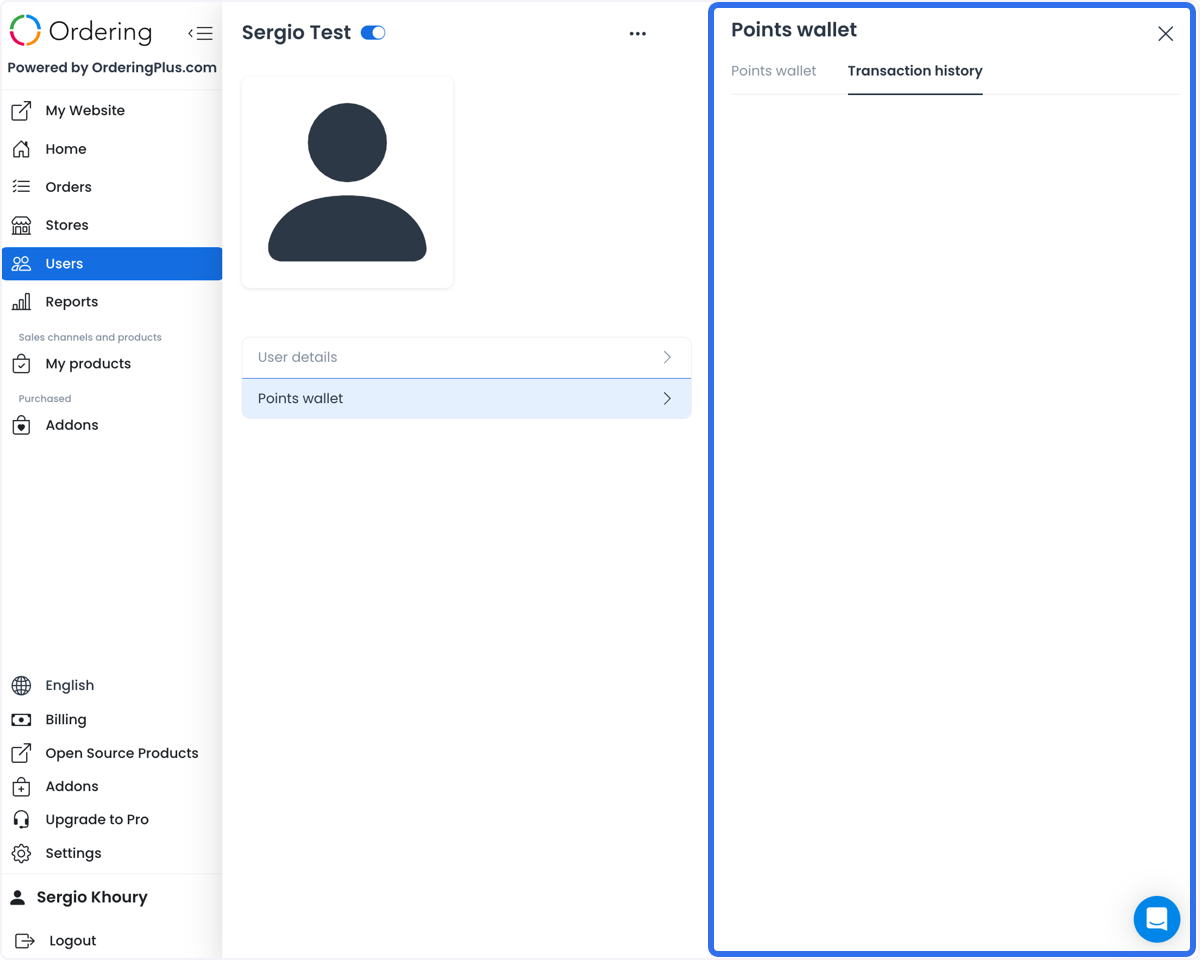
Before changing a wallet, confirm the intended customer, amount, reason, authorization, and audit record. A displayed balance or history row is not independent proof of identity, ownership, a settled balance, or a successful payment.
Awarding and redeeming points
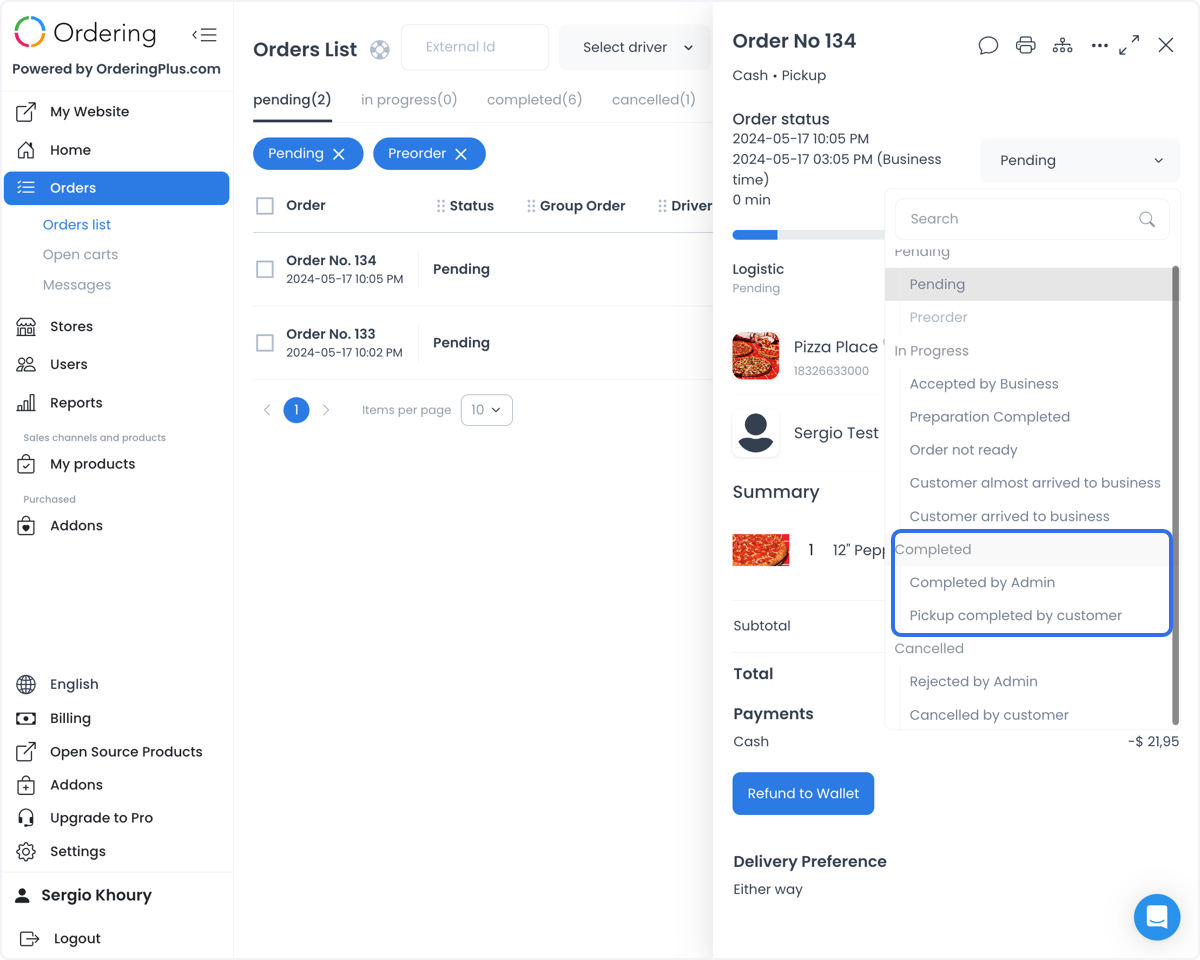
Point awards can be associated with orders completed in the Orders manager. Treat that as an operational condition to validate, not as an automatic guarantee: the available local evidence does not establish every backend award condition, timing rule, eligibility rule, reconciliation step, or error path.
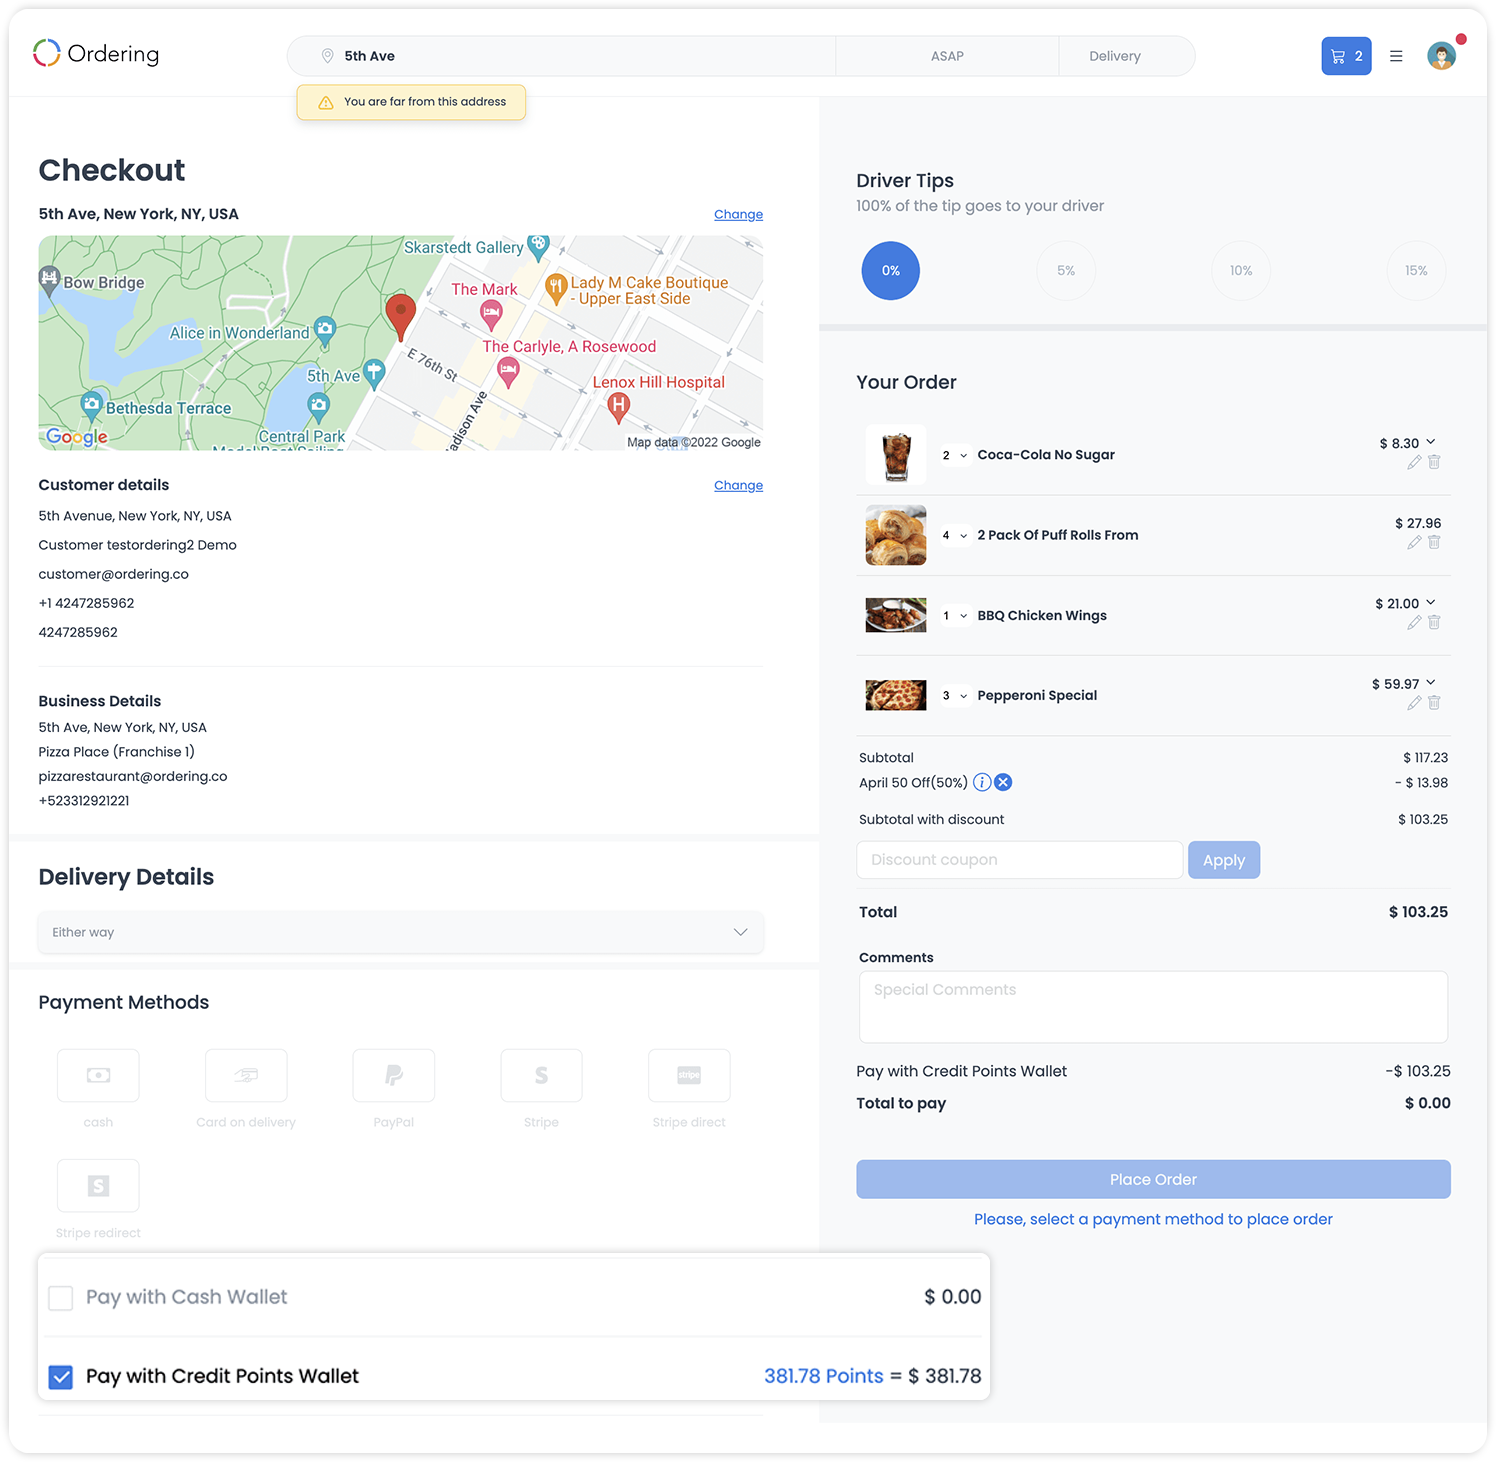
Customers may be able to see wallet activity and, when their configured checkout conditions are met, use points for all or part of an order. A remaining amount can require another payment method. The points option, a displayed balance, a selected checkbox, or a calculated amount does not guarantee that the option is available, that the customer is eligible, that a provider authorizes the payment, or that the order is placed.
The points workspace does not configure external payment providers. Keep provider setup, payment authorization, order state, cancellation, refund issuance, and wallet reconciliation in their respective operational workflows.
Use point settings with a clear goal
Examples of possible program patterns include:
- a time-bound multiplier for a seasonal campaign;
- additional points for a new product;
- a bonus for long-term customers; and
- different business-level settings that align with an approved incentive policy.
Each pattern still needs defined eligibility, approved values, and validation. A configured multiplier or rate does not by itself award points or produce a commercial result.
Related guides
- Points wallet and levels
- Customers
- Update an order status
- Loyalty plan update operation in API Reference
For a product-level overview of Ordering.co points configuration and how it relates to customer wallet views, see Ordering Loyalty.