Configure a Star Micronics printer
Use this guide to prepare a Star Micronics printer for the Ordering.co Business App. Saving a printer entry, pairing a device, sending a ticket, and receiving paper are separate events. Complete each one deliberately, and do not use an earlier event as proof that the next one succeeded.
Before changing a saved entry, review Configure a saved printer and manage saved printers and automatic printing.
Some product captures in this guide include example account, business, or order information. Treat the captures as interface orientation only. Do not copy, share, or use any displayed value as a live printer setting or order record.
Understand the print path
| Stage | What it establishes | What it does not establish |
|---|---|---|
| Saved configuration | The device has a local model, nickname, paper-width, and connection entry. | Bluetooth pairing, network reachability, provider readiness, or paper output. |
| Bluetooth or network preparation | The operating system or local network can recognize a device or address. | That the Business App can send a ticket to the printer. |
| Ticket request | The app has started a request from an order or automatic-print rule. | That a provider accepted it, a queue received it, or a ticket emerged. |
| Provider and queue handling | A provider or spooler reports a job state. | That the paper, cover, power, and final ticket are correct. |
| Physical ticket | A specific printer produced a copy that you can reconcile with the order. | That another saved printer also succeeded. |
Accepting a live order is a separate order action that can affect fulfillment and customer communication. Do not use an order as a printer test.
Open printer settings
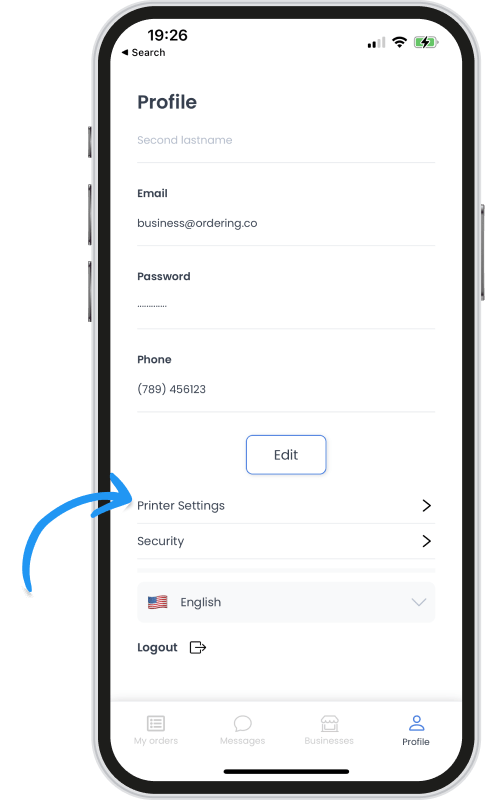
- In the authenticated Business App, open Profile > Printer Settings.
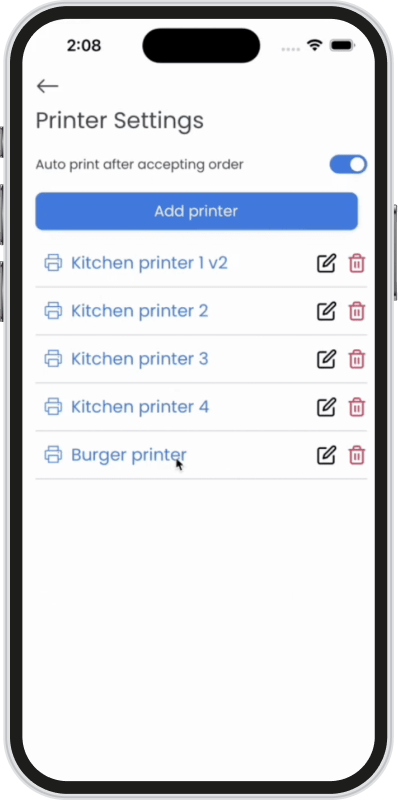
- Review the saved-printer list before adding or editing an entry. The list is local to the device, and multiple rows do not prove that their printers are available.
- Select Add printer or open the intended entry for editing. Record the existing nickname, model, and connection information before saving a change.
Choose a documented model
Select Star Micronics and then choose the intended model in Printer Configure. The following models are the ones named in the documented catalog:
- mPOP
- FVP
- TSP100
- TSP100IV
- TSP65011
- TSP7001
- TSP80011
- SP700
- SM-S210i
- SM-S220i
- SM-S230i
- SM-T300i/T300
- SM-T400i
- SM-L200
- SM-L300
- BSC10
- SM-S210i StarPRNT
- SM-S220i StarPRNT
- SM-S230i StarPRNT
- SM-T300i/T300 StarPRNT
- SM-T400i StarPRNT
- mC-Print3
The catalog can vary with the installed app. A listed model, a matching printer shell, or a populated saved row is not compatibility or connection proof.
Save the local entry
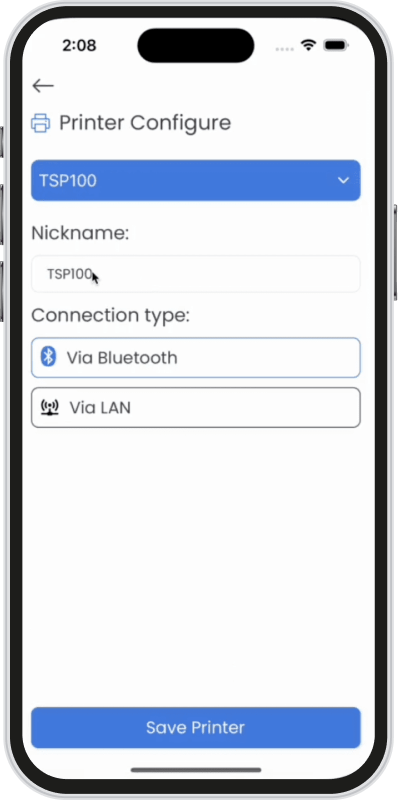
- Choose the documented Star model.
- Enter a clear local Nickname.
- Choose the intended Paper width.
- Choose Via Bluetooth or Via LAN.
- Enter only the connection value approved by the person responsible for the printer, then select Save Printer once.
- Return to Printer Settings, leave the screen, and reopen it to confirm the intended local entry without an unexpected duplicate.
Changing a model or connection type can clear existing configuration fields. An enabled Save Printer control only means the visible form can be submitted; it does not test discovery, permission, driver support, or connectivity.
Prepare a Bluetooth connection
Use the Bluetooth branch only when the printer owner has confirmed that the intended Star device supports Bluetooth.
- On the printer and mobile device, follow the manufacturer and operating system steps to make the device available for Bluetooth pairing.
- If the system asks for Bluetooth or nearby-device permission, treat that as an operating-system boundary. Do not approve a prompt just to make the app's saved entry look complete.
- In Printer Configure, select Via Bluetooth, provide the approved device value, and save the local entry as described above.
- Reopen Printer Settings to confirm the saved entry. Run a print only in an authorized output workflow after checking the printer queue and paper.
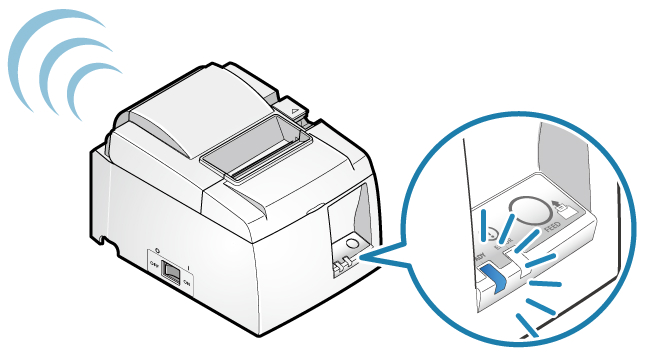
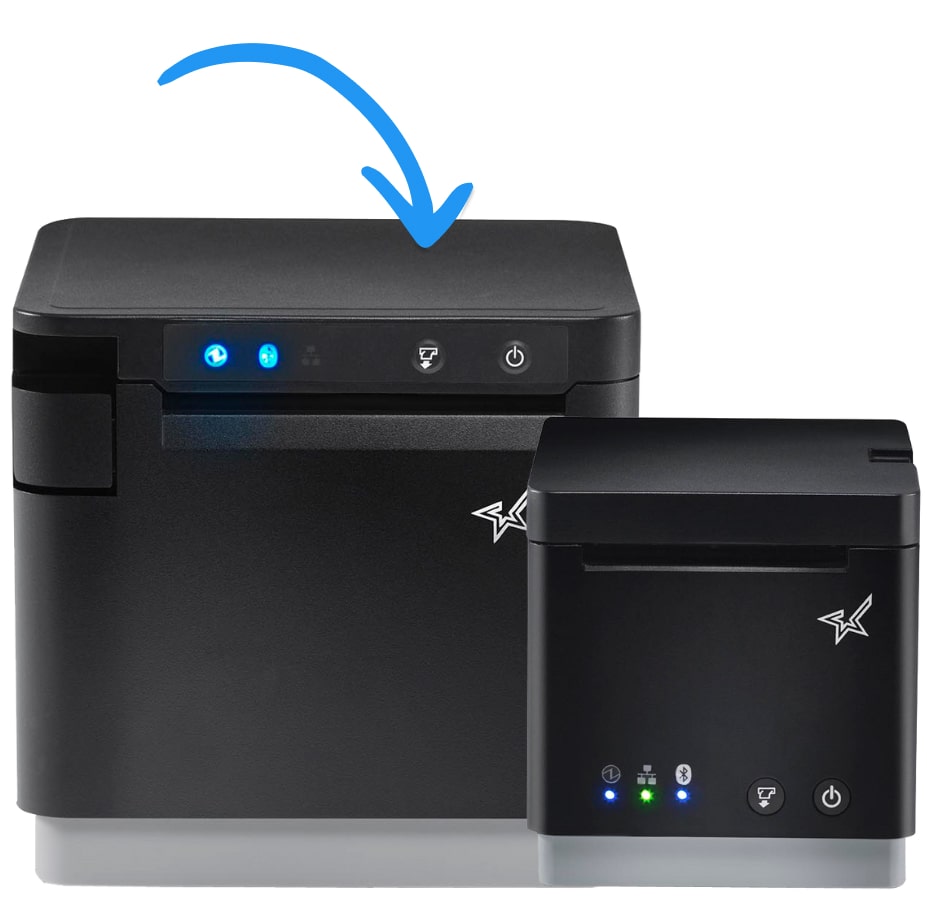
A completed Bluetooth pairing confirms only the device-level relationship. It does not prove that the app found the printer, that a provider accepted a job, or that paper will print.
Prepare a network connection
Use the network branch when the printer owner provides the printer's approved IPv4 address.
- In Printer Configure, select Via LAN.
- Enter the approved address and save the local entry.
- Reopen Printer Settings and confirm the entry without assuming that the address is reachable.
- Keep hardware, router, access-point, port, provider, queue, and paper troubleshooting in the authorized printer-operations procedure.
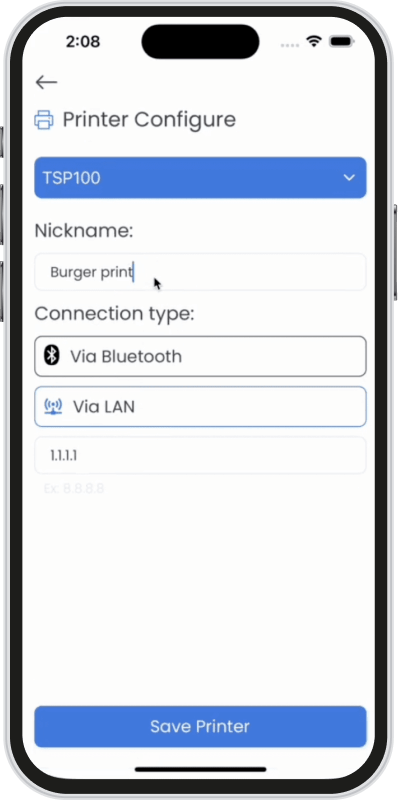
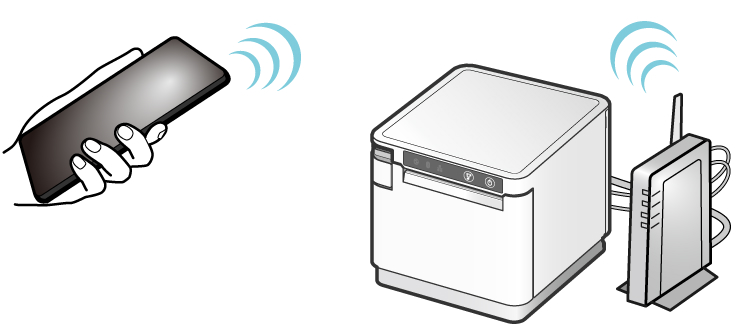
An IPv4-shaped value can satisfy the form without proving network reachability or a working printer port.
Request a ticket only when the output is authorized
The order view can show a printer action. If saved printers are loaded, opening Ticket Preview can start an output attempt before the ticket is fully visible. Use Review and print an order ticket for the required queue and paper accounting.
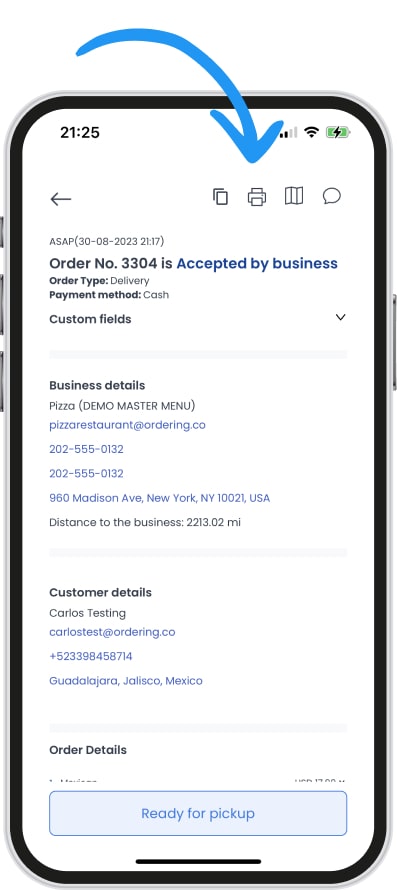
Do not assume that accepting an order or opening the printer action produced a ticket. The order effect, the print request, provider handoff, queue state, and physical copy must each be verified separately.
Use automatic printing carefully
The Auto print after accepting order switch applies to the local saved printer list. When enabled, accepting an eligible order can open Ticket Preview and start a request for every saved printer.
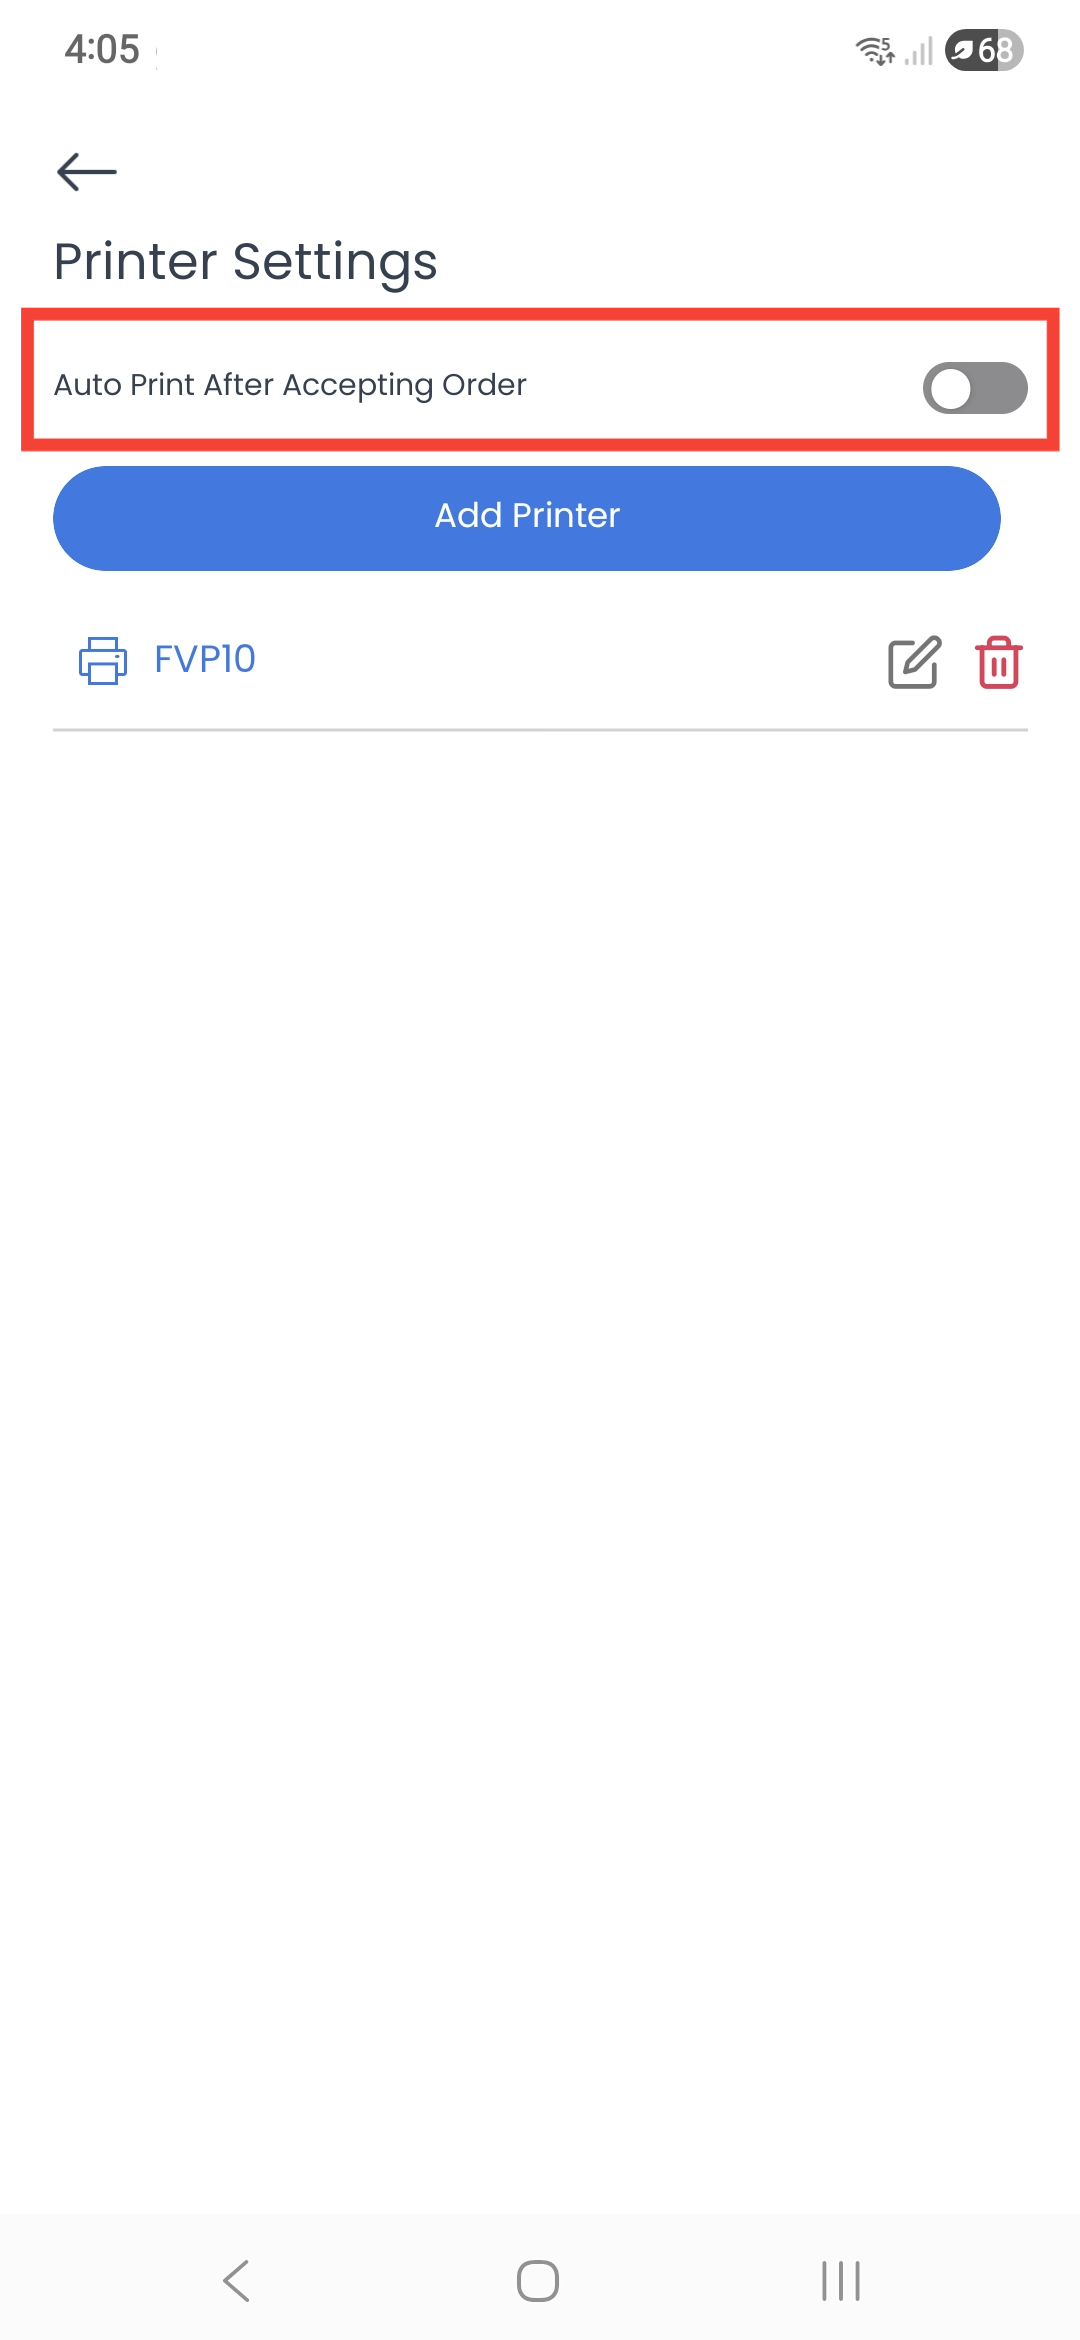
Before enabling the switch, account for each saved printer's paper and queue state. A switch state does not prove a device is connected, a provider is ready, or that a future ticket will print exactly once.
Troubleshoot by boundary
| What you observe | Boundary | Safe next action |
|---|---|---|
| The form will not save. | Local configuration validation | Recheck the selected model, nickname, and connection value. Do not change hardware or start discovery to bypass the form. |
| A pairing or permission screen opens. | Operating-system Bluetooth flow | Stop if that hardware action was not authorized. Record only the non-sensitive visible message and continue under an approved hardware procedure. |
| The saved row reappears after reopening. | Device-local storage | Confirm the intended local fields; do not call it a connection test. |
| A network address is accepted but no ticket prints. | Network, provider, queue, or physical printer | Check the approved queue and printer state before retrying. Do not use the same order to probe the connection. |
| The printer has paper but no expected ticket. | Provider, spooler, target selection, or order context | Reconcile the order, each saved-printer queue, and paper output before any repeat request. |
| One printer produced a ticket and another did not. | Per-printer output result | Treat the result as partial. Preserve the completed copy and queue evidence; do not repeat the all-printer request. |